Bonnie & Clyde: The Complete Autoflower Nutrient Guide | Cronk NutrientsUpdated 5 months ago
Why Autoflowers Need Their Own Nutrient System
Autoflowering cannabis plants are genetically programmed to flower based on age, not light cycle. This fundamental difference means they have unique nutritional needs that standard "one-size-fits-all" nutrients don't address well.
Here's what makes autoflowers different:
Compressed timeline: Autoflowers complete their entire lifecycle in 8-12 weeks versus 4-6 months for photoperiods. This rapid growth demands nutrients that are immediately available and properly balanced for each compressed growth stage.
No recovery time: If you overfeed a photoperiod plant, you can back off and let it recover during a longer veg period. Autoflowers don't give you that luxury. By the time you notice a problem, they may already be flowering.
Lower nutrient tolerance: Research shows autoflowers generally prefer 25-30% lower nutrient concentrations than photoperiods. Their ruderalis genetics evolved in harsh environments with poor soil, making them more sensitive to nutrient burn.
Bonnie & Clyde was formulated with these realities in mind. Rather than forcing you to guess the right ratios from a 3-part system, we've pre-balanced everything for autoflower success.
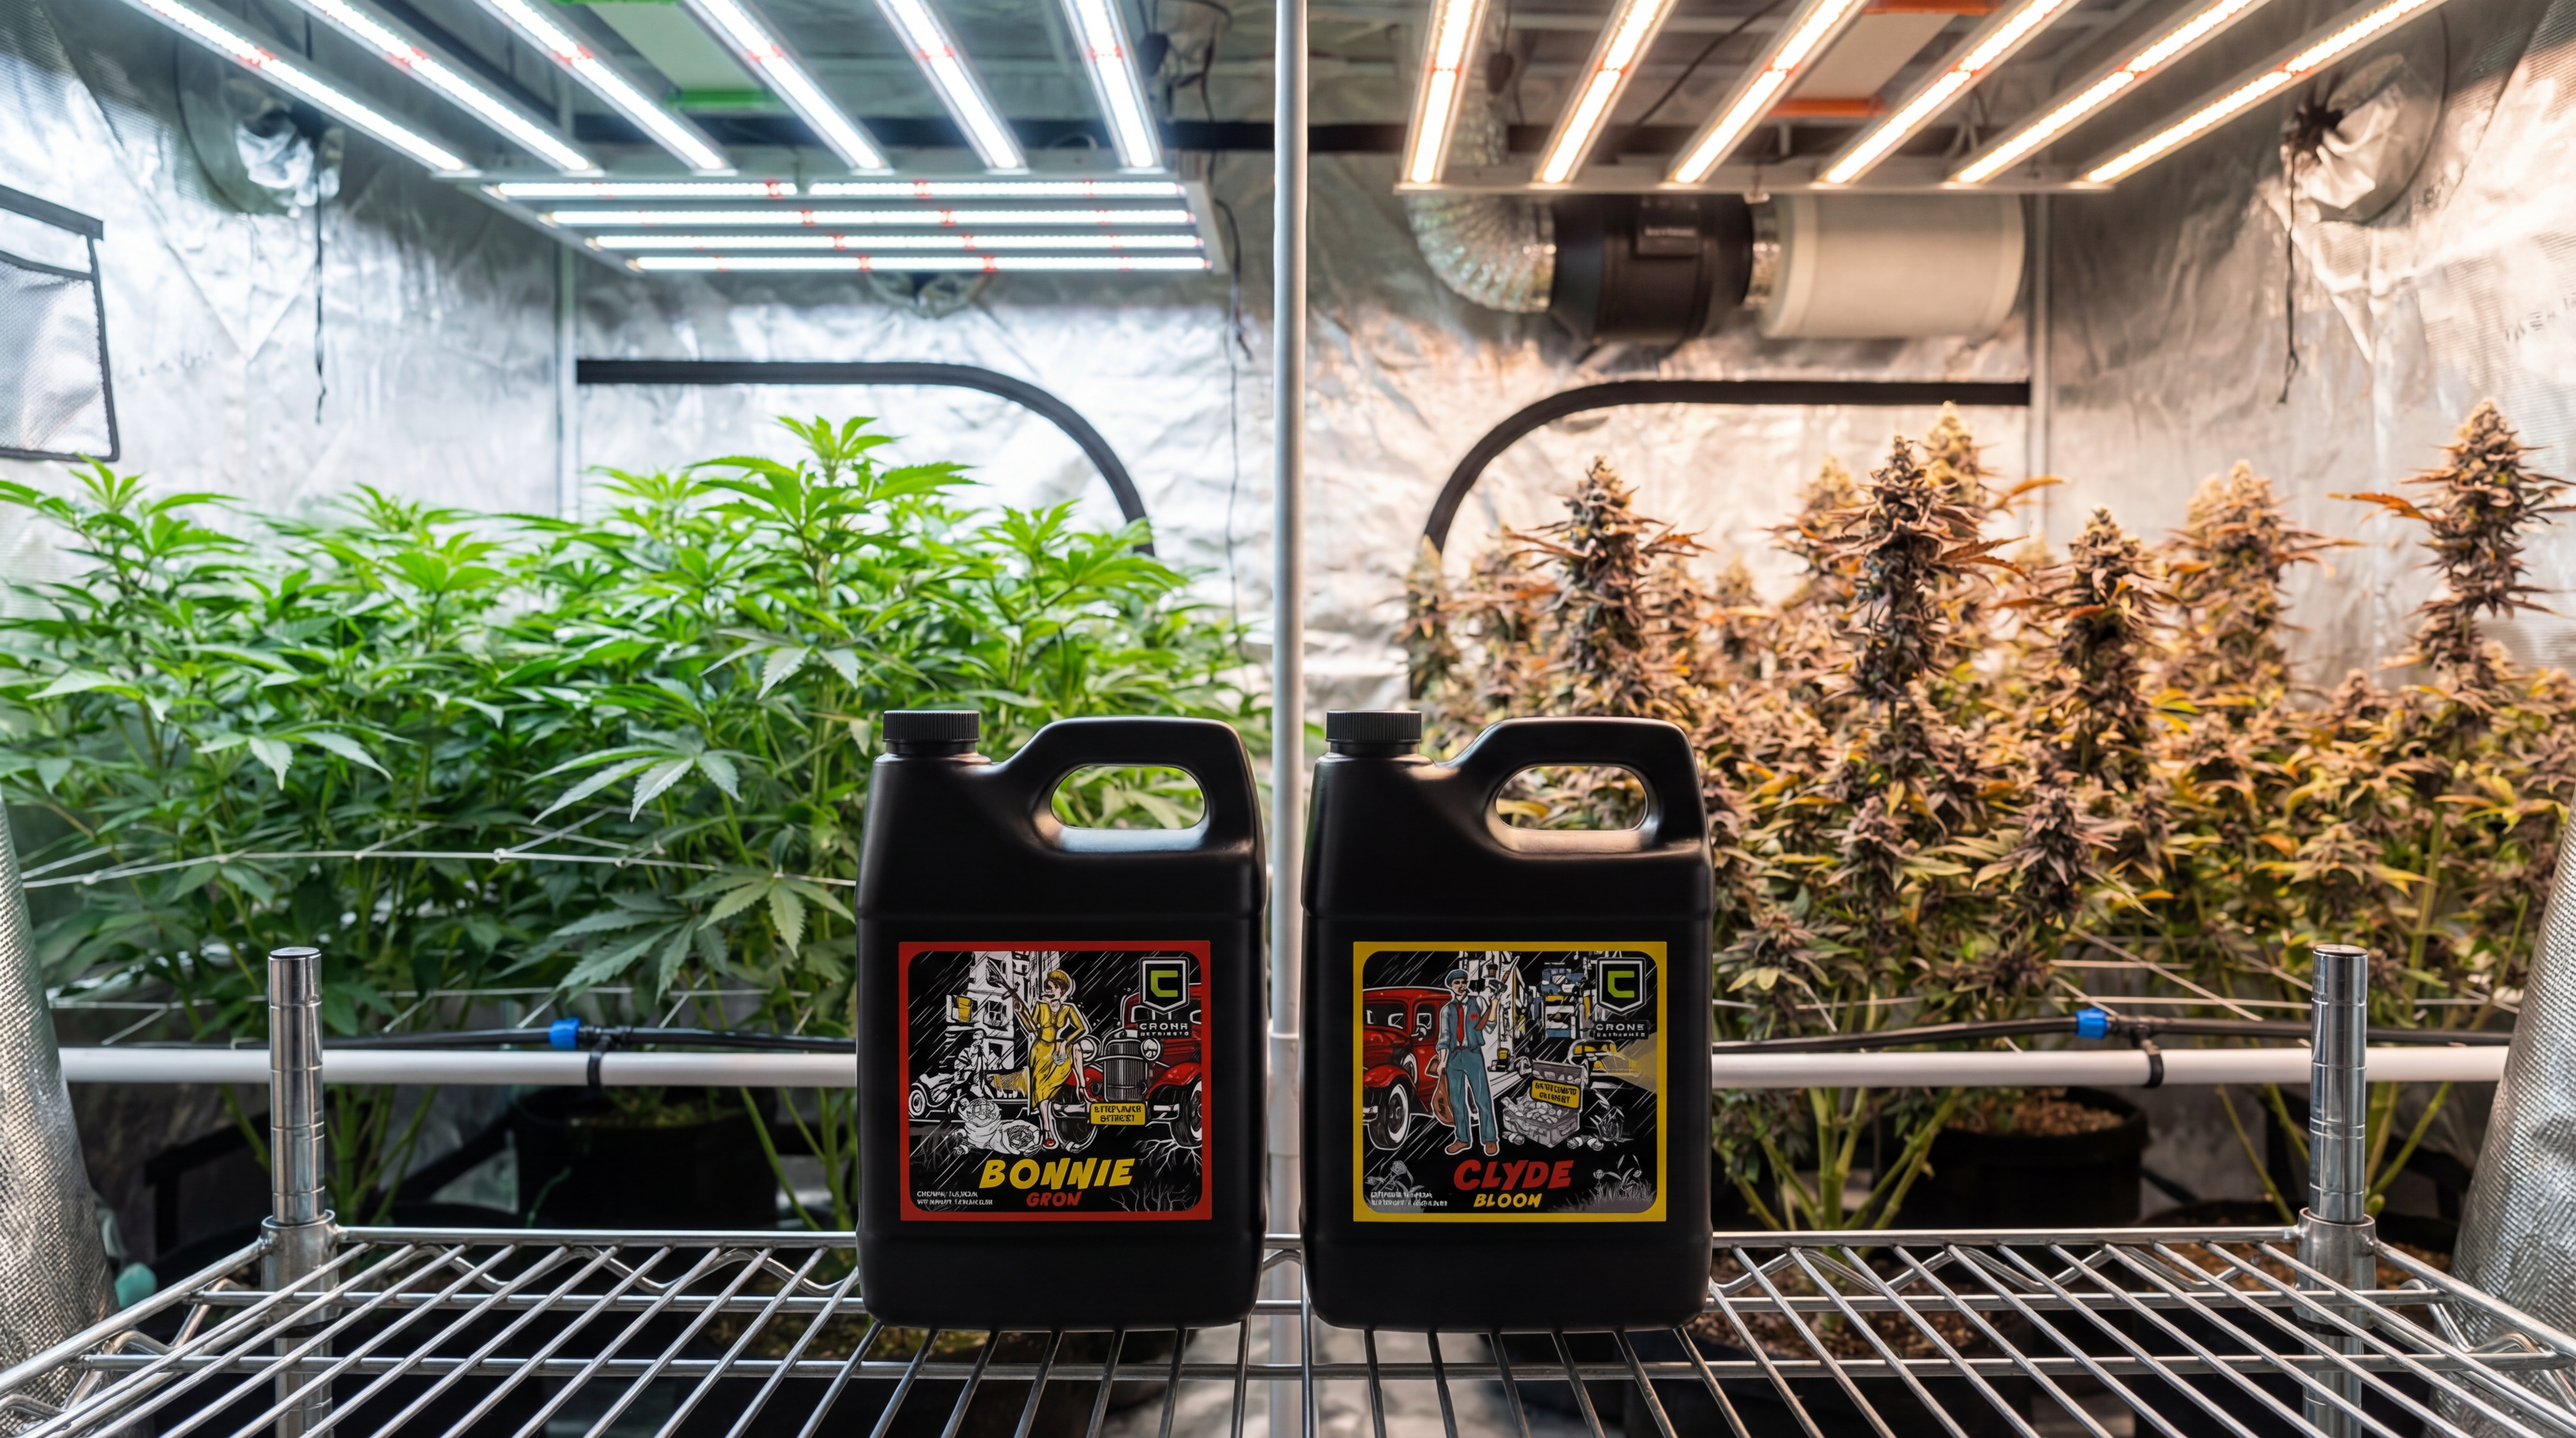
Meet the Dynamic Duo
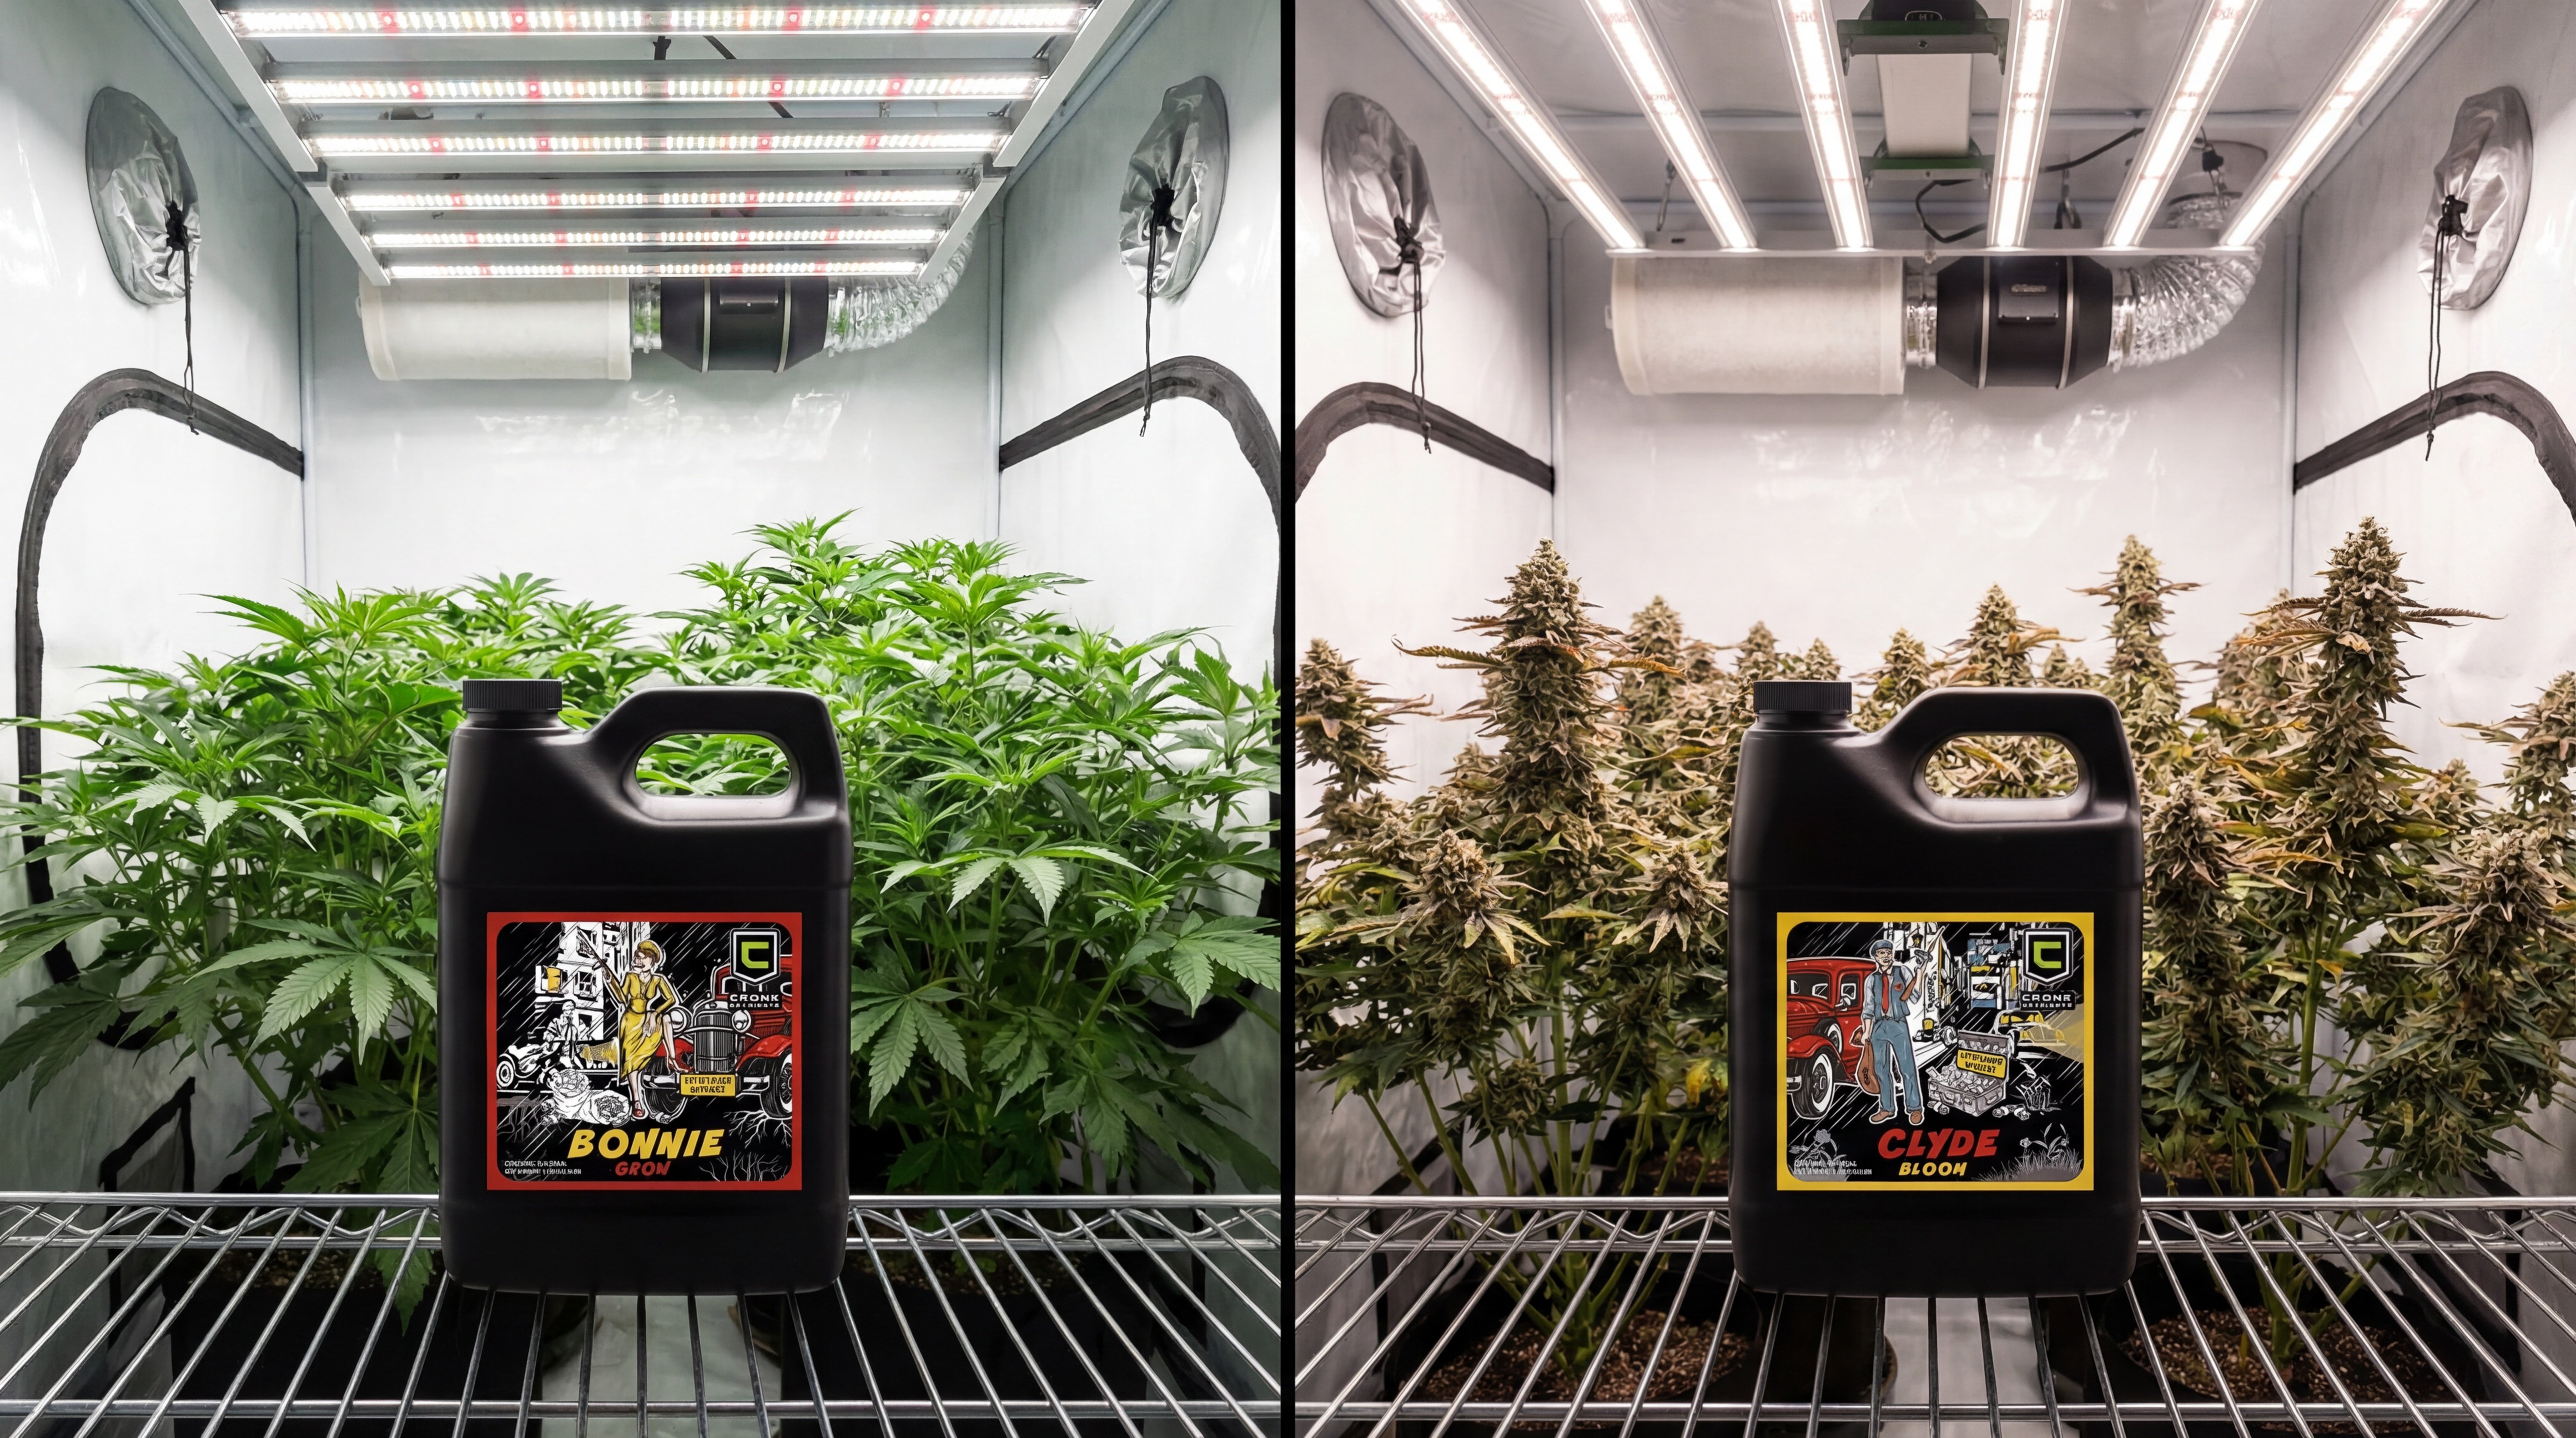
Bonnie (6-5-4): The Vegetative Formula
Bonnie delivers the nitrogen-forward nutrition autoflowers need during their brief vegetative phase. The 6-5-4 NPK ratio promotes rapid leaf development, strong stems, and healthy root establishment without the excess nitrogen that causes problems later.
What's inside:
- 6% Total Nitrogen (3% nitrate, 3% ammoniacal) for balanced, steady growth
- 5% Available Phosphate for root development
- 4% Soluble Potash for structural strength
- Chelated micronutrients (Cu, Fe, Mn, Zn) for enzyme function and deficiency prevention
When to use: From seedling through pre-flower (typically weeks 1-4)
Clyde (3-6-5): The Bloom Formula
Clyde shifts the nutrient ratio to support flower production. The reduced nitrogen (3%) prevents excess vegetative growth during bloom, while elevated phosphorus (6%) and potassium (5%) drive flower development, terpene production, and bud density.
What's inside:
- 3% Total Nitrogen (1.5% nitrate, 1.5% ammoniacal) for maintenance without excess foliage
- 6% Available Phosphate for flower initiation and energy transfer
- 5% Soluble Potash for bud density and stress resistance
- Chelated micronutrients (B, Cu, Fe, Mn, Mo, Zn) optimized for flowering
When to use: From first pistils through harvest (typically weeks 5-10)
The Golden Rule: Never Use Both Together
When in doubt, remember: Bonnie builds the plant, Clyde builds the buds.
Week-by-Week Feeding Schedule
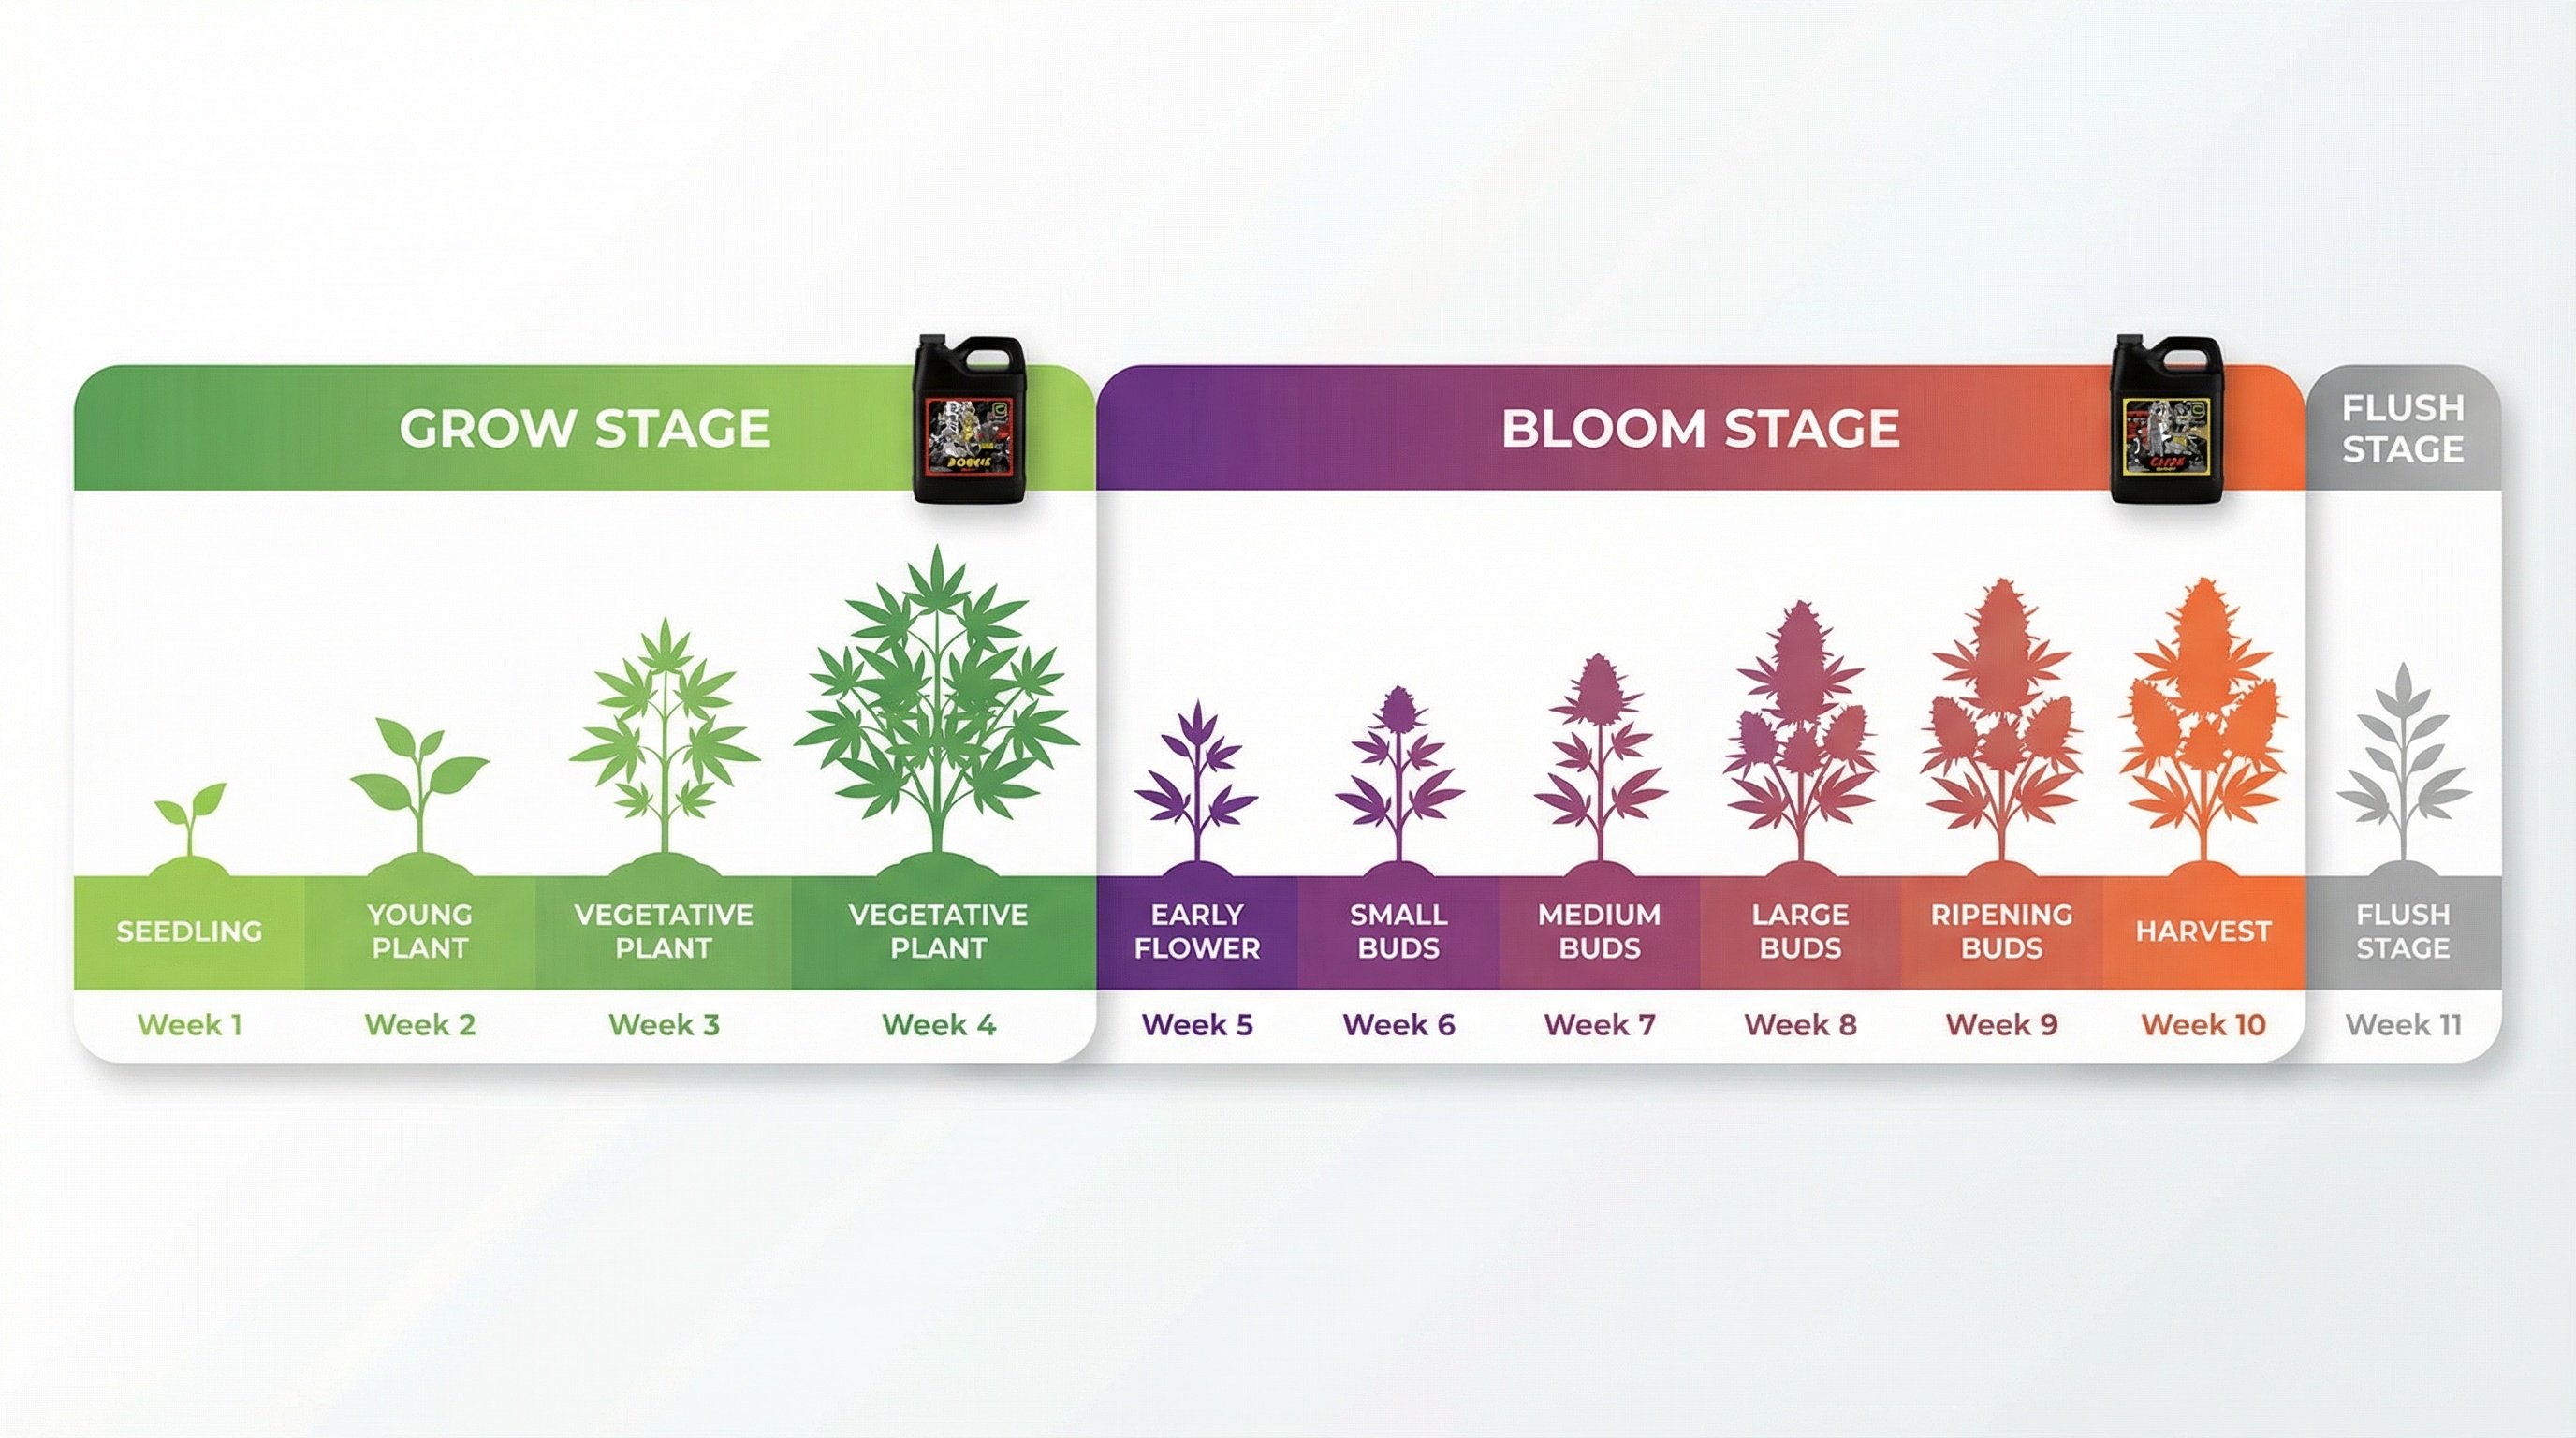
The following schedule is based on our Basic Feed Chart. All measurements are in mL per gallon of water.
Vegetative Phase (Bonnie + CalMag)
| Week | Stage | Bonnie | CalMag | pH Range |
|---|---|---|---|---|
| 1 | Seedling | 0 mL/gal | 2 mL/gal | 5.6-5.9 |
| 2 | Early Veg | 2 mL/gal | 2 mL/gal | 5.9-6.2 |
| 3 | Mid Veg | 3.5 mL/gal | 4 mL/gal | 5.9-6.2 |
| 4 | Late Veg | 5.5 mL/gal | 4 mL/gal | 5.9-6.2 |
Flowering Phase (Clyde + CalMag)
| Week | Stage | Clyde | CalMag | pH Range |
|---|---|---|---|---|
| 1 | Pre-Flower | 9 mL/gal | 4 mL/gal | 6.0-6.4 |
| 2 | Early Flower | 11 mL/gal | 4 mL/gal | 6.0-6.4 |
| 3 | Mid Flower | 13 mL/gal | 4 mL/gal | 6.0-6.4 |
| 4 | Mid Flower | 15 mL/gal | 4 mL/gal | 6.0-6.4 |
| 5 | Late Flower | 15 mL/gal | 4 mL/gal | 6.0-6.4 |
| 6 | Ripen | 8 mL/gal | 0 mL/gal | 6.0-6.4 |
| 7 | Flush | 0 mL/gal | 0 mL/gal | 6.0-6.4 |
Why Feed Charts Are Starting Points, Not Rules
Every feed chart, including ours, is a recommendation based on average plant needs under typical conditions. Your plants may need more or less than what's listed. Here's the science behind why:
Genetic Variation
Cannabis genetics vary dramatically in nutrient demand. A study published in Frontiers in Plant Science found that different cannabis cultivars showed up to 40% variation in nitrogen uptake efficiency under identical growing conditions (Saloner & Bernstein, 2020). Some strains are naturally "heavy feeders" that thrive at full strength, while others show tip burn at half the recommended dose.
Sativa-dominant autoflowers often prefer lighter feeding, while indica-dominant varieties can typically handle stronger nutrient concentrations. This isn't a hard rule, but it's a useful starting point for adjusting your approach.
Environmental Factors
Your growing environment directly impacts how much nutrition your plants can process:
Light intensity: Plants under powerful LEDs or HPS lights photosynthesize faster and consume more nutrients. Research in HortScience demonstrated that cannabis grown under high-intensity lighting (600+ PPFD) required 15-25% higher nutrient concentrations than plants under moderate light (Hawley et al., 2018). If you're running a basic blurple light, you likely need less than what's on the chart.
Temperature and humidity: Higher temperatures increase transpiration rates, which pulls more water and nutrients through the plant. VPD (vapor pressure deficit) directly affects nutrient uptake. Plants in hot, dry environments may need more frequent feeding at lower concentrations, while plants in cooler, humid conditions may need less frequent feeding.
CO2 supplementation: If you're adding CO2, your plants can process significantly more nutrients. Without elevated CO2, feeding at maximum chart levels may cause buildup.
Growing Medium Differences
The same nutrient dose behaves differently depending on your medium:
Coco coir: Feeds more frequently (often daily) at lower concentrations per feeding. Coco's cation exchange capacity means it holds onto calcium and magnesium, so you may need to increase CalMag while keeping base nutrients moderate.
Soil: Has natural buffering capacity and often contains some nutrients already. Start at 50-75% of chart recommendations in quality soil. Living soil may need even less.
Hydro/DWC: No buffering capacity means plants get exactly what you give them. Follow charts more closely, but monitor EC carefully and adjust based on how quickly your reservoir depletes.
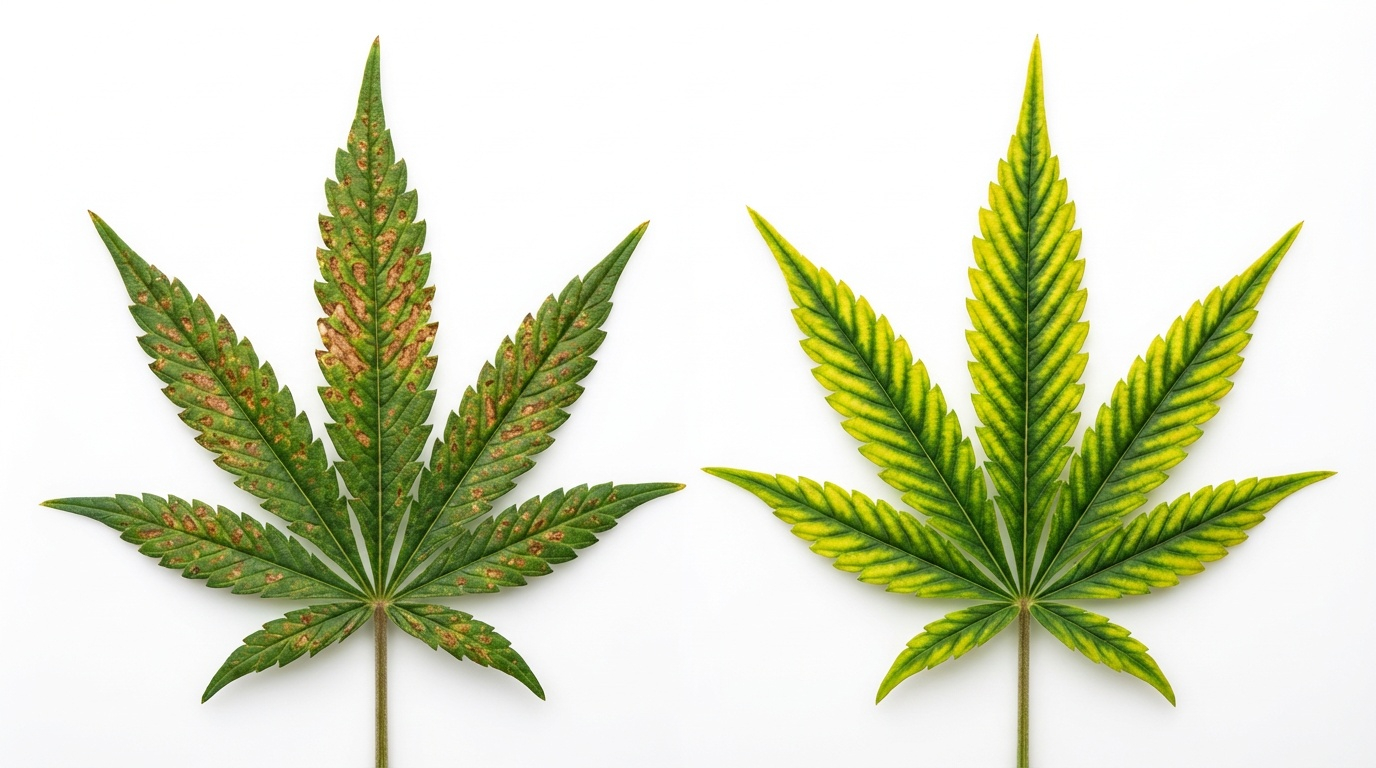
How to Read Your Plants
Your plants tell you what they need if you know what to look for:
Signs you're feeding too much:
- Burnt leaf tips (nutrient burn) starting at the edges
- Dark green, waxy leaves (nitrogen toxicity)
- Leaf tips curling downward ("the claw")
- Slow growth despite adequate light
Signs you're feeding too little:
- Pale or yellowing leaves, especially lower/older growth
- Purple stems (can indicate phosphorus deficiency)
- Slow growth and small leaves
- Early leaf drop
Bottom line: use our feed chart as your starting point, then let your plants guide you from there. A grower who watches their plants will always outperform one who follows any chart blindly.
When to Make the Switch
The transition from Bonnie to Clyde is one of the most common questions we get. Here's how to know when it's time:
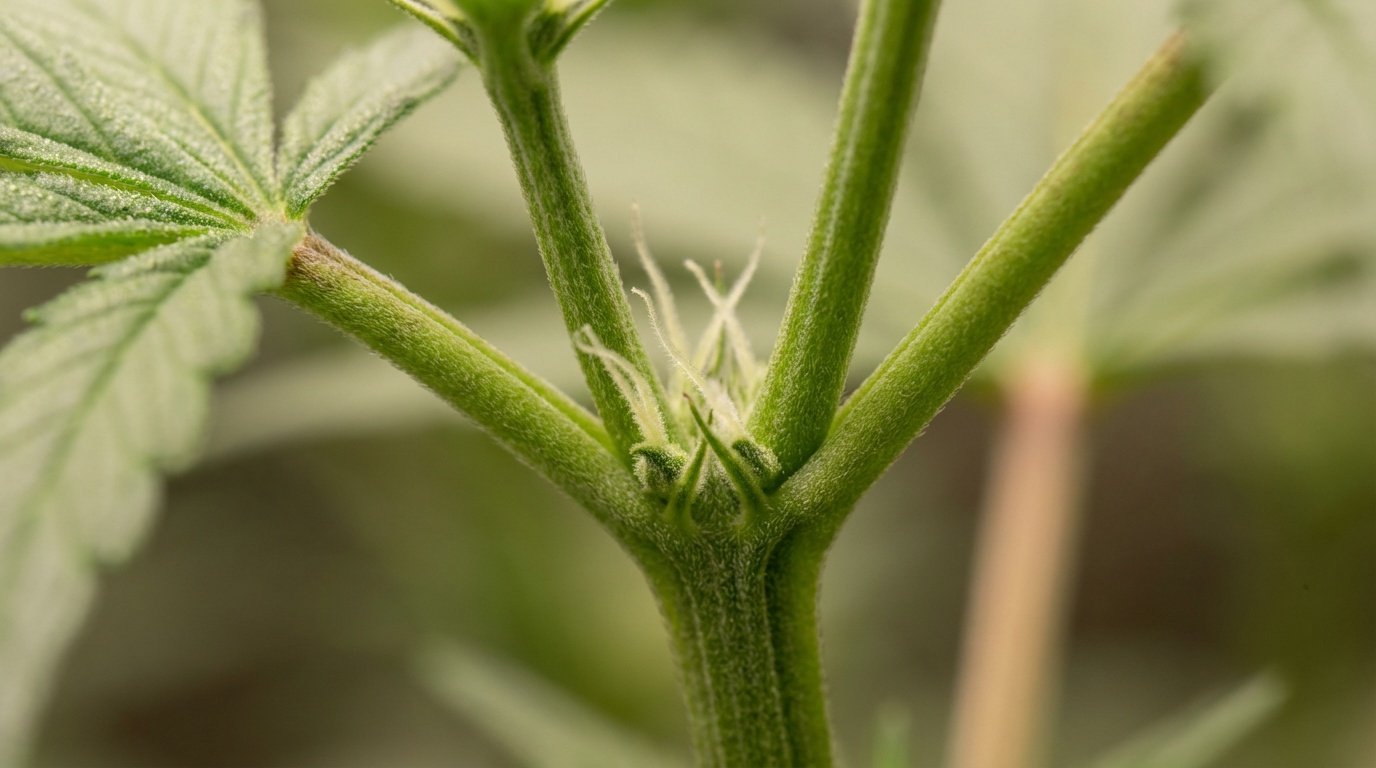
Watch for pistils, not the calendar. Autoflowers are individuals. Some show pistils (white hairs at nodes) by week 3, others take until week 5. The calendar is a rough guide, but your plant tells you when it's ready.
Signs it's time to switch:
- White pistils appearing at branch nodes
- Vertical growth slowing or stopping (the "stretch" is ending)
- Pre-flowers forming at the top of the plant
Don't panic about timing. If you're a few days early or late on the switch, your plants will be fine. The important thing is making the transition, not hitting an exact day.
CalMag: The Essential Companion
CalMag isn't optional with Bonnie & Clyde. Both formulas are designed to work with CalMag supplementation for complete nutrition.
Why autoflowers need CalMag:
Autoflowers have rapid calcium and magnesium uptake during their compressed lifecycle. Without supplementation, deficiencies often appear just as plants enter bloom, exactly when you don't want problems.
When to increase CalMag:
- RO or soft water users: Start at 4 mL/gal from the beginning
- Coco coir growers: Coco naturally binds calcium, requiring higher doses
- LED lighting: High-intensity LEDs drive faster calcium consumption
- Heavy feeders: Some genetics are just hungrier for calcium
Signs you need more CalMag:
- Brown spots on lower/middle leaves (calcium deficiency)
- Yellowing between leaf veins while veins stay green (magnesium deficiency)
- Leaf edges curling upward
Level Up: Adding Additives
The Basic schedule above gets great results. Want to push further? Here's how additives fit in:
Intermediate Level (Add Bud Booster)
Bud Booster (0-1-3) provides extra phosphorus and potassium during peak flower development. Add 4-8 mL/gal starting at pre-flower and continuing through late flower. Use 1-2 times per week, not every feeding.
Expert Level (Full Stack)
For maximum yields, add:
- Armadillo Armour (0.5-1 mL/gal): Monosilicic acid strengthens cell walls and improves stress tolerance. Add first, before CalMag.
- Sticky Bandit (4 mL/gal): Carbohydrates feed soil microbes and support terpene production. Use 1-2 times per week.
- Monkey Juice (4 mL/gal): Beneficial bacteria (Bacillus subtilis/licheniformis) improve nutrient uptake. Add last, after pH adjustment.
Mixing Order Matters
Proper mixing order prevents nutrient lockout and ensures everything stays in solution:
- Armadillo Armour (if using): Always first. Silica raises pH significantly.
- CalMag: Wait 2-5 minutes before adding base nutrients.
- Bonnie OR Clyde: Your stage-appropriate base nutrient.
- Other additives: Bud Booster, Sticky Bandit, etc.
- pH adjustment: Test and adjust to target range.
- Monkey Juice: Last. pH adjustment can kill beneficial bacteria.
Stir thoroughly between each addition. Give nutrients time to dissolve before adding the next component.
Common Mistakes to Avoid
Overfeeding: Autoflowers don't need as much food as photoperiods. If you see burnt leaf tips, back off by 25%.
Ignoring pH: Even perfect nutrient ratios won't help if your pH is off. Autoflowers have no time to recover from lockout.
Skipping CalMag: The most common deficiency we see in support tickets is calcium. CalMag is not optional.
Late transition: If your plant is showing pistils and you're still feeding Bonnie, switch to Clyde. The nitrogen in Bonnie can cause excessive stretching during bloom.
Overwatering: Not a nutrient issue, but it causes more autoflower problems than anything else. Let the top inch of soil dry between waterings.
Frequently Asked Questions
Can I use Bonnie and Clyde at the same time?
No. Bonnie and Clyde should never be used together. Bonnie is formulated for vegetative growth (weeks 1-4), while Clyde is designed for flowering (weeks 5+). Using both simultaneously would create an imbalanced nutrient ratio that could stress your plants.
When should I switch from Bonnie to Clyde?
Switch from Bonnie to Clyde when you see the first pistils (white hairs) appearing, typically around week 4-5. Autoflowers transition automatically, so watch your plants rather than the calendar. Some fast varieties may show pistils as early as week 3.
Do I need CalMag with Bonnie and Clyde?
Yes, CalMag is always recommended with both Bonnie and Clyde. It provides calcium, magnesium, and iron that autoflowers need throughout their lifecycle. Use 2-4 mL/gal during veg and 4-5 mL/gal during bloom.
Can I use Bonnie and Clyde in coco coir?
Absolutely. Bonnie and Clyde work great in coco coir. Just remember that coco requires more frequent feeding (often daily) and higher CalMag doses due to coco's natural cation exchange properties. Target pH 5.8-6.2 in coco.
What's the difference between Bonnie & Clyde and the Classic 3-Part line?
Bonnie & Clyde is a simplified 2-part system designed specifically for autoflowers' shorter lifecycle and unique nutrient demands. The Classic 3-Part (Micro-Grow-Bloom) offers more control and is better suited for photoperiod plants where you control the transition timing. Both produce excellent results when used correctly.
Should I follow the feed chart exactly?
Feed charts are starting points, not strict rules. Research shows cannabis cultivars can vary up to 40% in nutrient uptake efficiency. Factors like genetics, light intensity, temperature, and growing medium all affect how much your plants need. Start at 75% of chart recommendations, watch for signs of deficiency or excess, and adjust by 10-15% at a time based on your plants' response.
Can I use Bonnie & Clyde for photoperiod plants?
Technically yes, but it's not optimal. Photoperiods benefit from the greater control offered by our Classic 3-Part line. Bonnie & Clyde was specifically formulated for autoflower genetics and their unique lifecycle.
What's the shelf life?
Both Bonnie and Clyde remain effective for 2 years when stored in a cool, dark place with the cap tightly sealed. Shake well before each use.
My autoflower hasn't shown pistils at week 5. Should I switch anyway?
Give it another few days and watch closely. Some genetics are slower to show sex. If you're at week 6 with no pistils, you might have a photoperiod seed mixed in your pack.
Related Articles
- Autoflower Line: Basic Feed Chart Guide
- Autoflower Line: Intermediate Feed Chart Guide
- Bonnie and Clyde Mixing Guide
- CalMag Mixing Guide
- Choosing the Right Cronk Nutrients for Your Grow
Still need help? Contact us at [email protected]