5 Growing Mistakes & Fixes from HomeGrow TV | Cronk NutrientsUpdated 5 months ago
Lessons from the Grow Room: What HomeGrow TV Learned the Hard Way
Growing isn't about doing everything perfectly. It's about learning from growing mistakes — and fixing them before they tank your harvest.
In their latest behind-the-scenes vlog, Dakota and Mr. Q from HomeGrow TV showed exactly what that looks like. Between a struggling CO2 room, a greenhouse full of plants that needed heavy defoliation, and an autopot transplant that had to be completely redone, this episode was packed with real-world lessons that every grower can learn from.
Here's what went down — and what you can take away from it.
In This Article
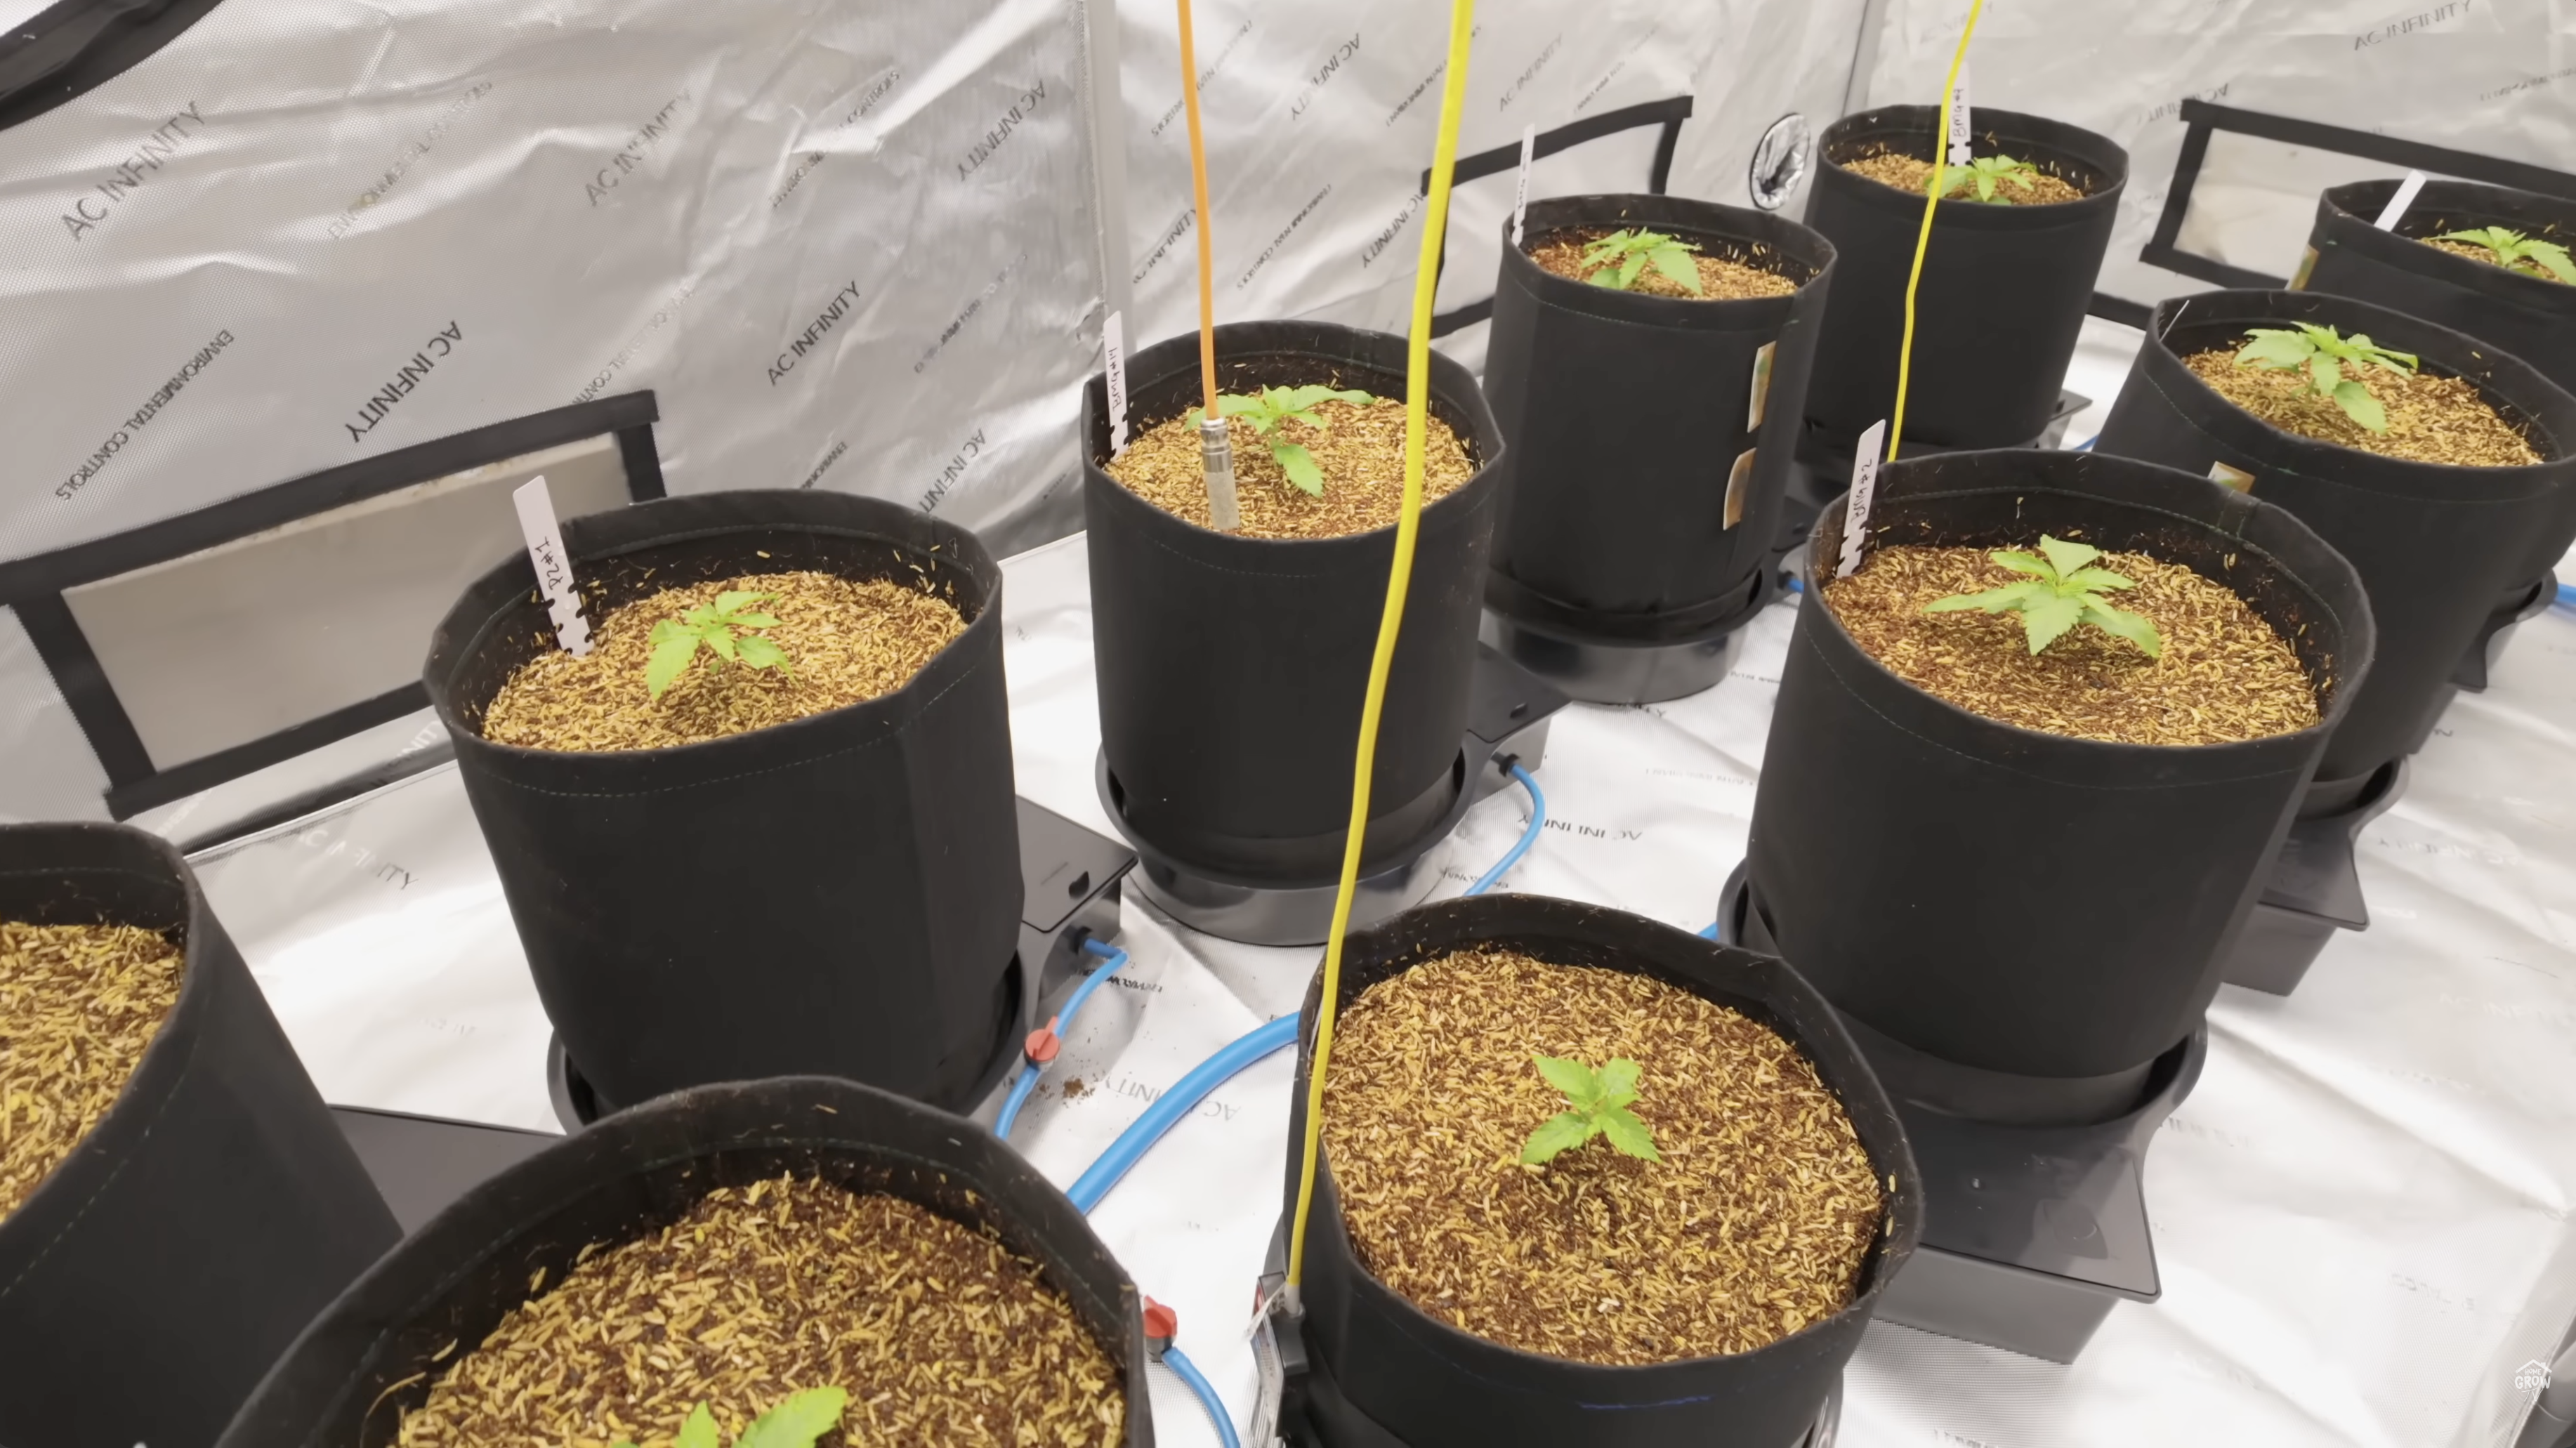
1. The CO2 Room Recovery: When Your Plants Look Rough After Transplant
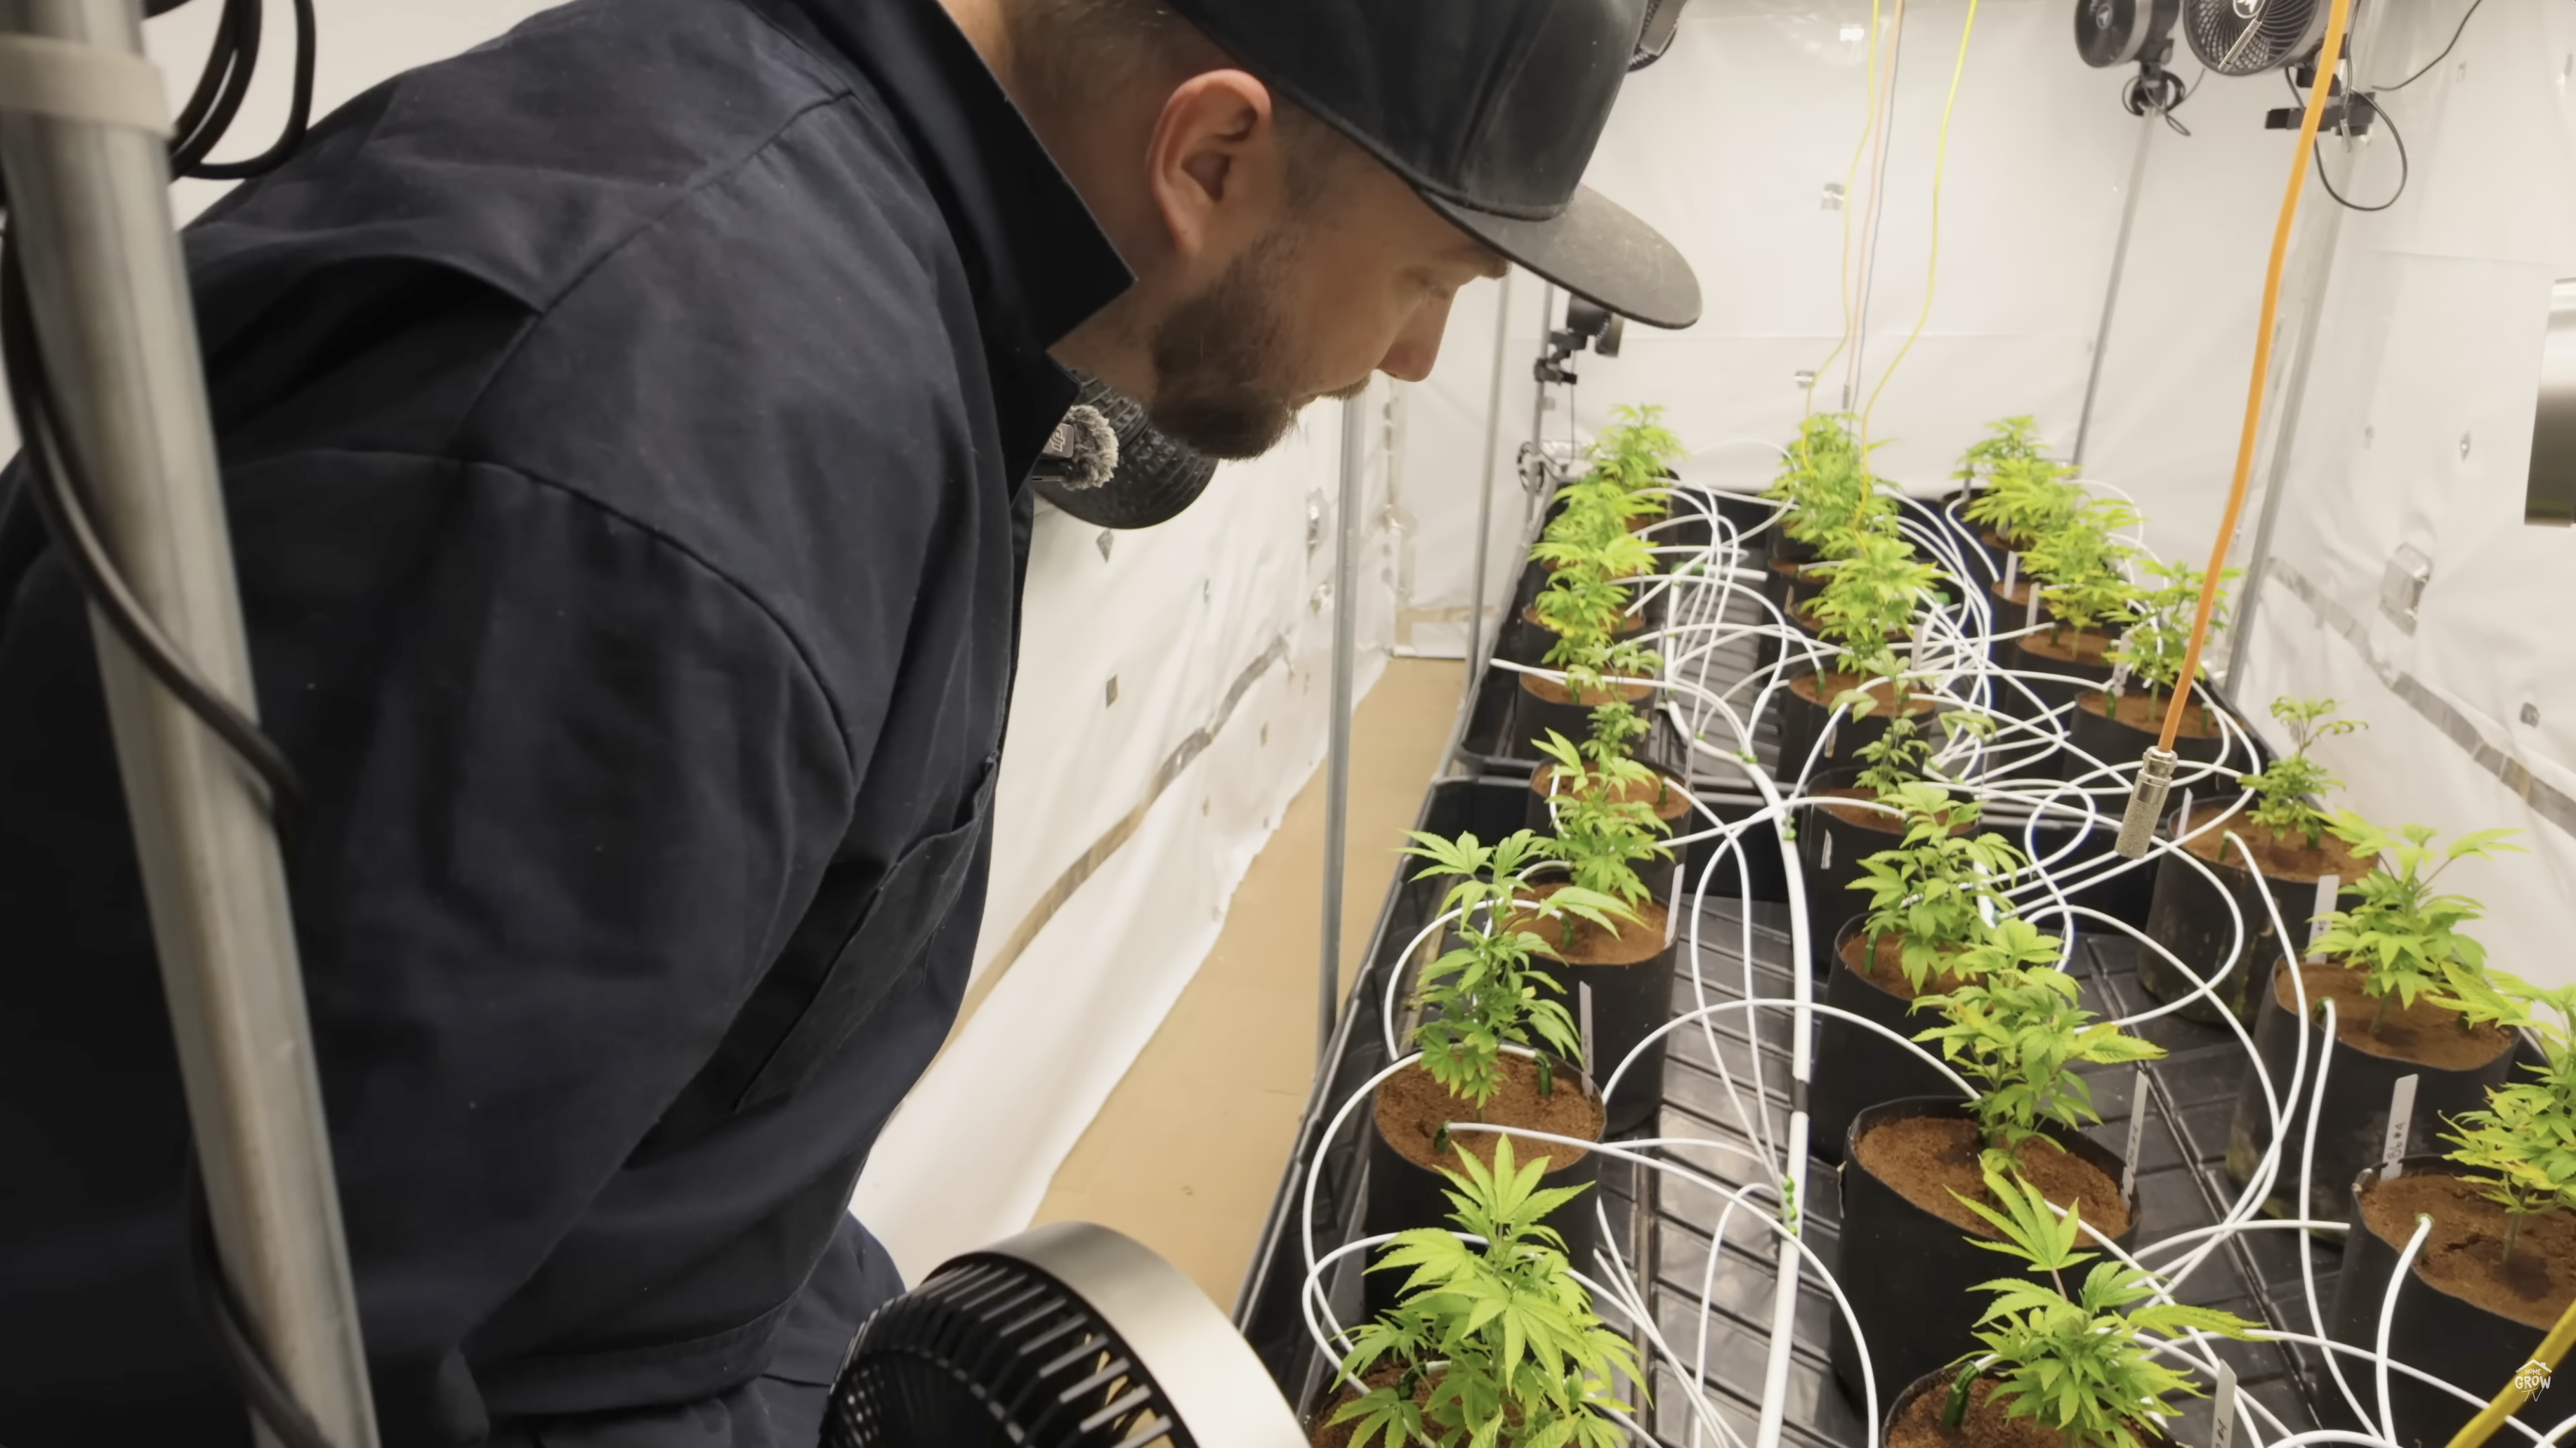
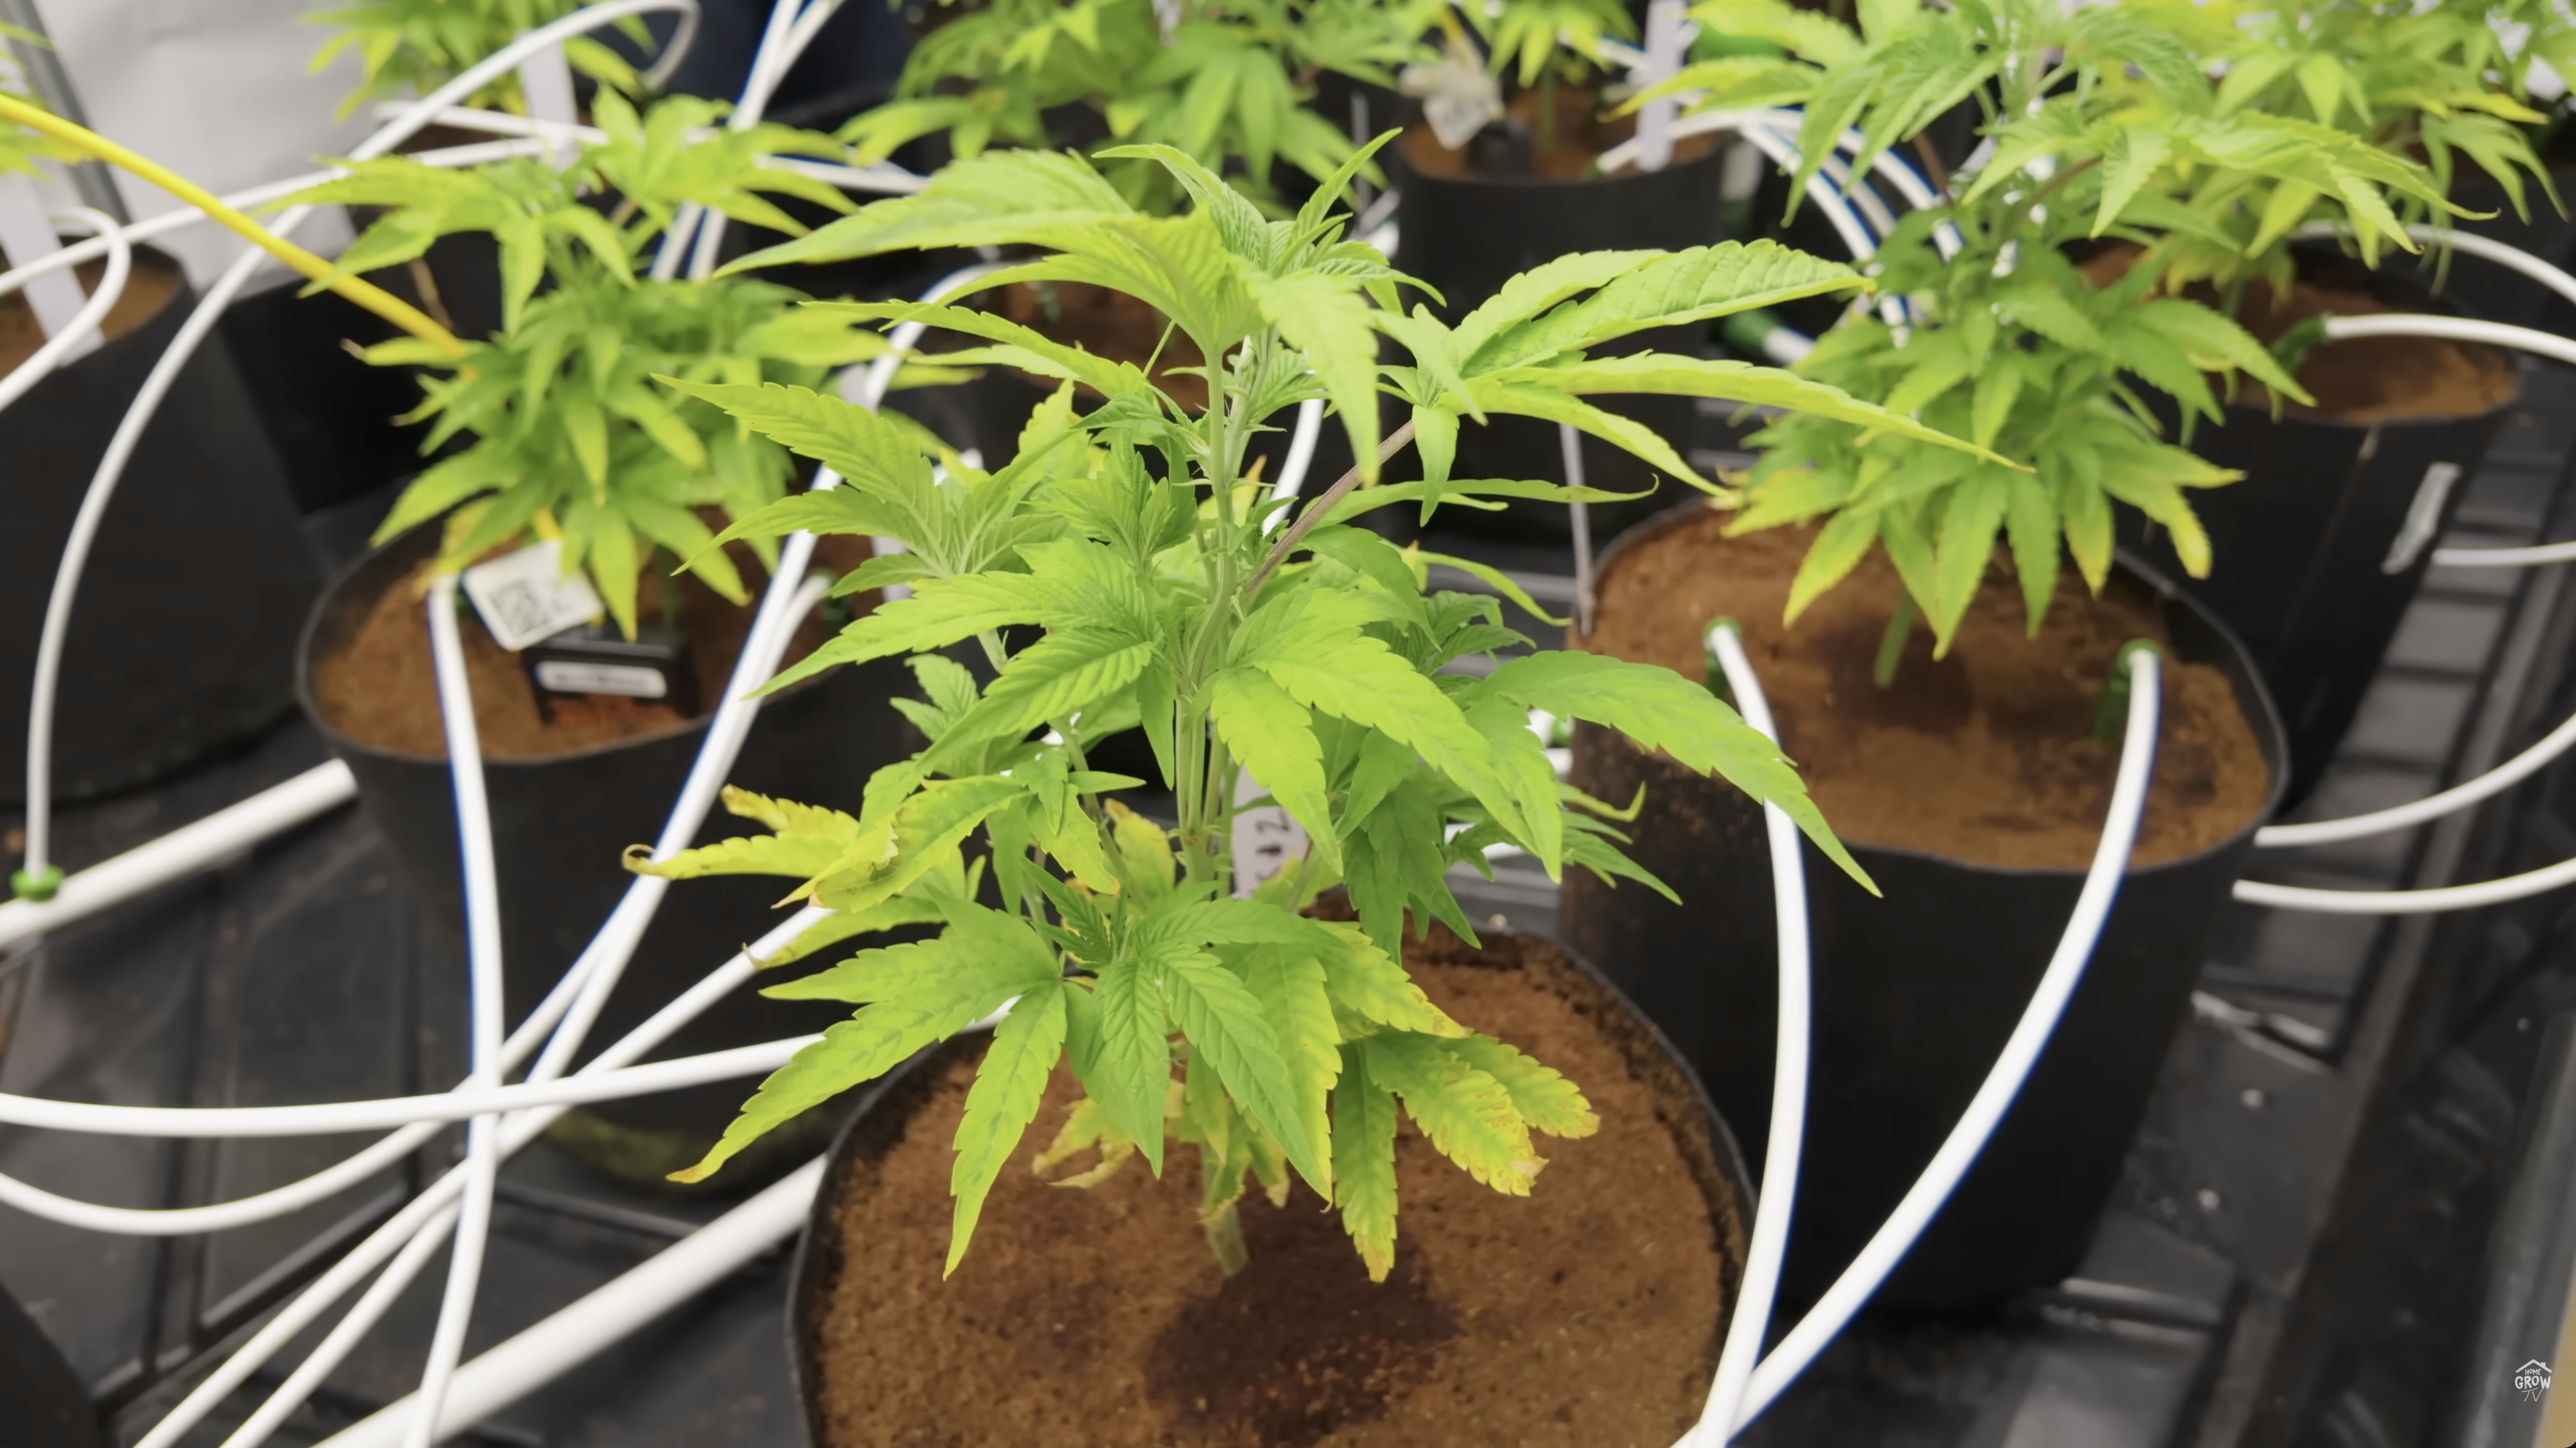
About a week after transplanting clones into their CO2 room, things weren't looking great. Leaves were clawing, some plants looked burnt, others looked nitrogen deficient. The Blueatti #11 phenos in particular were struggling hard — all three of them curling up and locking out.
What went wrong
The plants got overwatered right after transplant. The roots couldn't get oxygen, which meant they couldn't absorb nutrients — even though the feed was going in at the right pH (5.6–5.8 for 100% coco). On top of that, the EC was running too low.
How they fixed it
- Let the plants dry back. They turned off the automated watering and let the coco get properly dry before watering again. This gave the roots a chance to recover and start reaching out for moisture.
- Bumped up the EC. Once the plants were ready to drink again, they came in with a stronger feed.
- Foliar spray with silica. While the plants were drying out, they hit them with a silica foliar to support recovery without adding more moisture to the root zone.
- Watched the new growth. The key indicator that things were turning around wasn't the damaged leaves — it was the new growth coming in healthy and green. Old damage stays. New growth tells you if your fix is working.

The Takeaway
Overwatering after transplant is one of the most common mistakes growers make. The instinct is to keep the new transplant wet so it doesn't stress. But roots need oxygen. If the medium stays saturated, the roots can't breathe, and nutrient uptake stalls — even if everything going in is dialed.
When you see signs of lockout or deficiency after a transplant, the answer isn't always more nutrients. Sometimes the answer is less water. Let the plant dry back, watch for recovery in the new growth, and then come back with a proper feed.
2. The Autopot Mistake: Why 100% Coco Doesn't Work in Every System
This one's a big lesson — and Dakota was honest about it.
They transplanted their seedlings (Blood Moon Gelatos, Mellows, Peyote Skittles) into Autopot XL systems using 100% coco. Everything looked good at first. They even posted about it on Instagram. Then Autopots themselves reached out and asked one simple question:
"Did you guys use just 100% coco?"
Turns out, 100% coco in an Autopot system — where the watering happens from the bottom up — can lead to problems. Coco holds moisture well, which is normally a good thing. But in a bottom-fed system, you need more drainage and aeration to prevent the root zone from staying too wet. Without it, you're setting yourself up for root issues down the line.
The fix
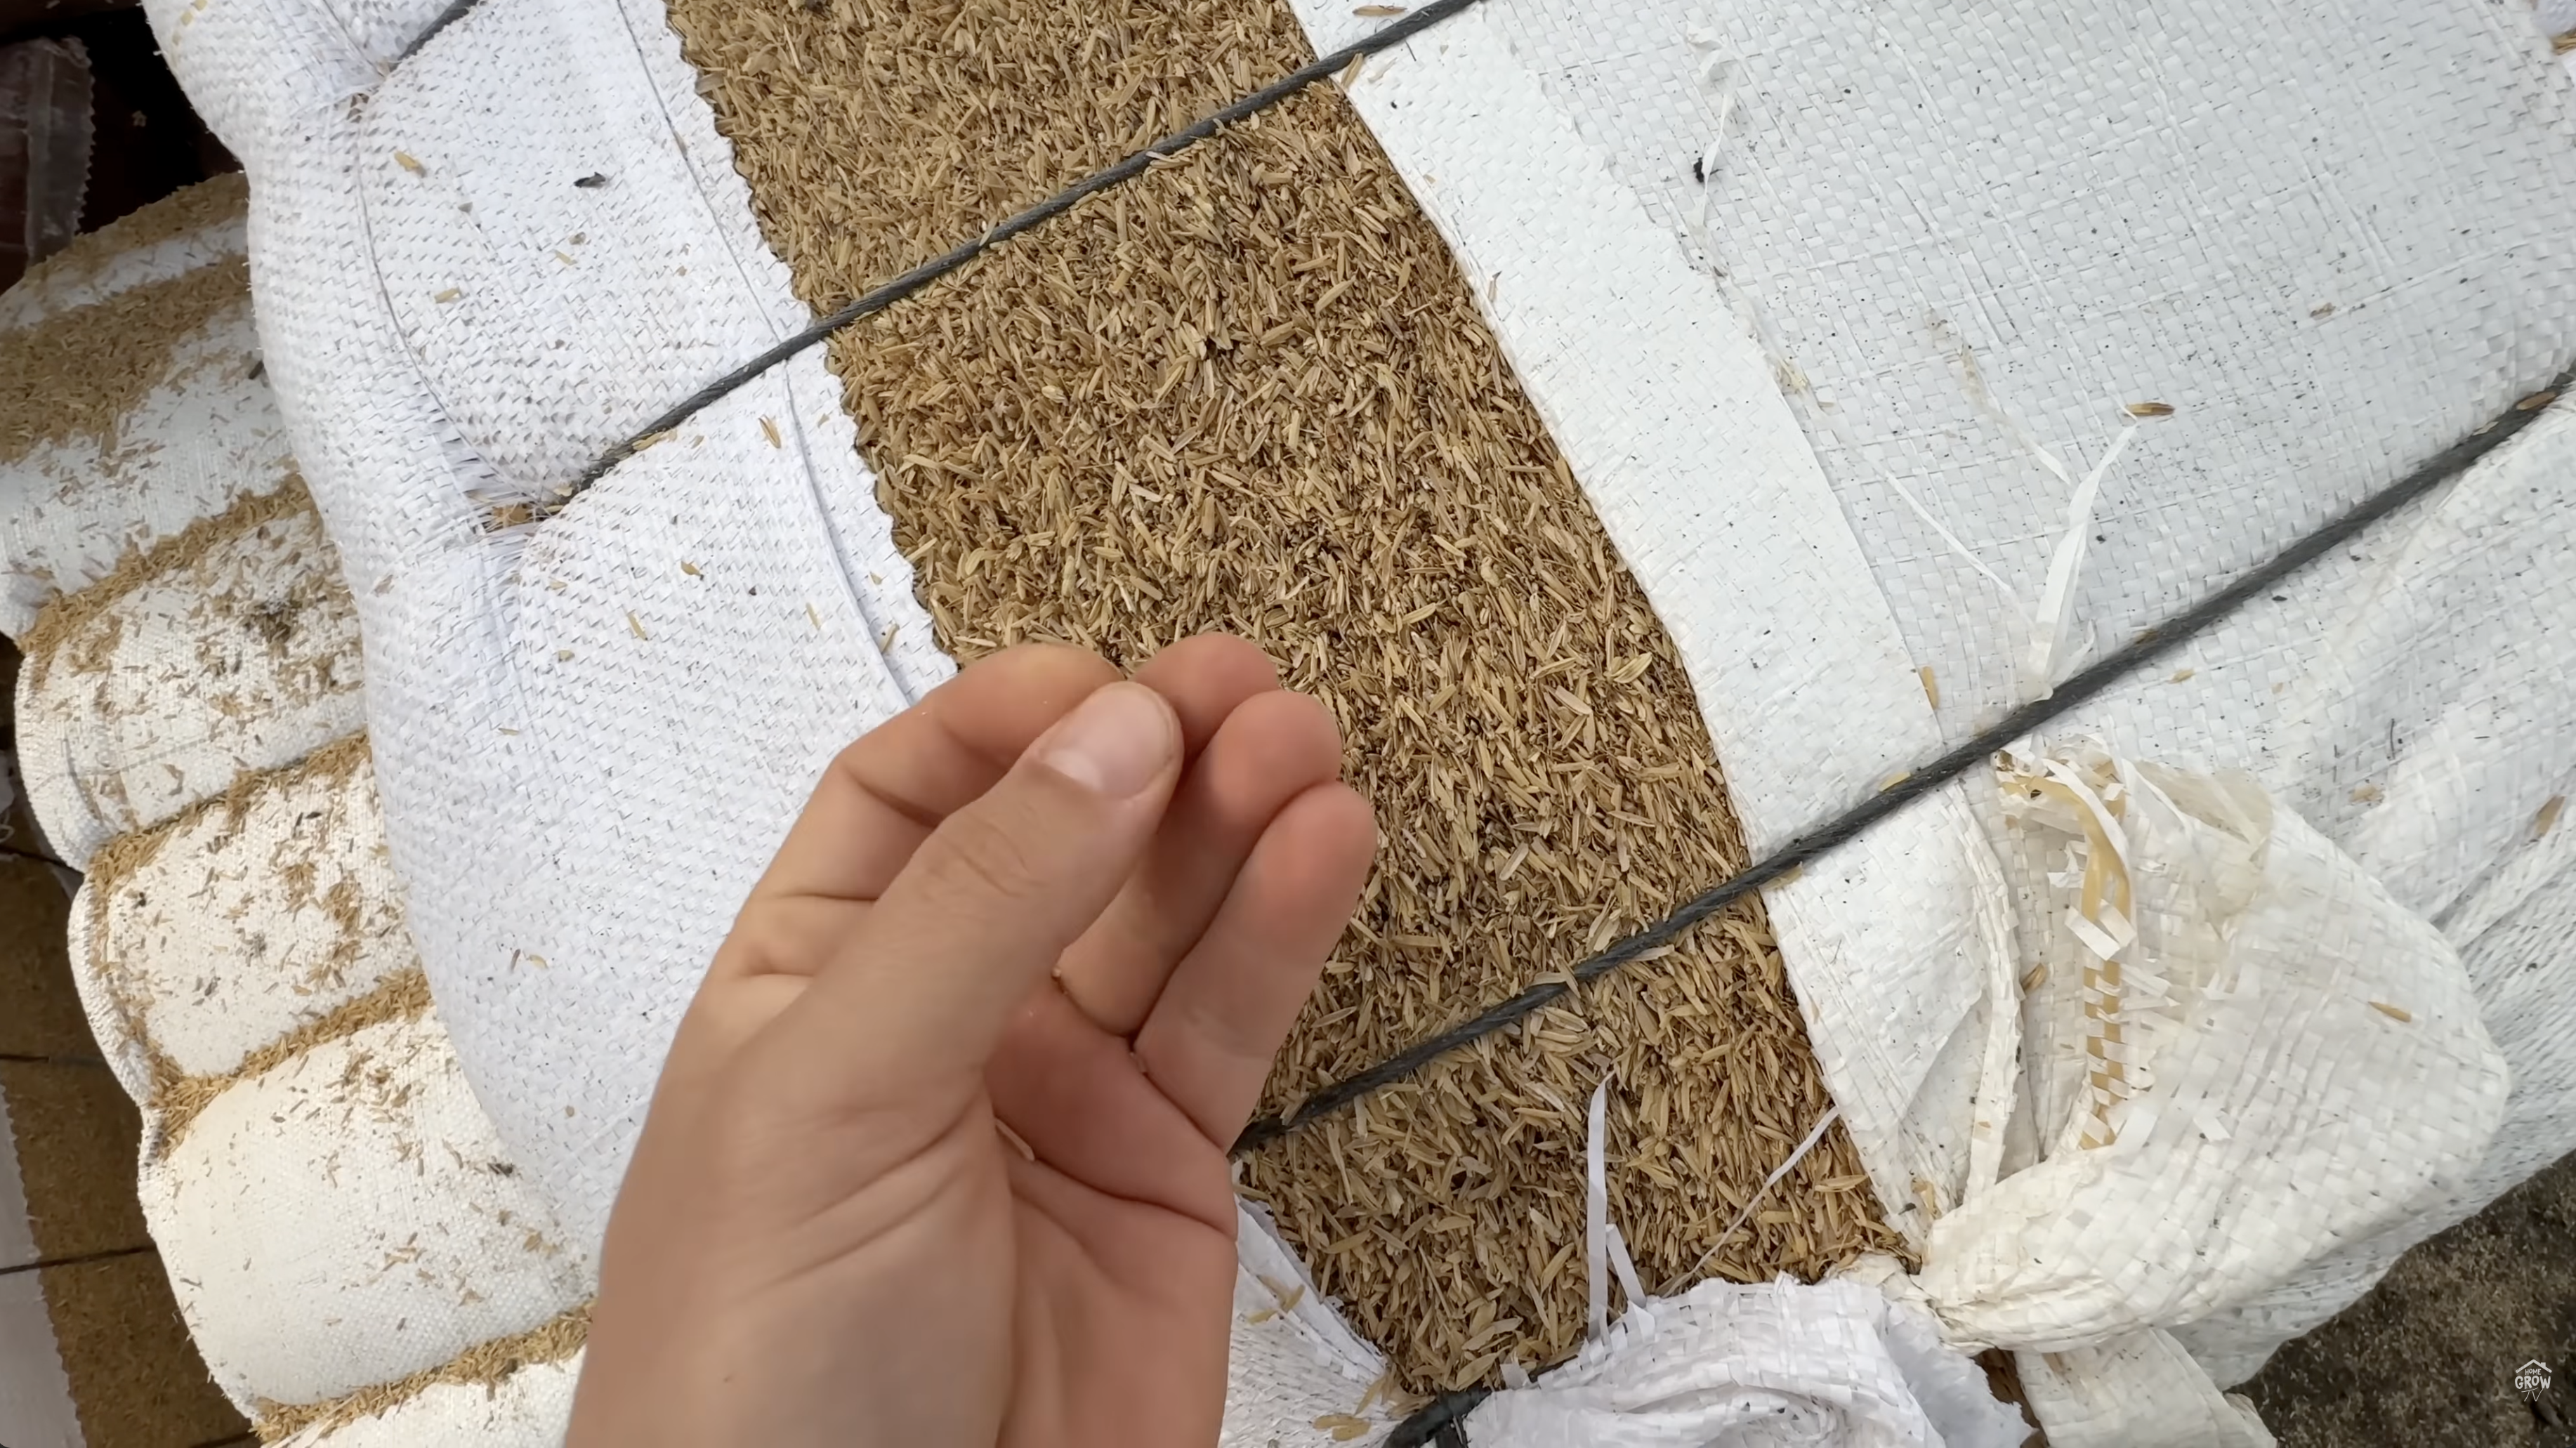
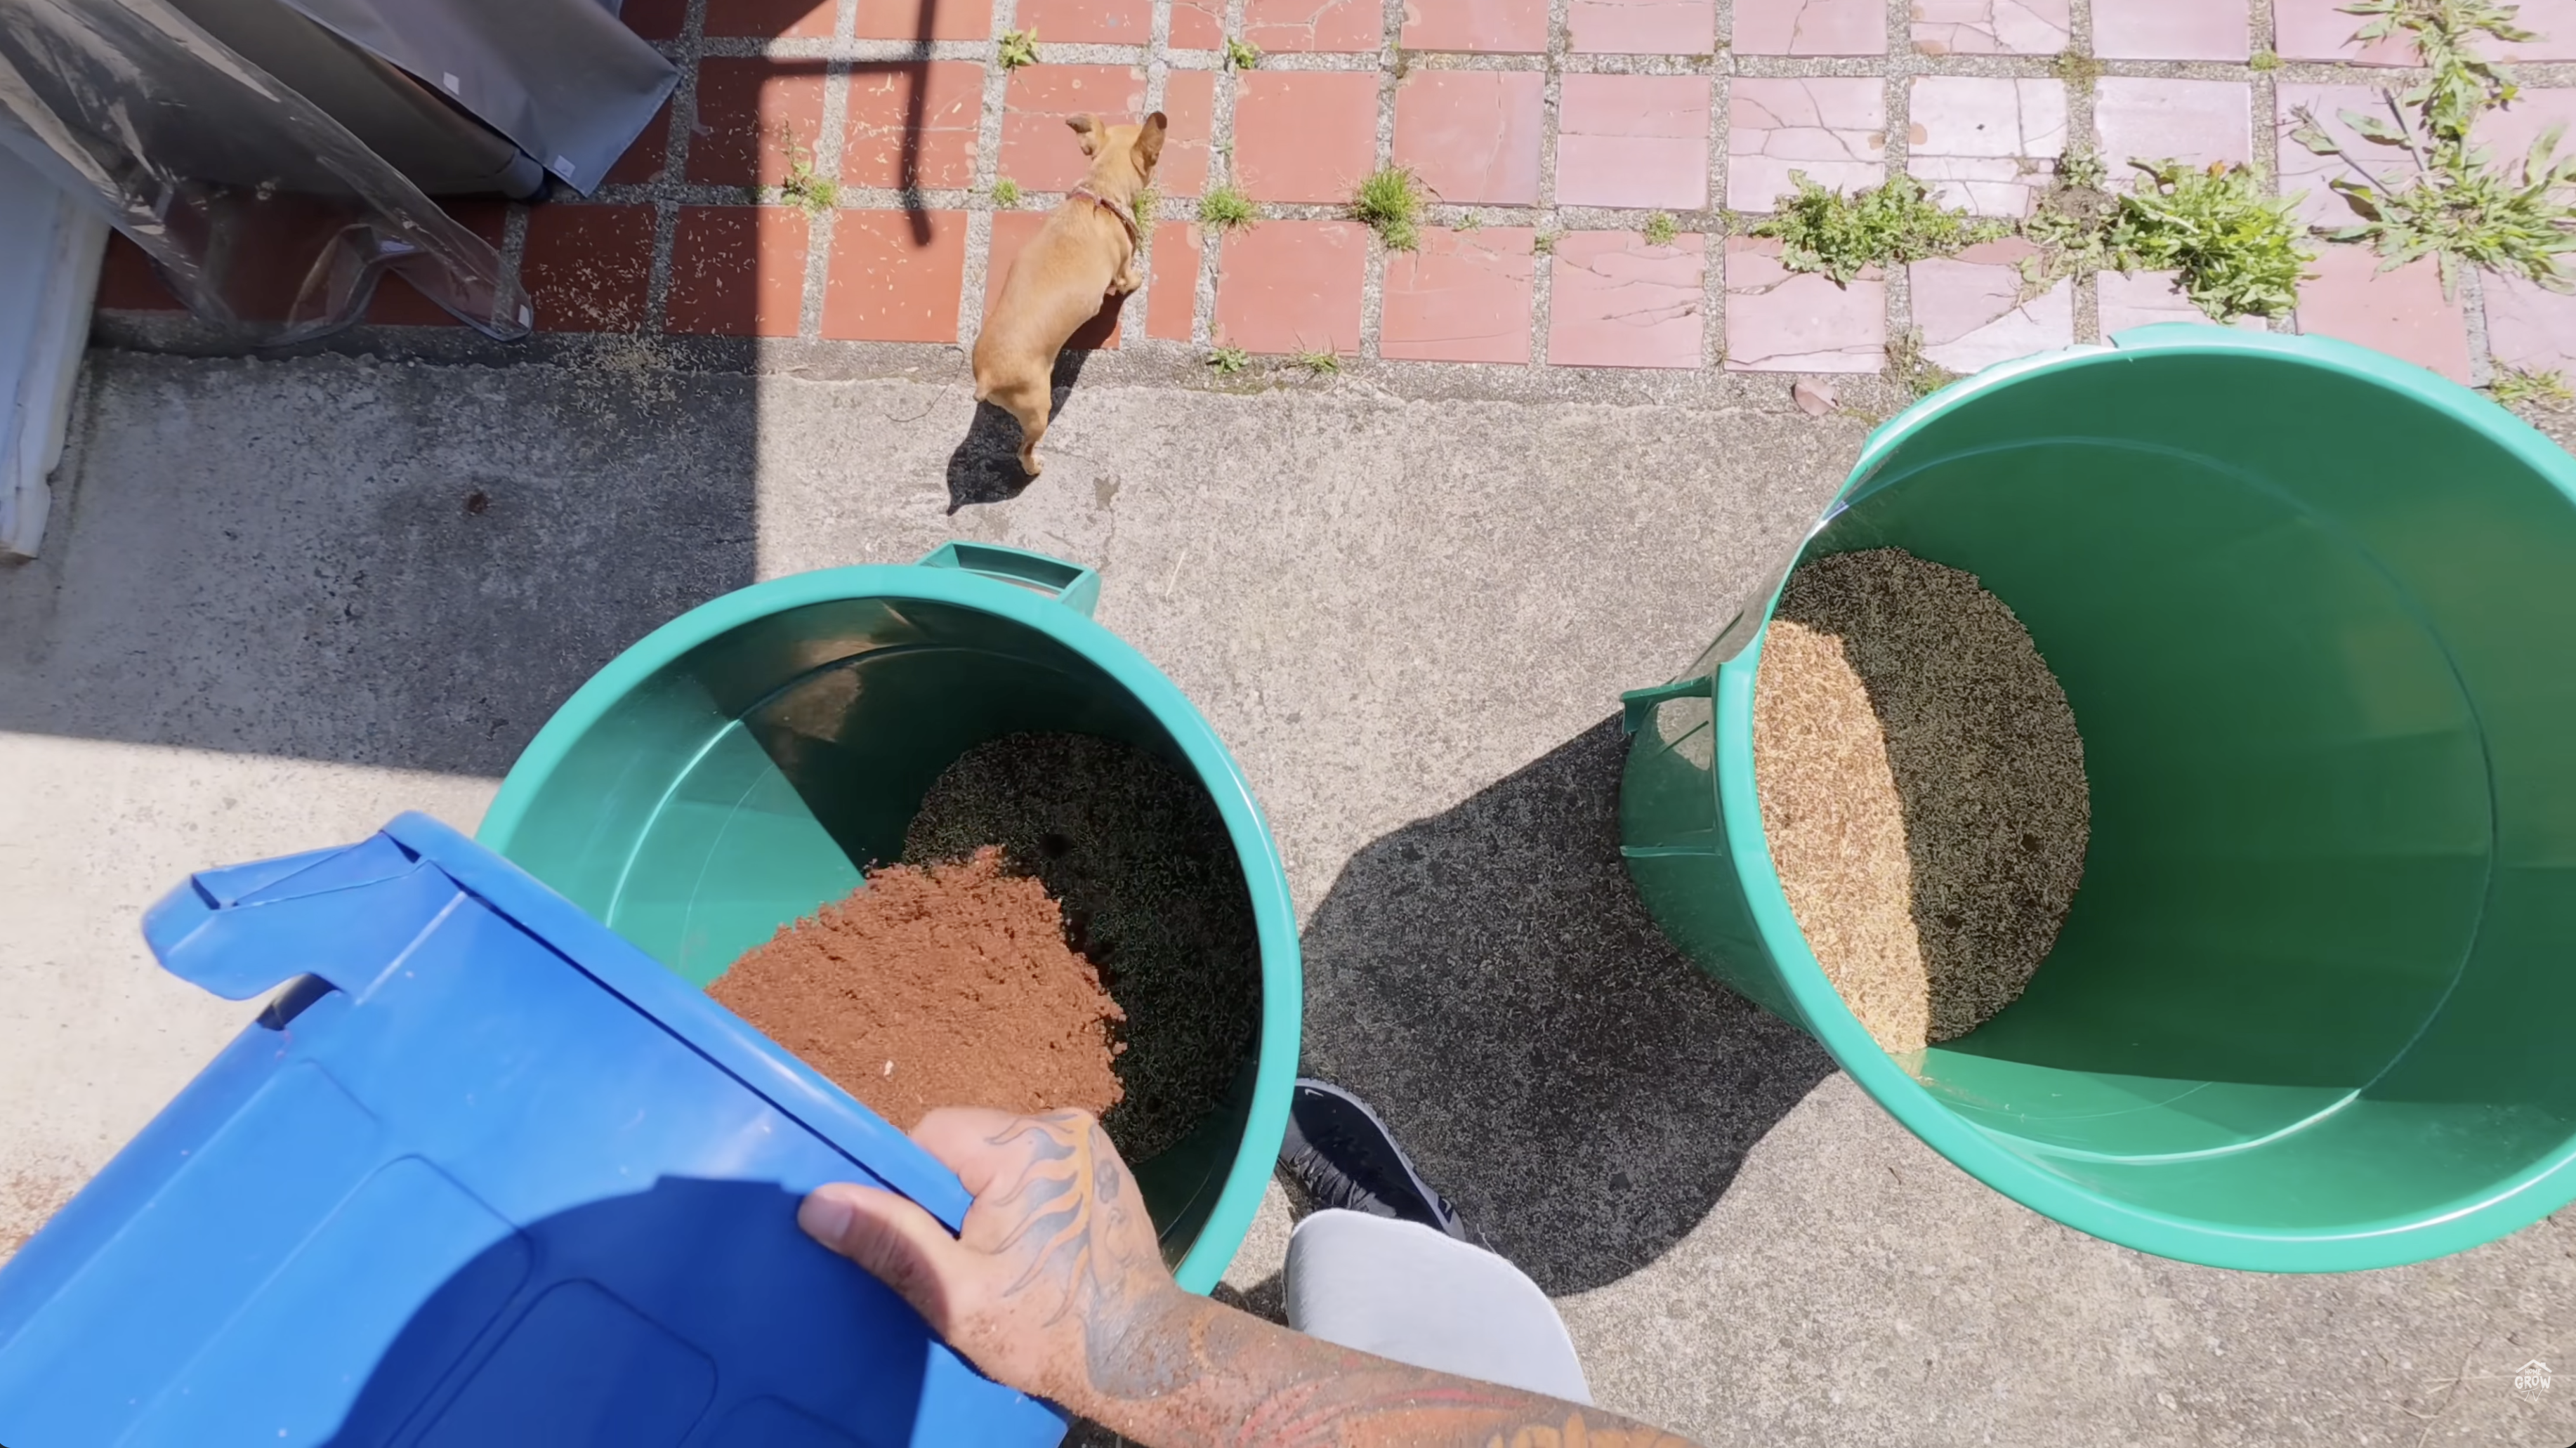
Autopots recommended adding 30% aeration to the mix. Ideally perlite, but since perlite is expensive and hard to find in Colombia, they used rice hulls instead — a cheap, local, sanitized alternative that does the same job.
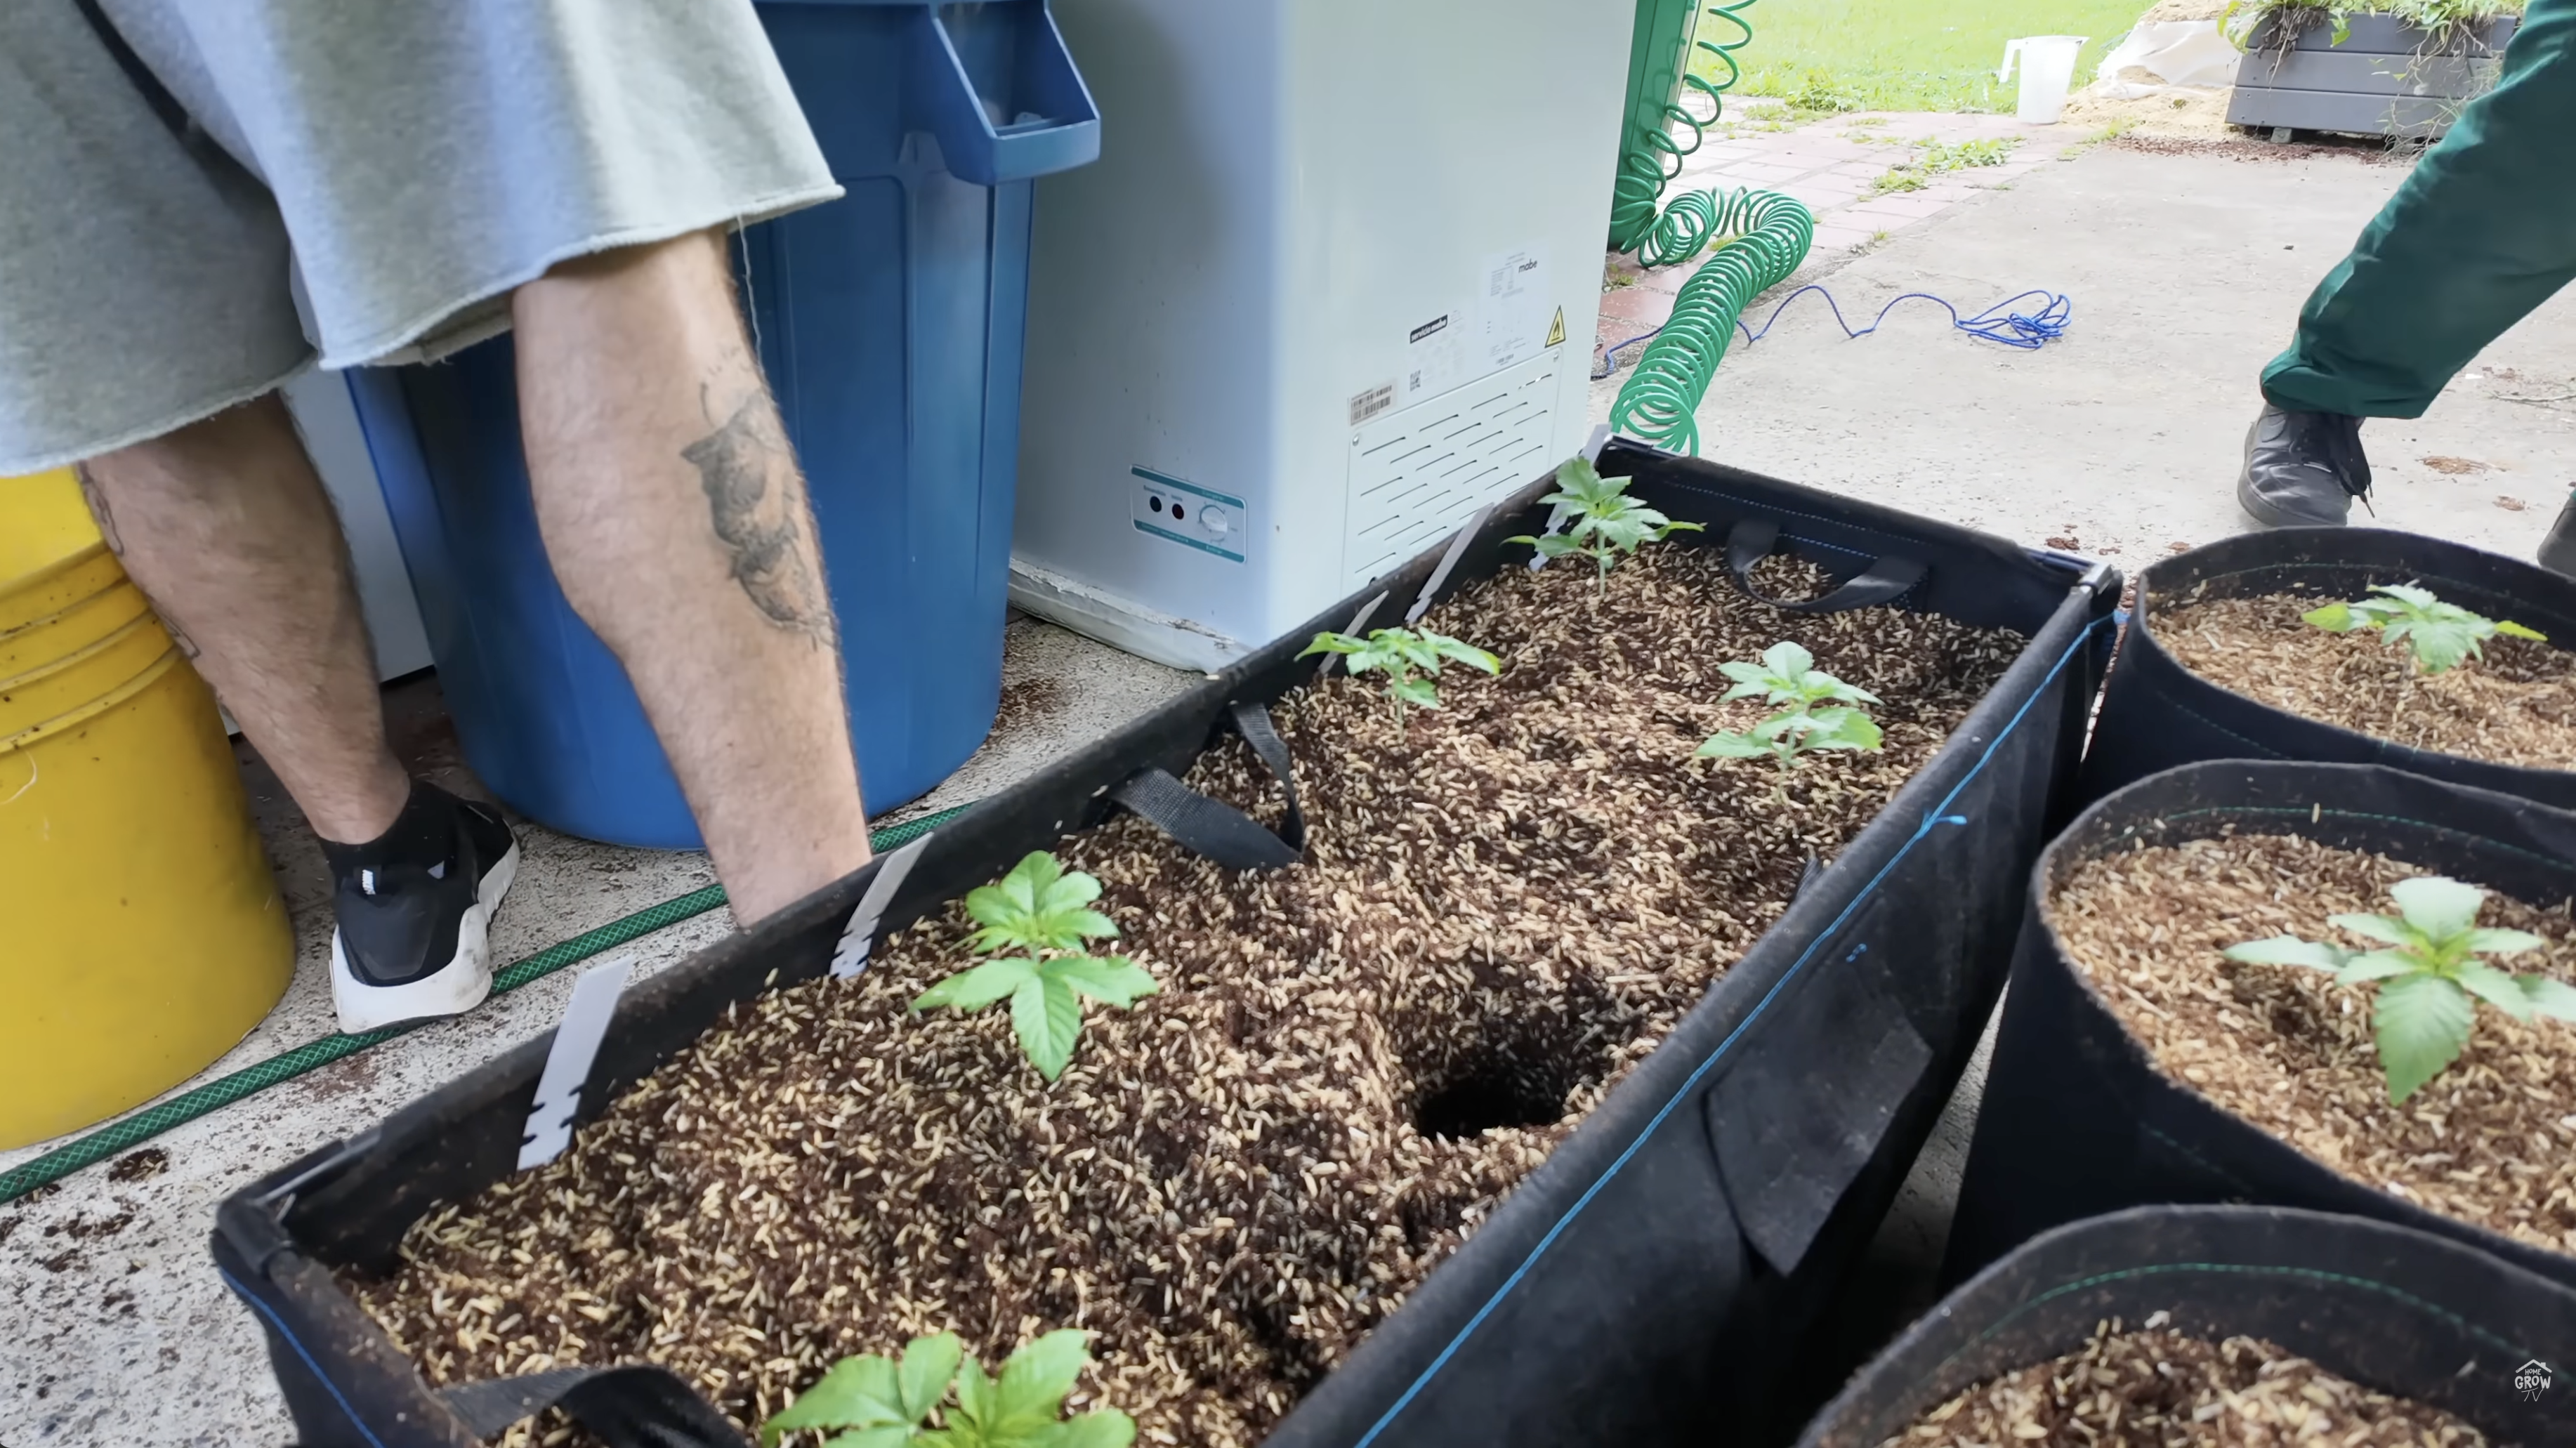
They had to take every plant out of its pot, remix the substrate with 30% rice hulls, and re-transplant everything. Not ideal. But way better than watching the whole run struggle.
The Takeaway
Read the manual. Seriously.
Autopots has detailed substrate guidelines on their website. They recommend a mix that's absorbent, light, fluffy, and free-draining. They also recommend:
- Using an air base or a 1-inch layer of clay pebbles / perlite at the bottom of each pot
- Making sure your plant is properly established (around 12 inches tall) before transplanting into the system
- Buffering your coco and running a quarter-strength feed through each pot before turning on the reservoir
- Giving plants 10–14 days to settle in before activating the automated watering
If they'd followed those guidelines from the start, they wouldn't have had to re-transplant everything twice. Lesson learned.
3. Knowing When to Water: Reading Your Plants Instead of Guessing
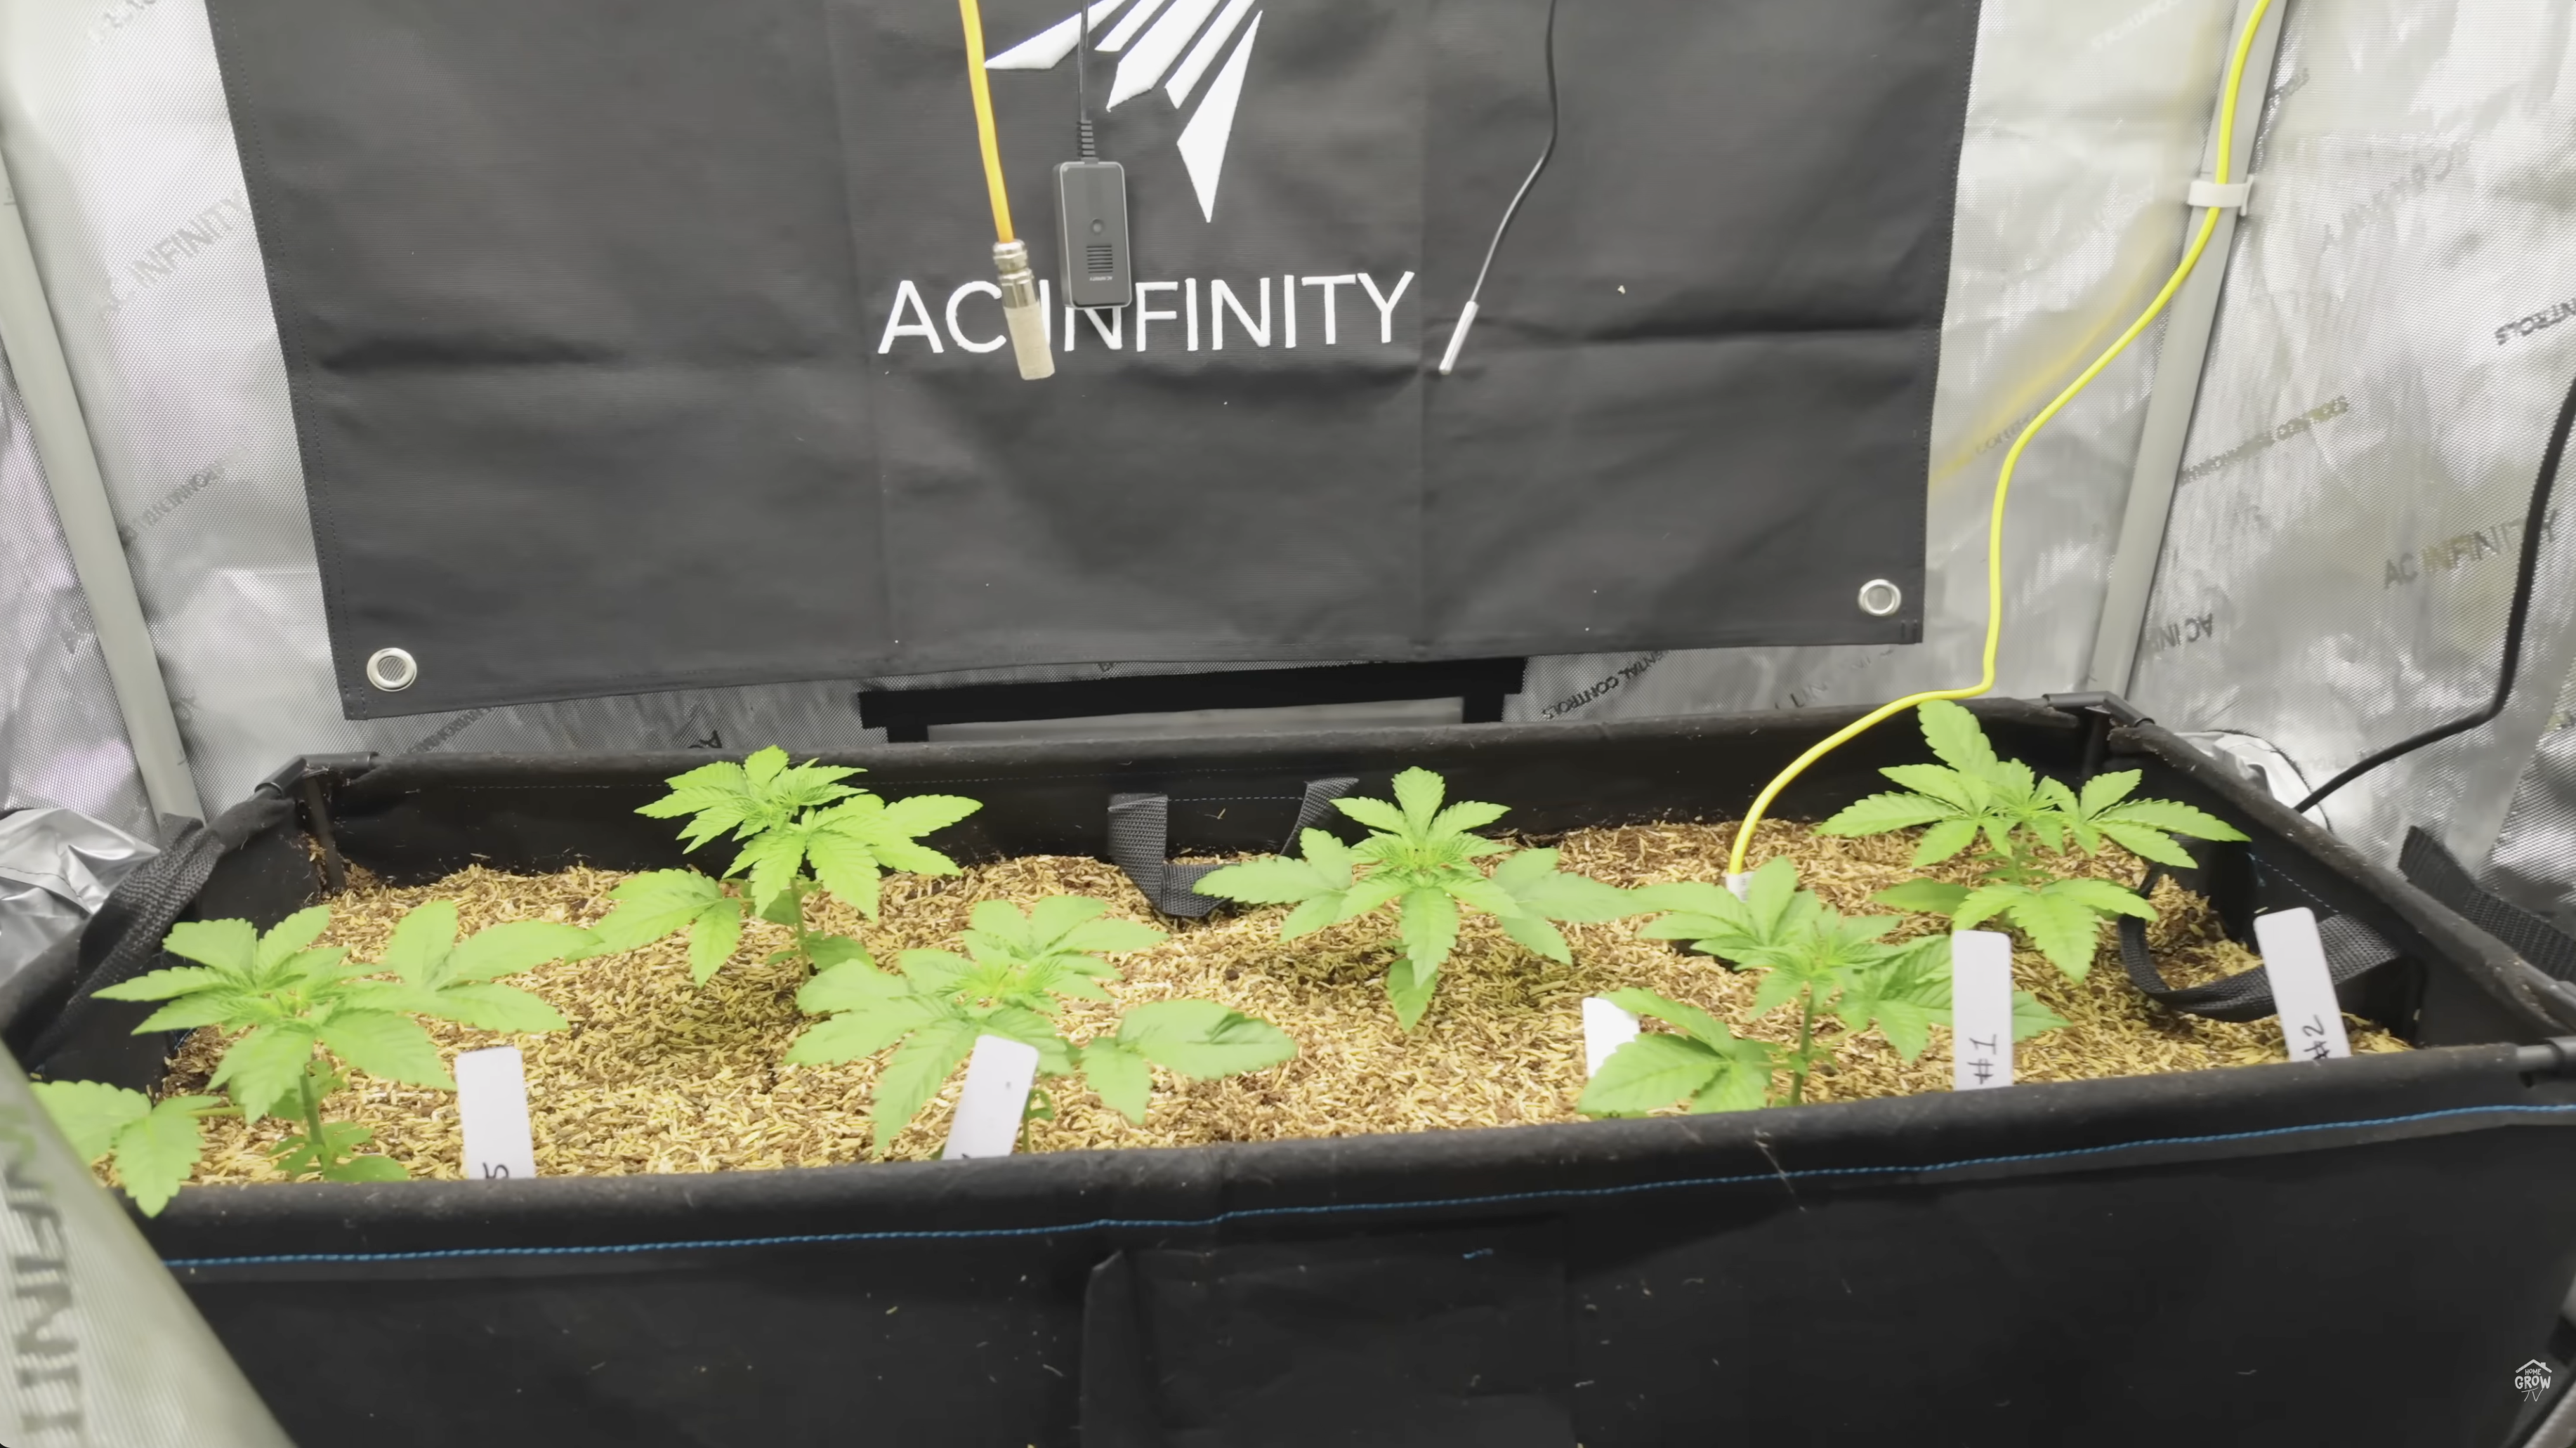
One of the best moments in the video is when Dakota walks through the difference between the 2x4 tent and the 4x8 tent after a few days without watering.
The 2x4 plants were perky — praying up, looking healthy, clearly happy. The 4x8 plants were droopy — not dying, just telling him they were ready for water.
His approach
"I would prefer letting them get a little droopy like this than overdoing it and being in here two days ago already giving them water. I want to see, okay, now they're definitely needing it."
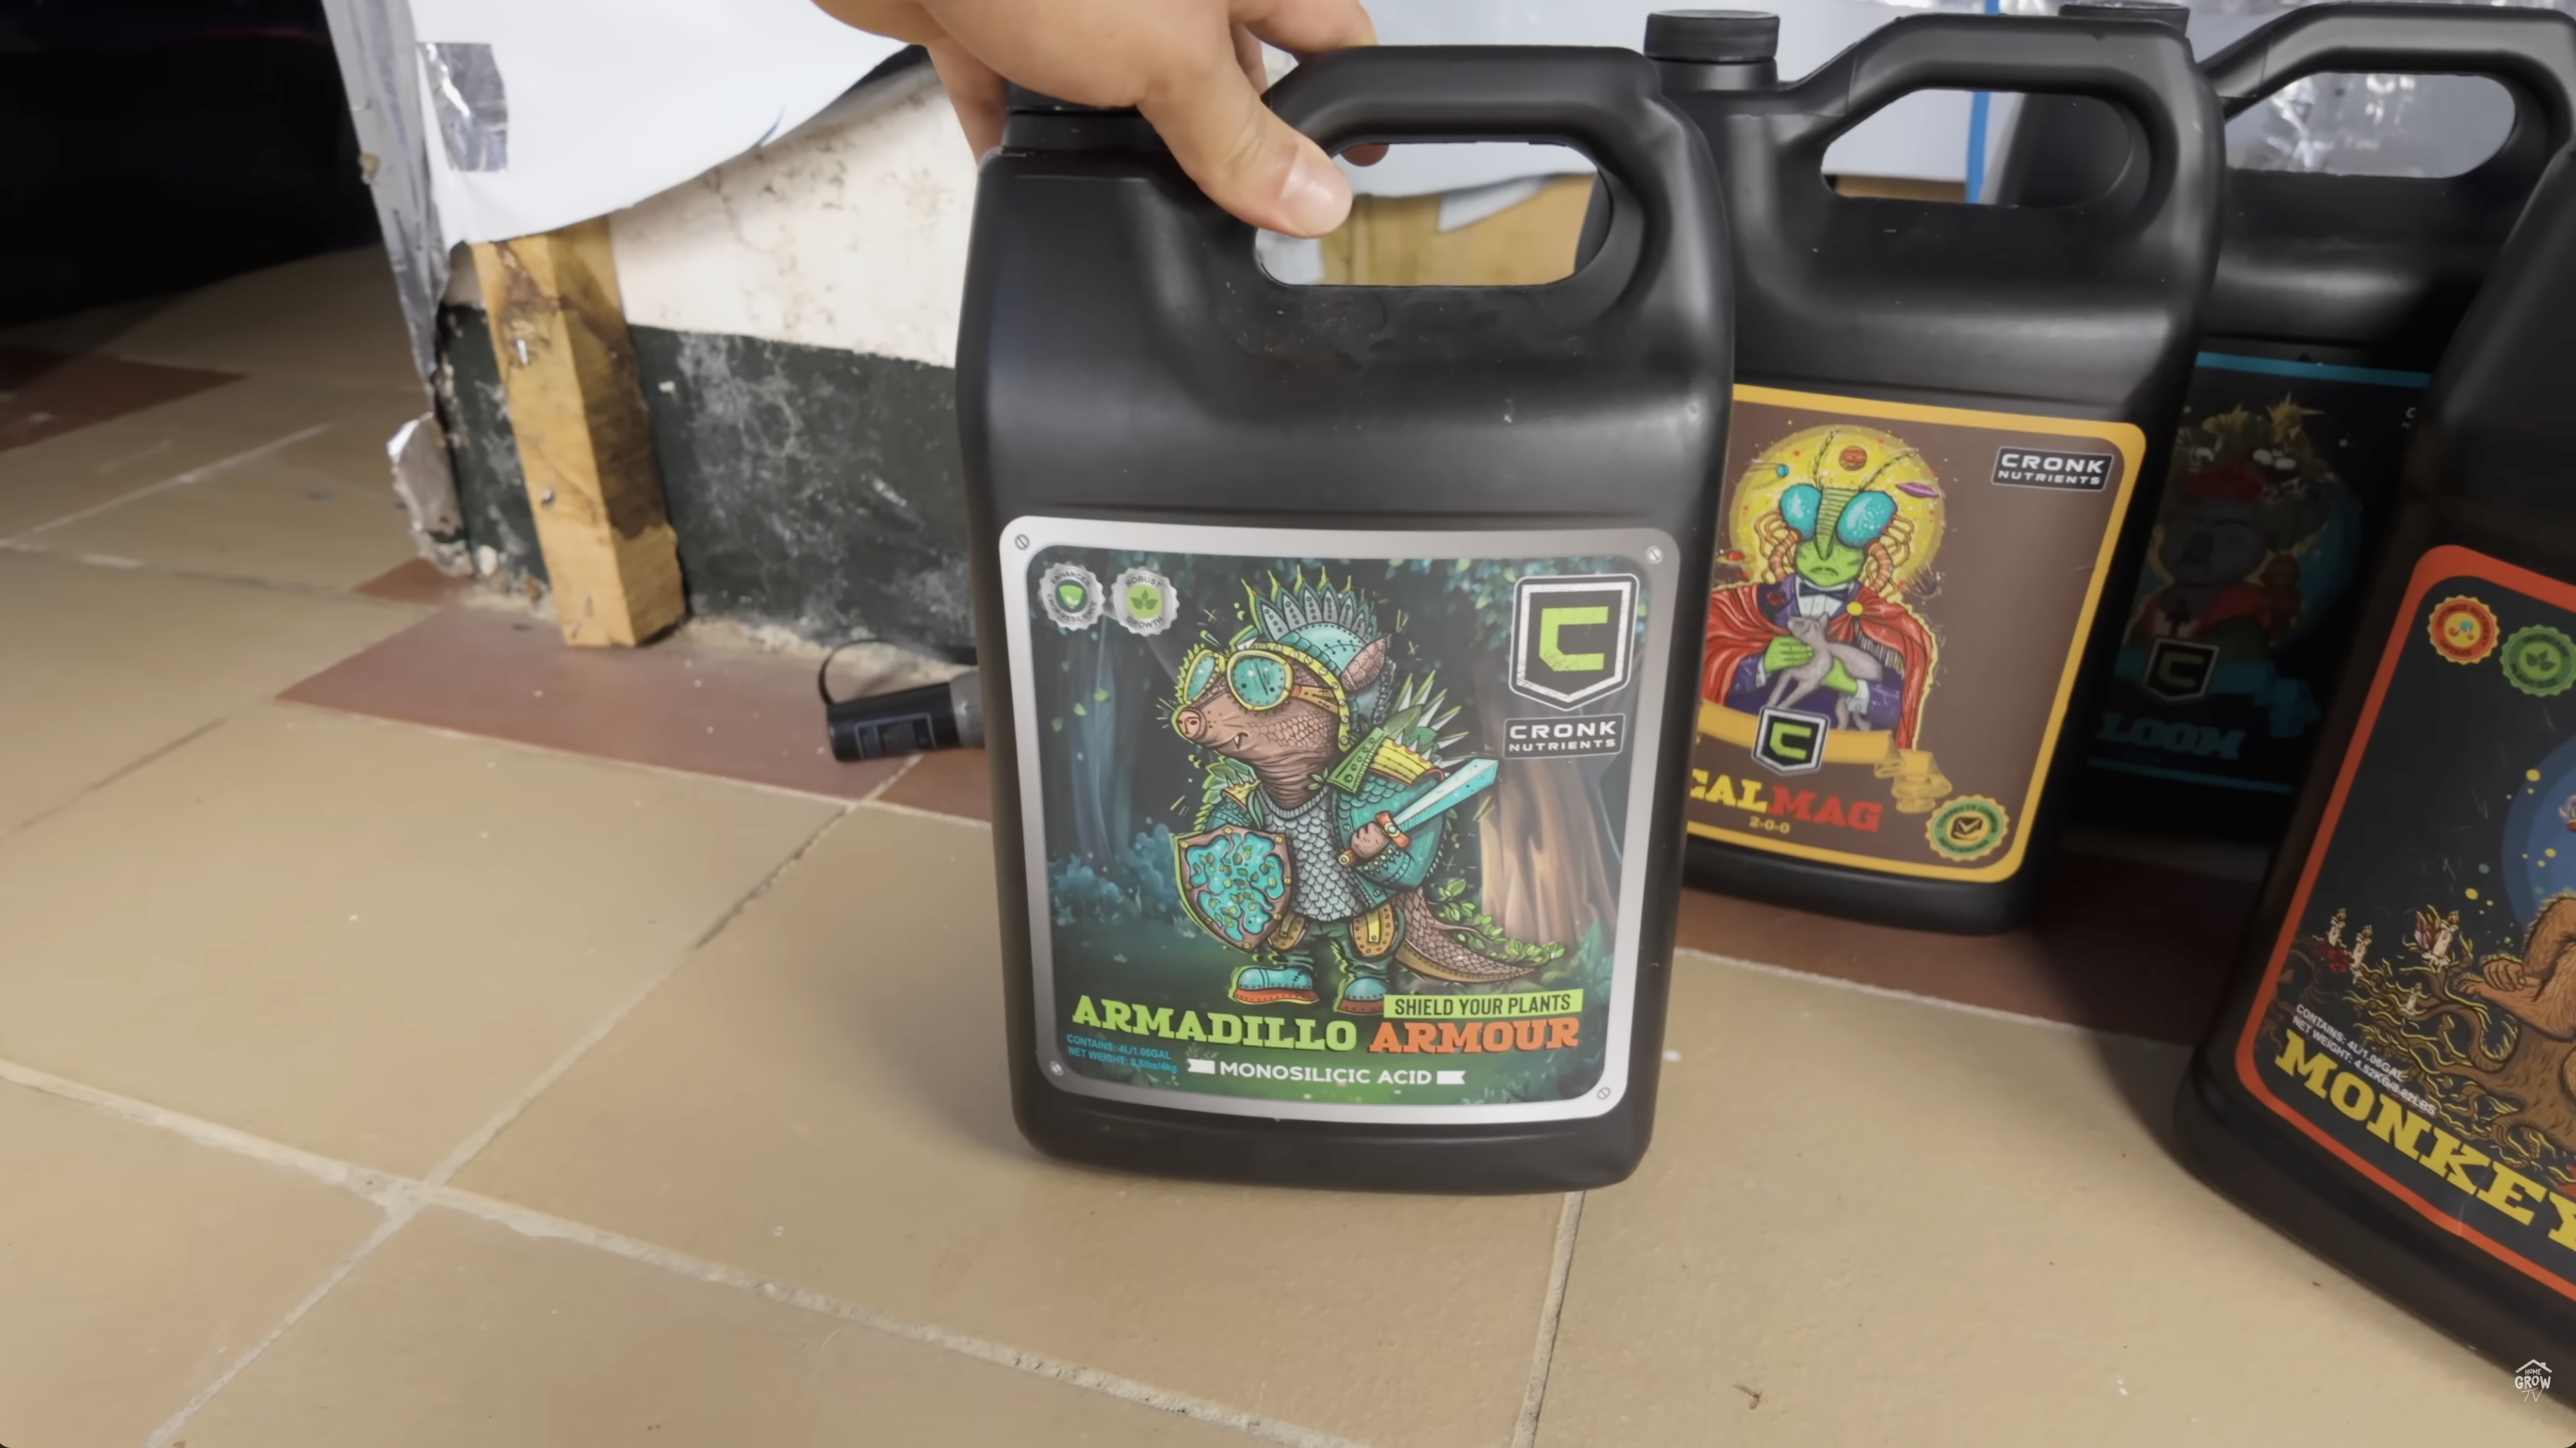
He mixed up 20 liters of nutrient solution — Cronk Micro, Grow, Bloom, CalMag, Armadillo Armour, and Monkey Juice — at intermediate strength. pH came out to 5.8 without any adjustment needed. Then he hand-watered the droopy plants and left the perky ones alone.
The Takeaway
Your plants will tell you when they need water. Droopy leaves (not wilted, just droopy) are a sign that the medium is drying out and the plant is ready to drink. Perky, praying leaves mean everything's good — don't add more.
New growers often water on a schedule instead of reading the plant. That leads to overwatering, which leads to root problems, which leads to lockout and deficiencies. Let the plant dry back. Watch it. Water when it asks for it.
4. Greenhouse Defoliation: Going Aggressive at Day 21 of Flower
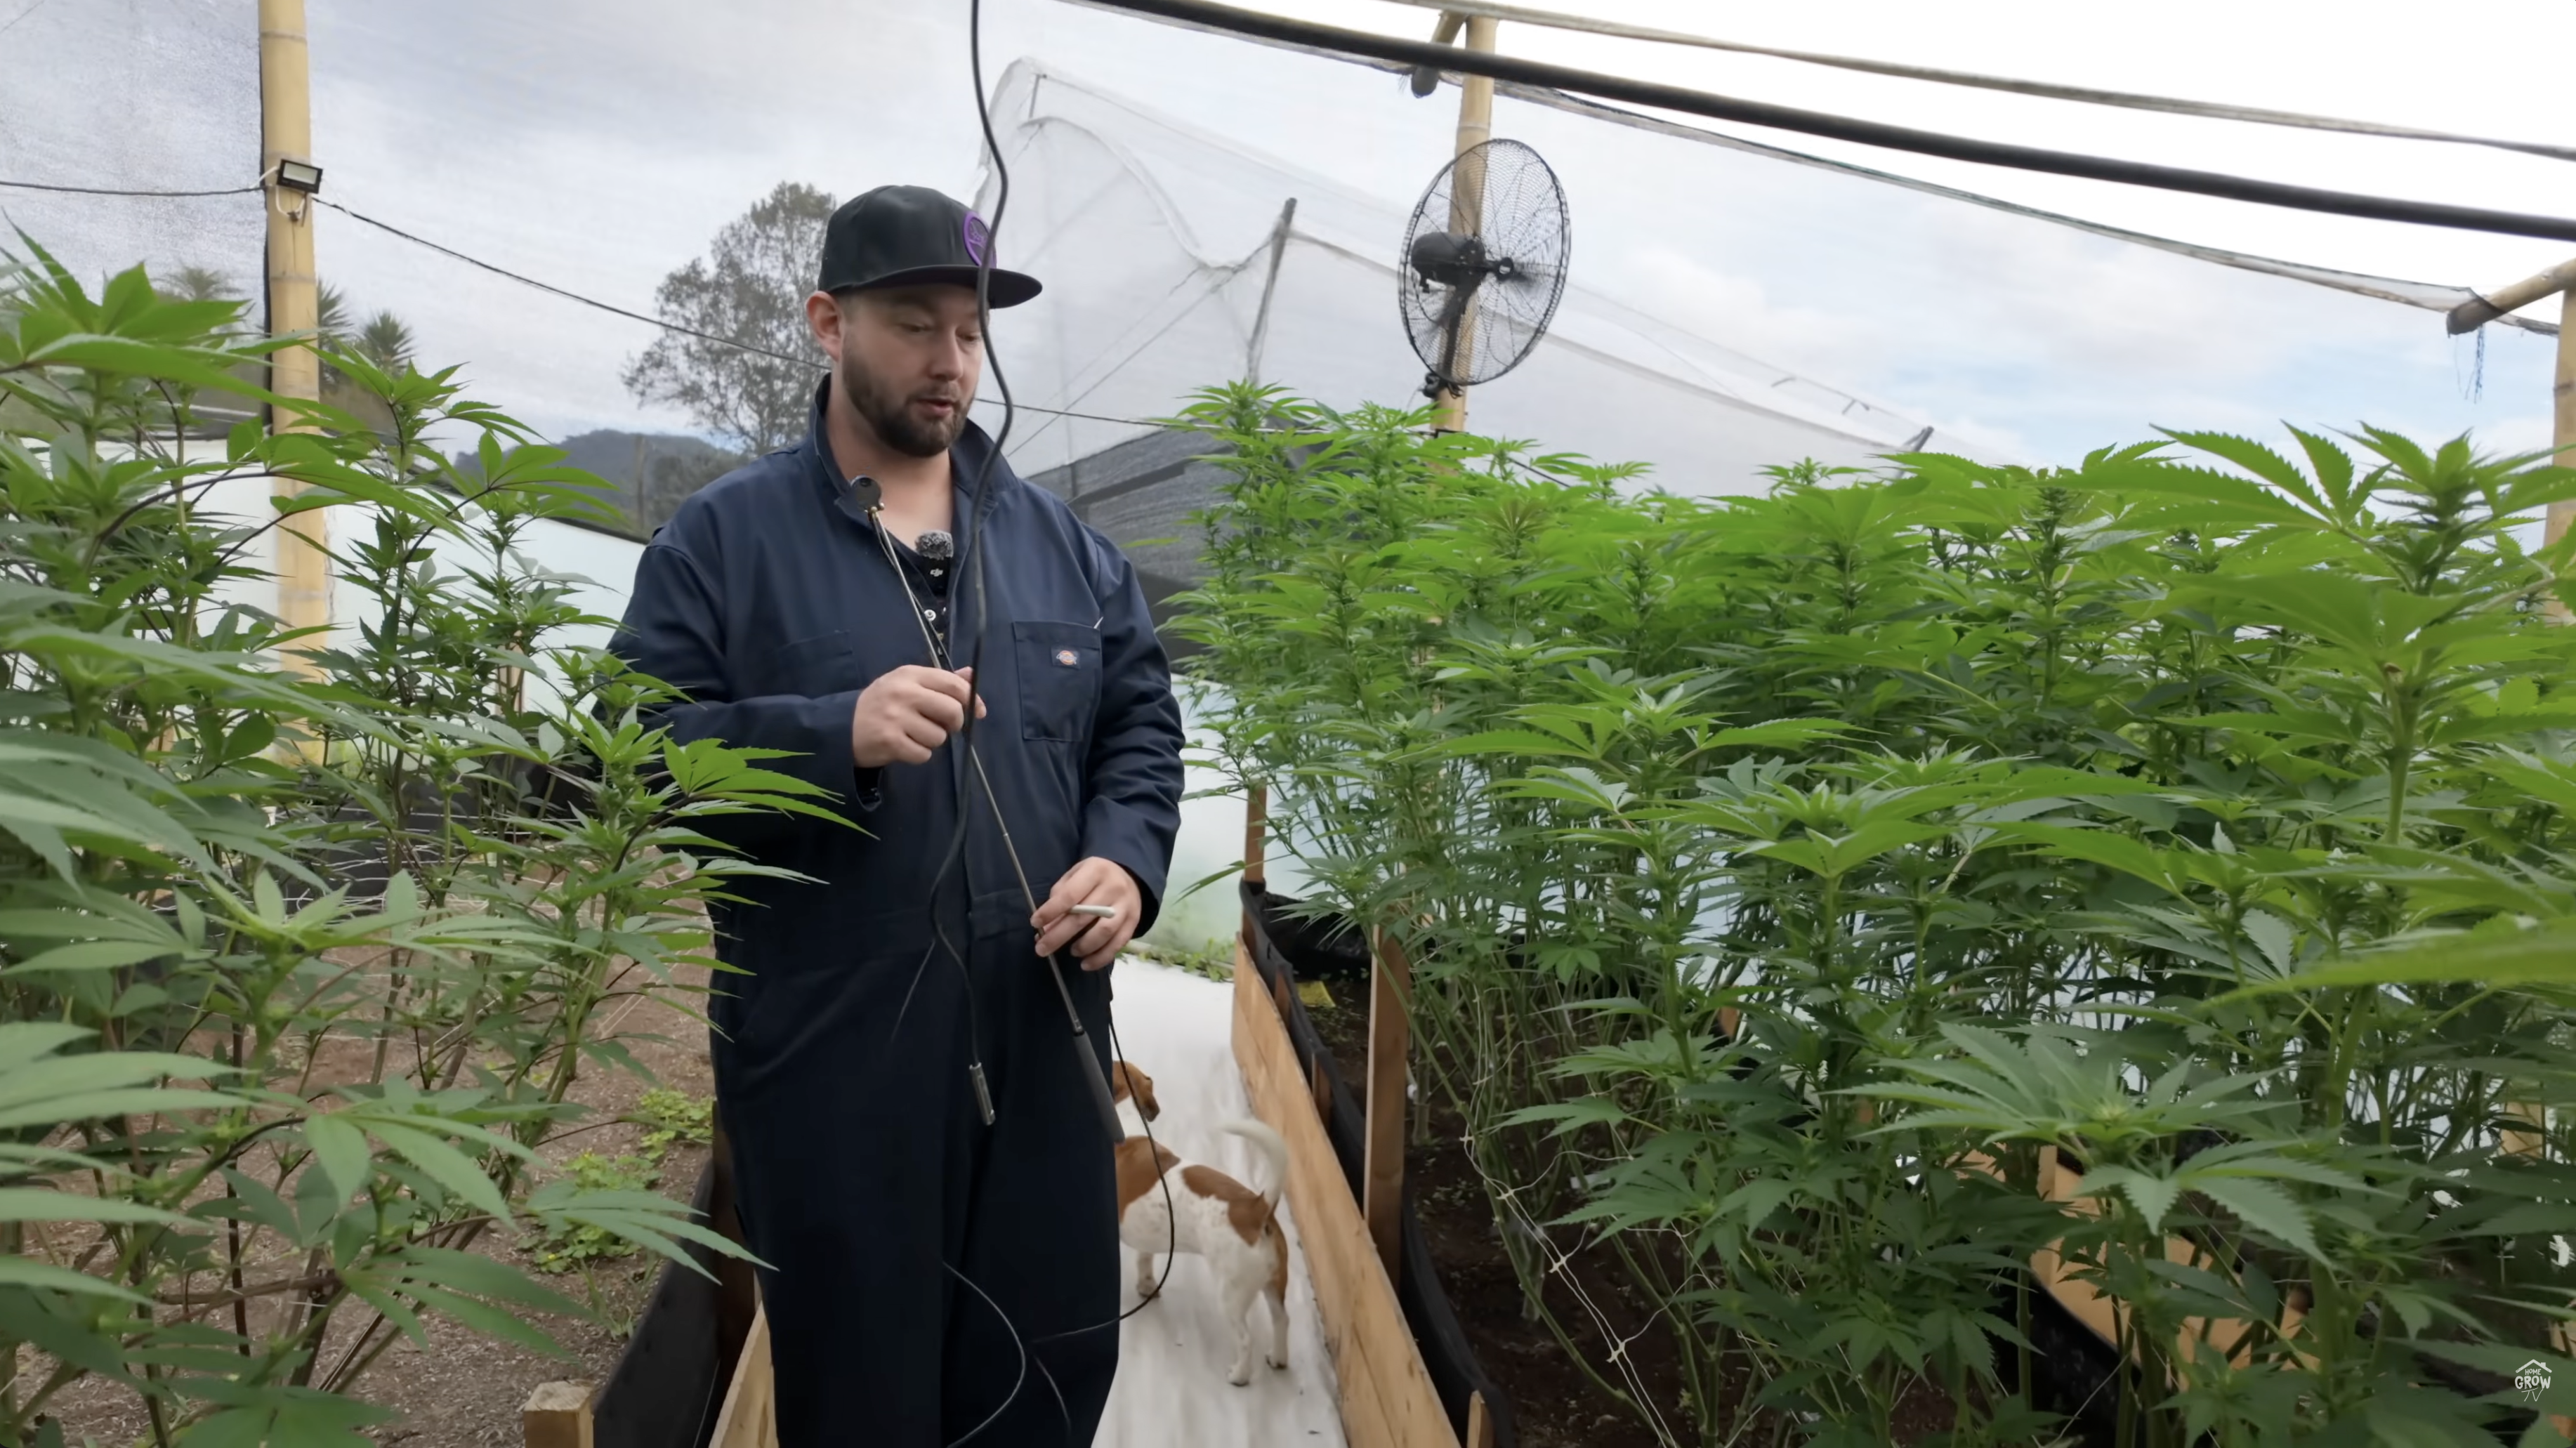
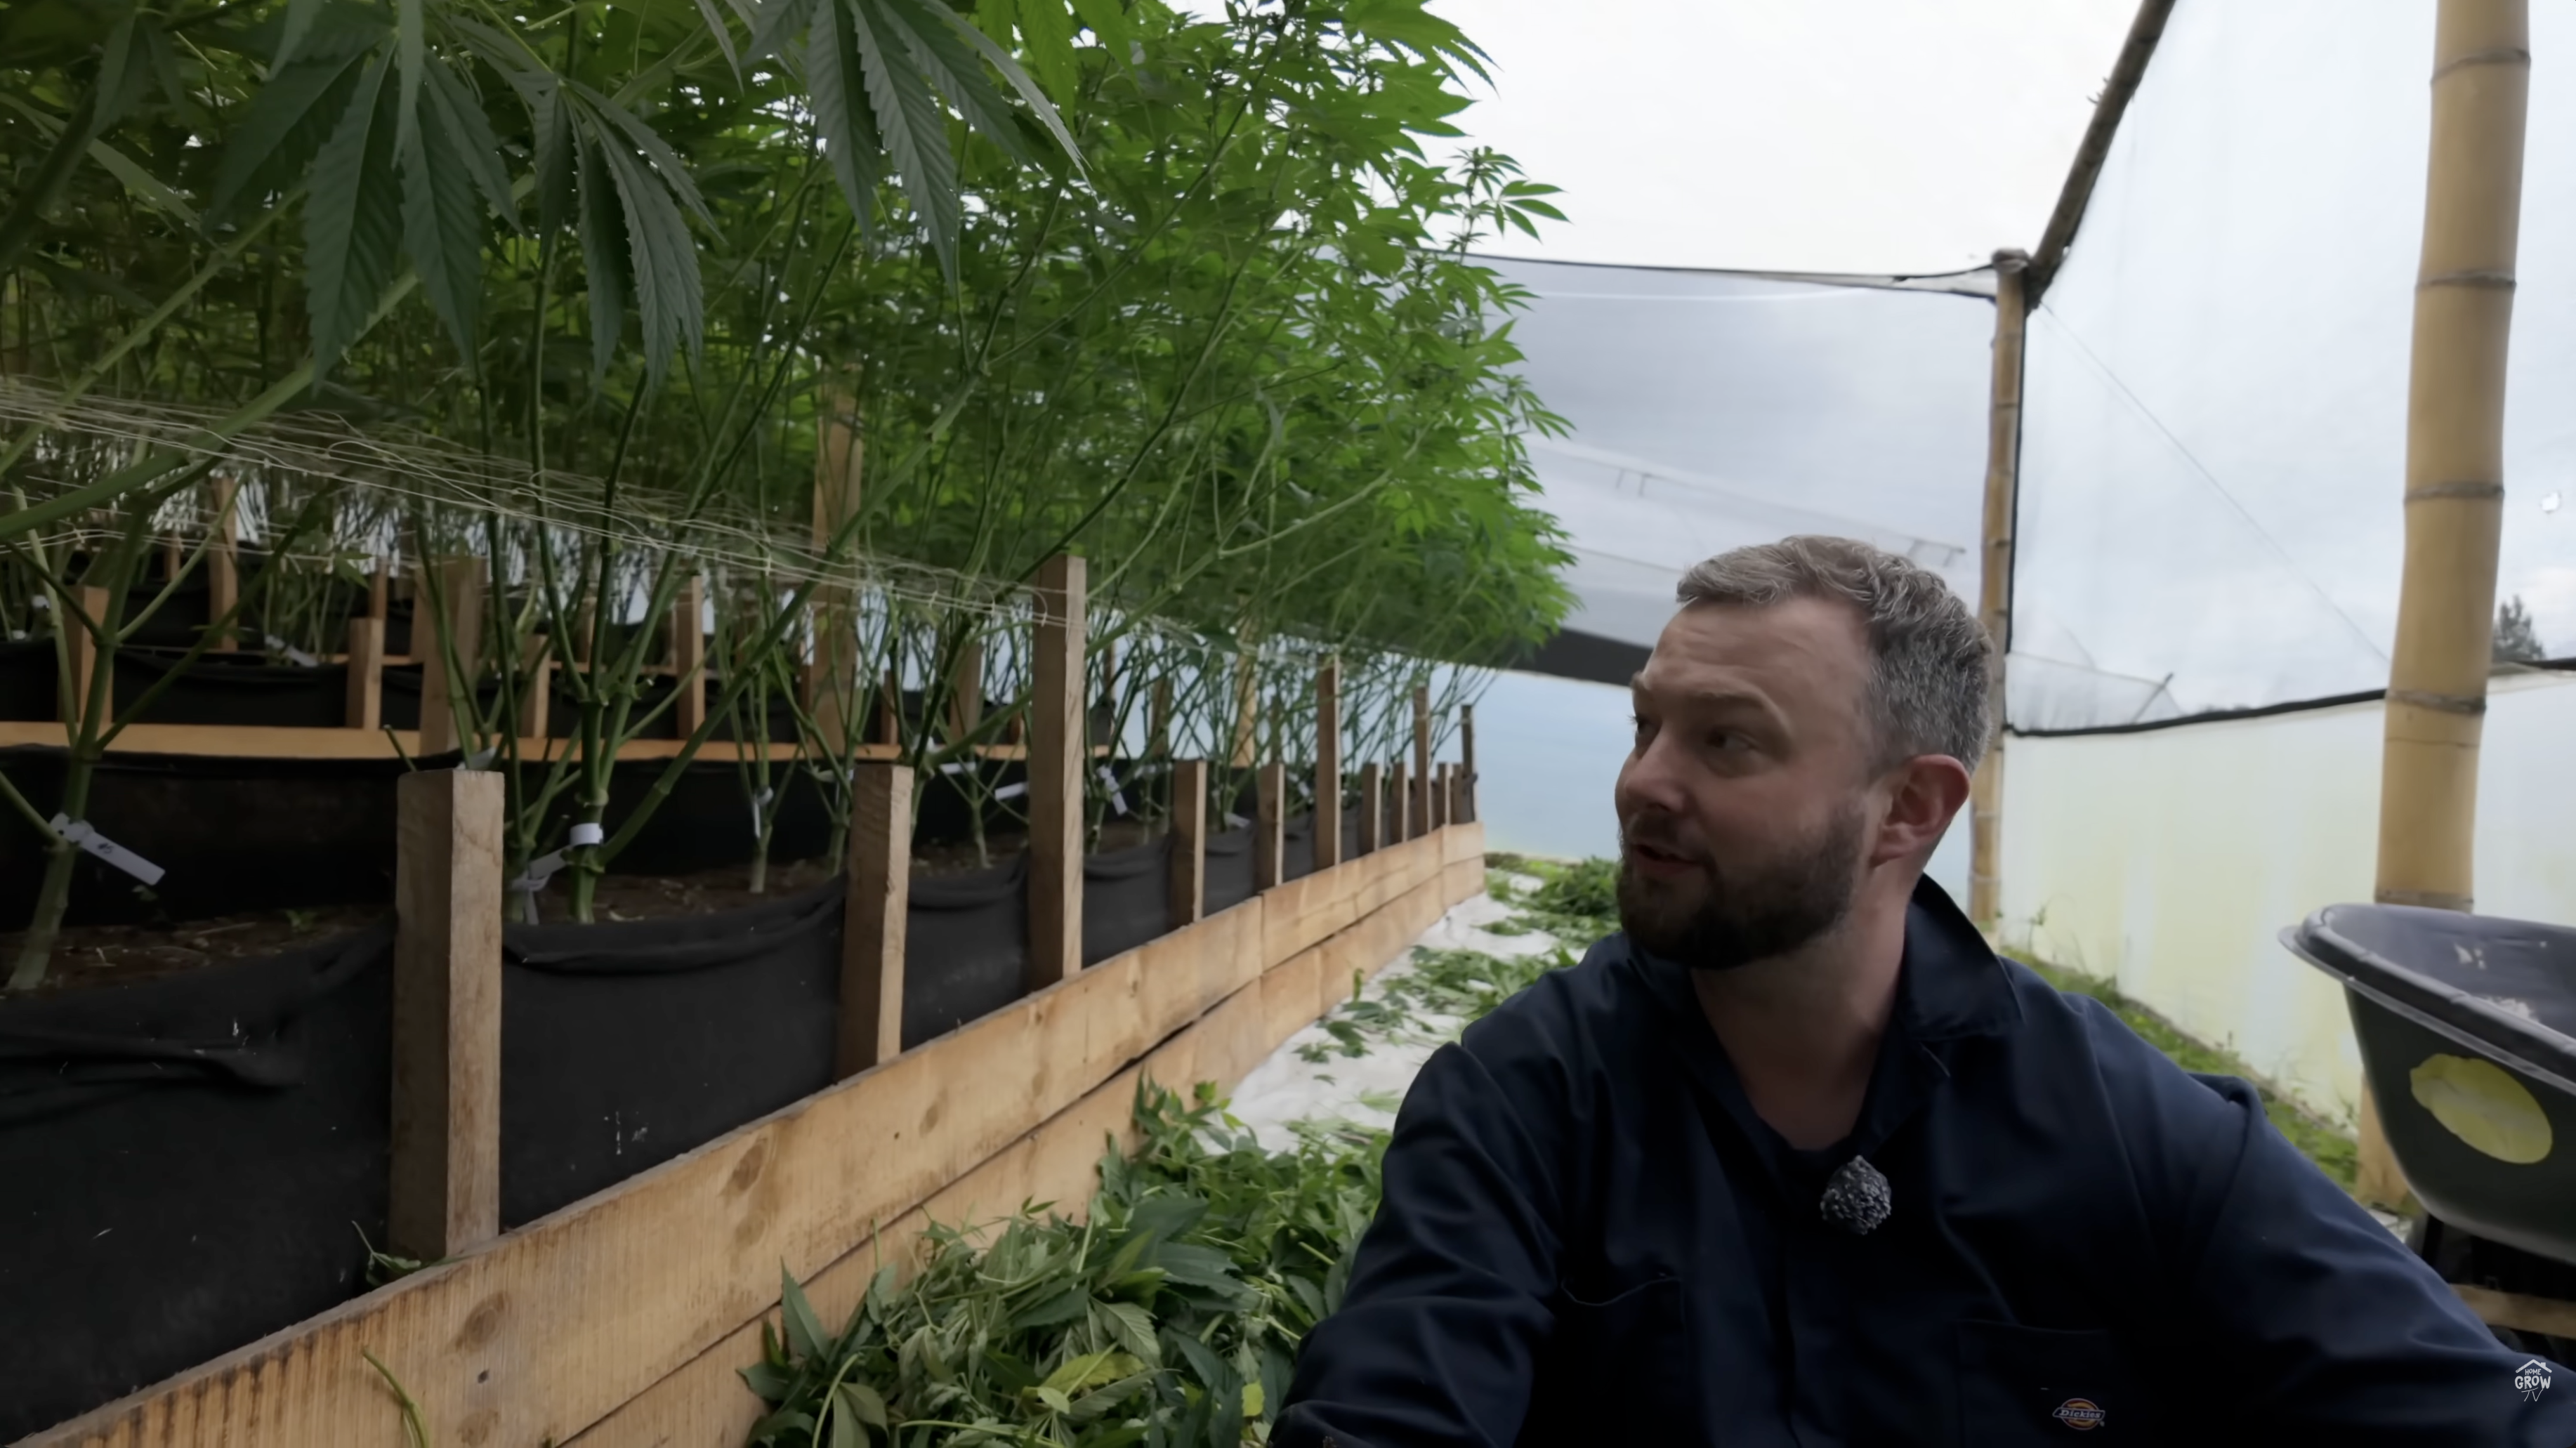
The bamboo greenhouse in Colombia was looking dense. Day 21 of flower. Granny Candy, Grape Graffiti, Punch & Punch F2, emoji crosses, CBD strains (Dawn and Ultra Pink) — all of it filling out fast.
Mr. Q and the team spent hours lollipopping and defoliating. By the end, you could see straight through the beds that had been cleaned up.
Why go aggressive in a greenhouse
Greenhouses — especially in humid climates like Colombia — have airflow and moisture challenges that indoor grows don't. Nights hit 90%+ humidity. Dense foliage traps moisture, which invites mold and powdery mildew. The Ultra Pink CBD strain was already showing patches of PM while the Dawn CBD right next to it was clean.
Aggressive defoliation opens up the canopy, gets light to the lower bud sites, and most importantly, lets air move through the plant. In a humid environment, that airflow is what keeps your flowers healthy through the finish.
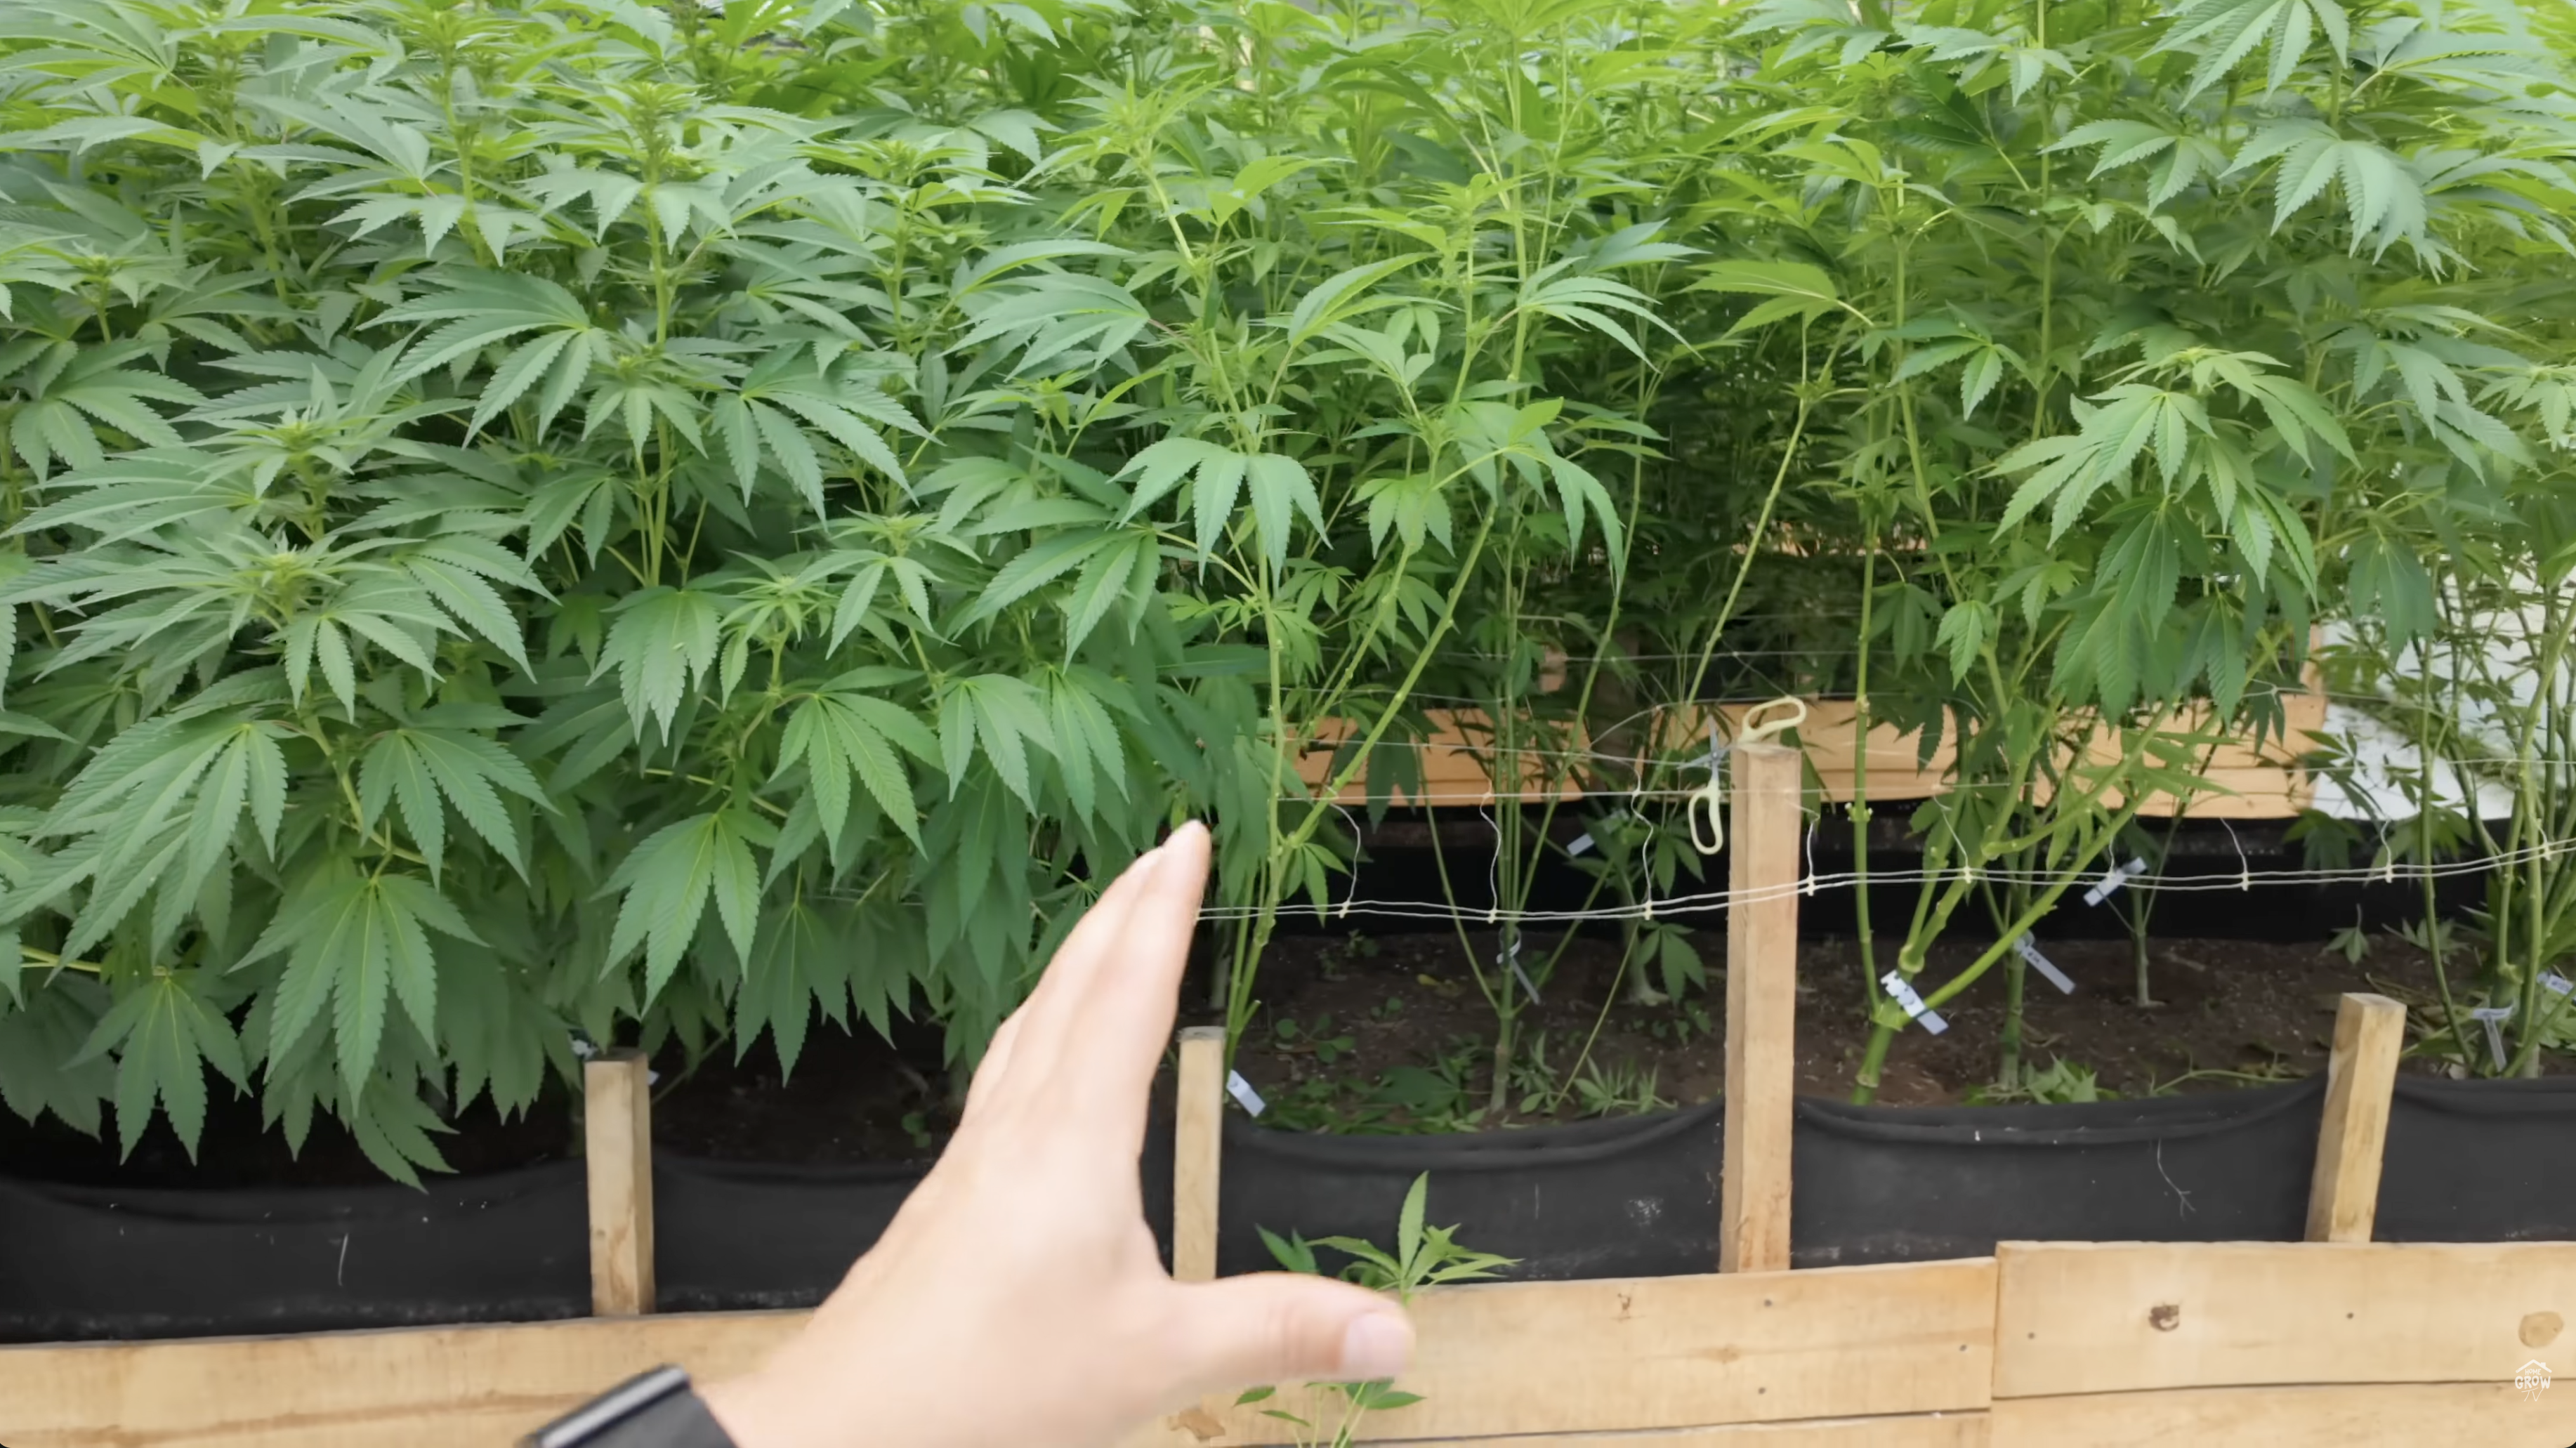
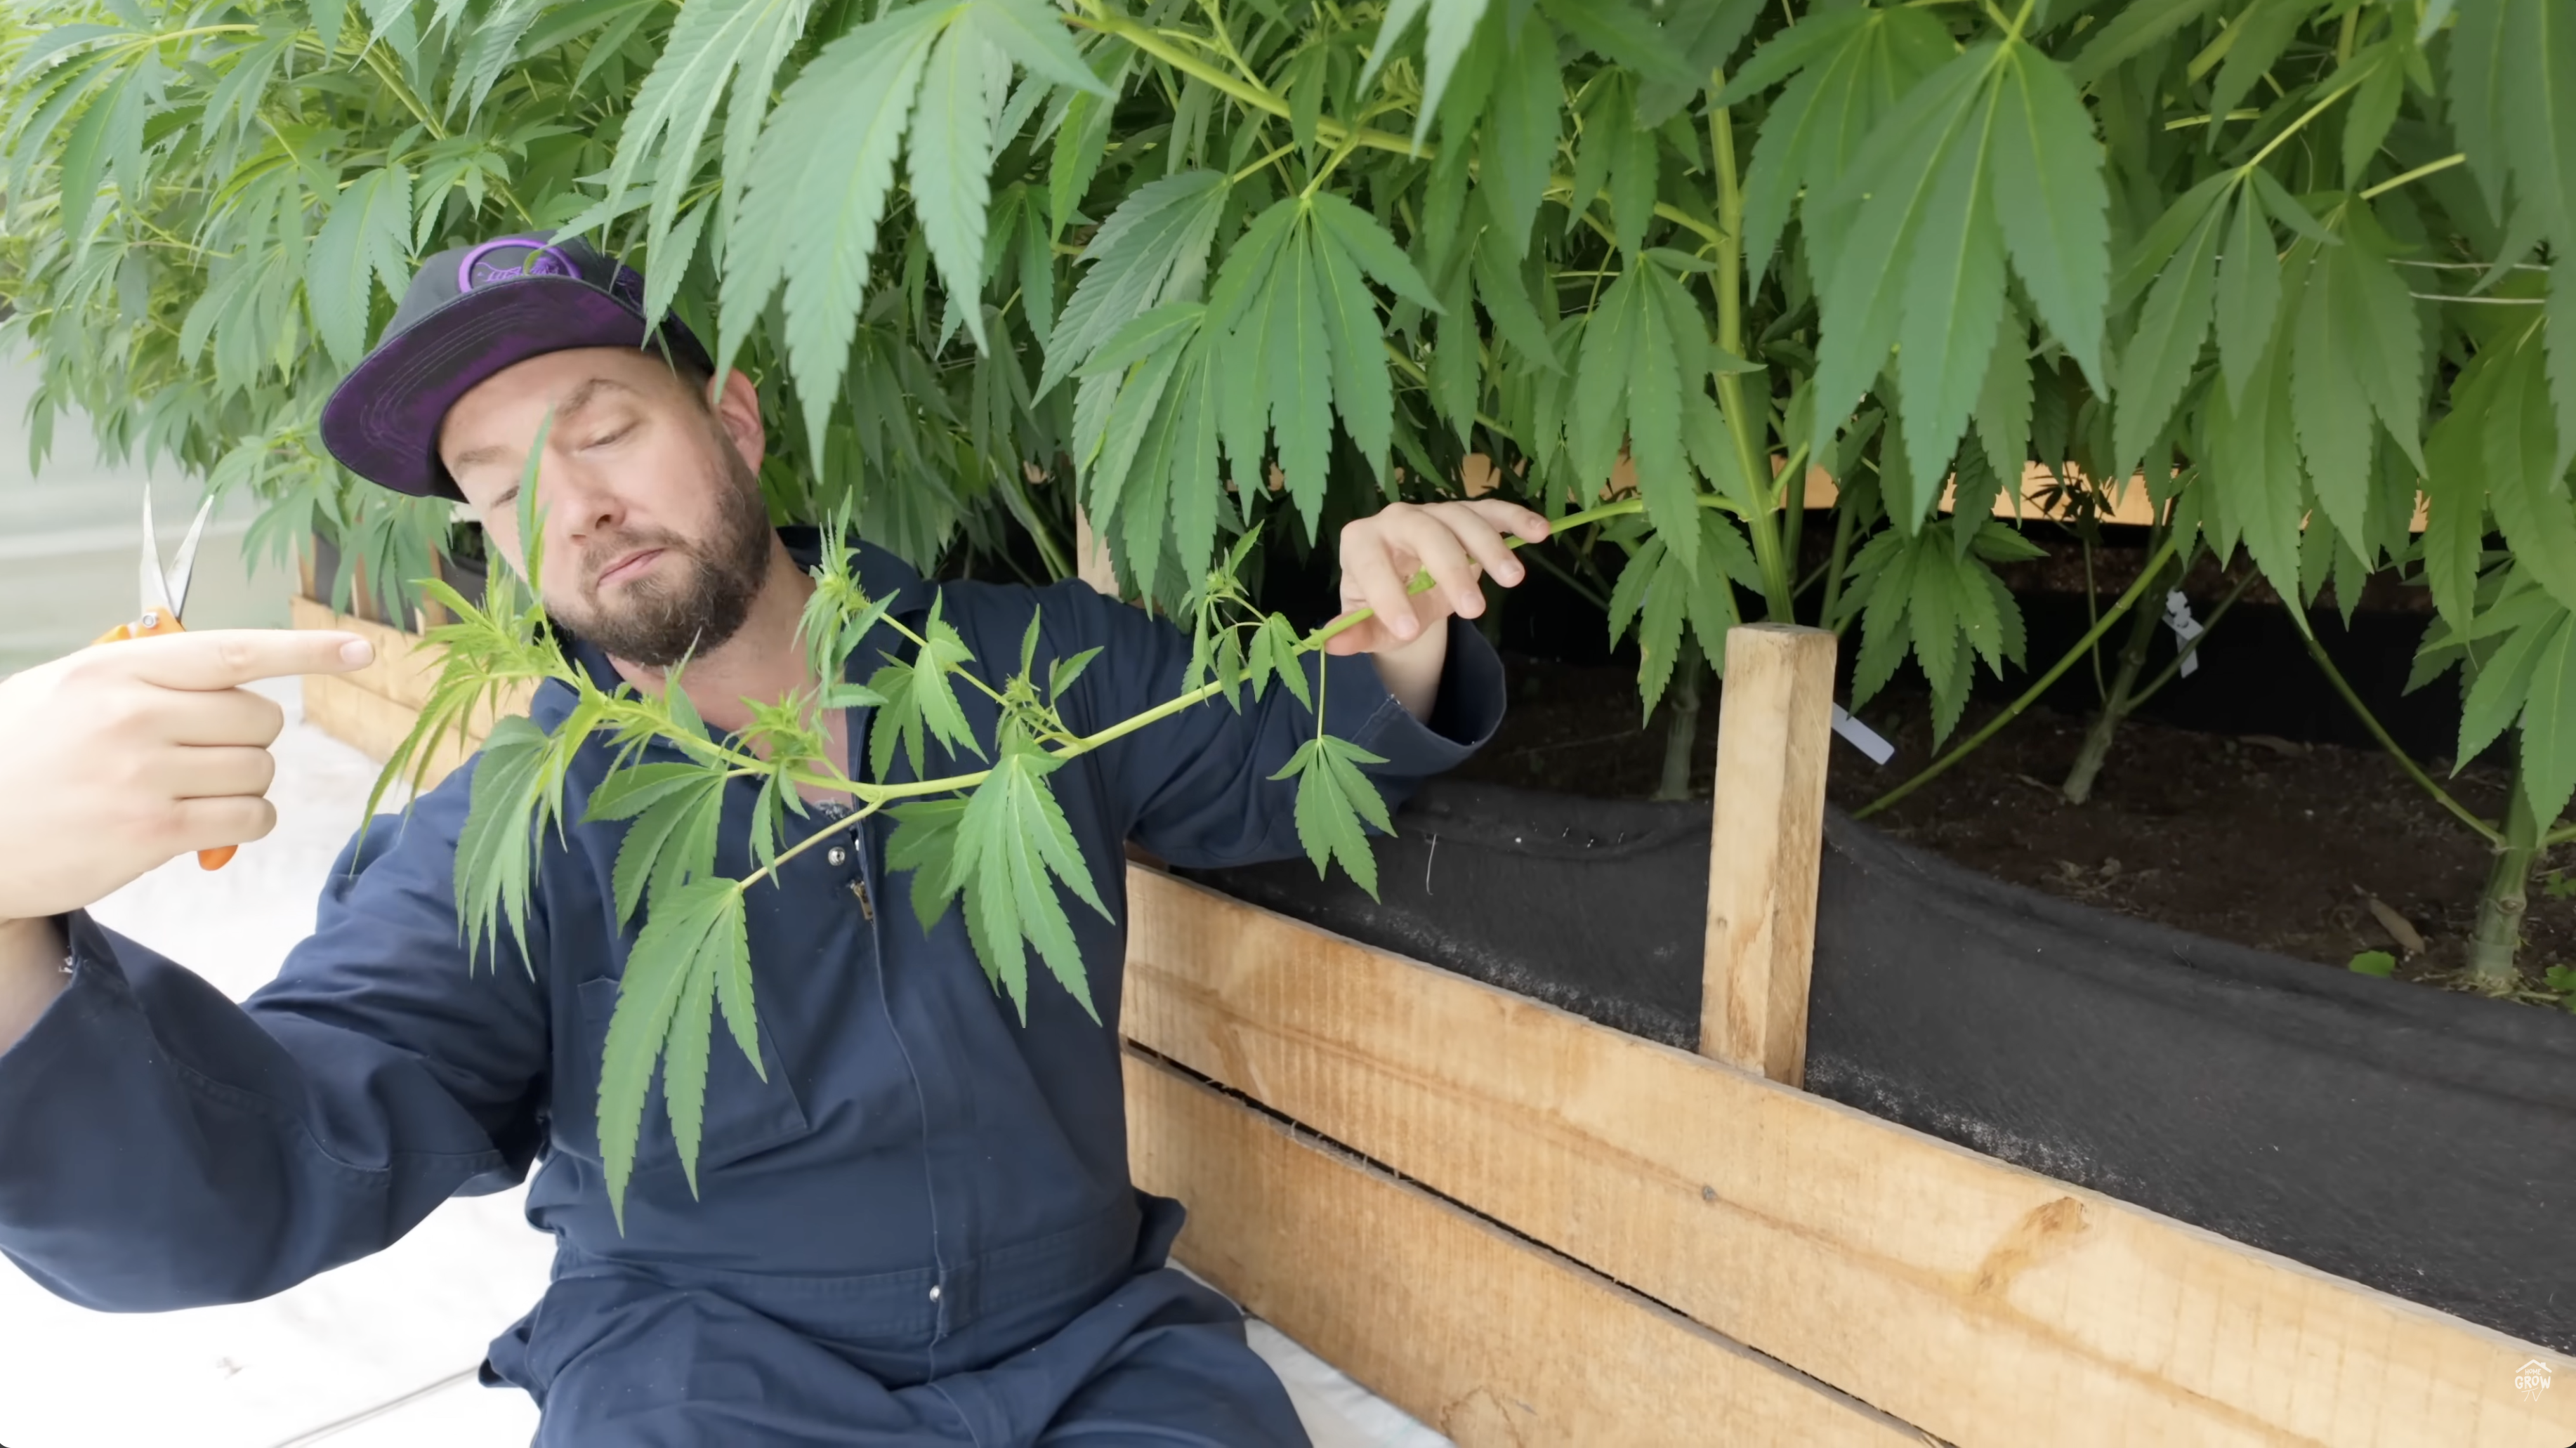
Mr. Q's defoliation approach
Don't start from the top down. Start from the bottom.
- Sit next to the plant and look at the base
- Cut lateral branches that aren't reaching the top canopy — if it's 2 meters below the top cola, it's not going to produce anything worth keeping
- Work your way up, removing lowers and interior fan leaves that block airflow
- Don't waste time trimming up a branch you're going to cut off entirely — check the structure first, then decide what stays
The Takeaway
Defoliation isn't about stripping the plant bare. It's about directing energy to the sites that matter and creating the conditions for healthy flower development. In a humid greenhouse, that means going more aggressive than you would indoors. In a controlled environment with good airflow, you can leave more.
Read your environment. Adjust your approach.
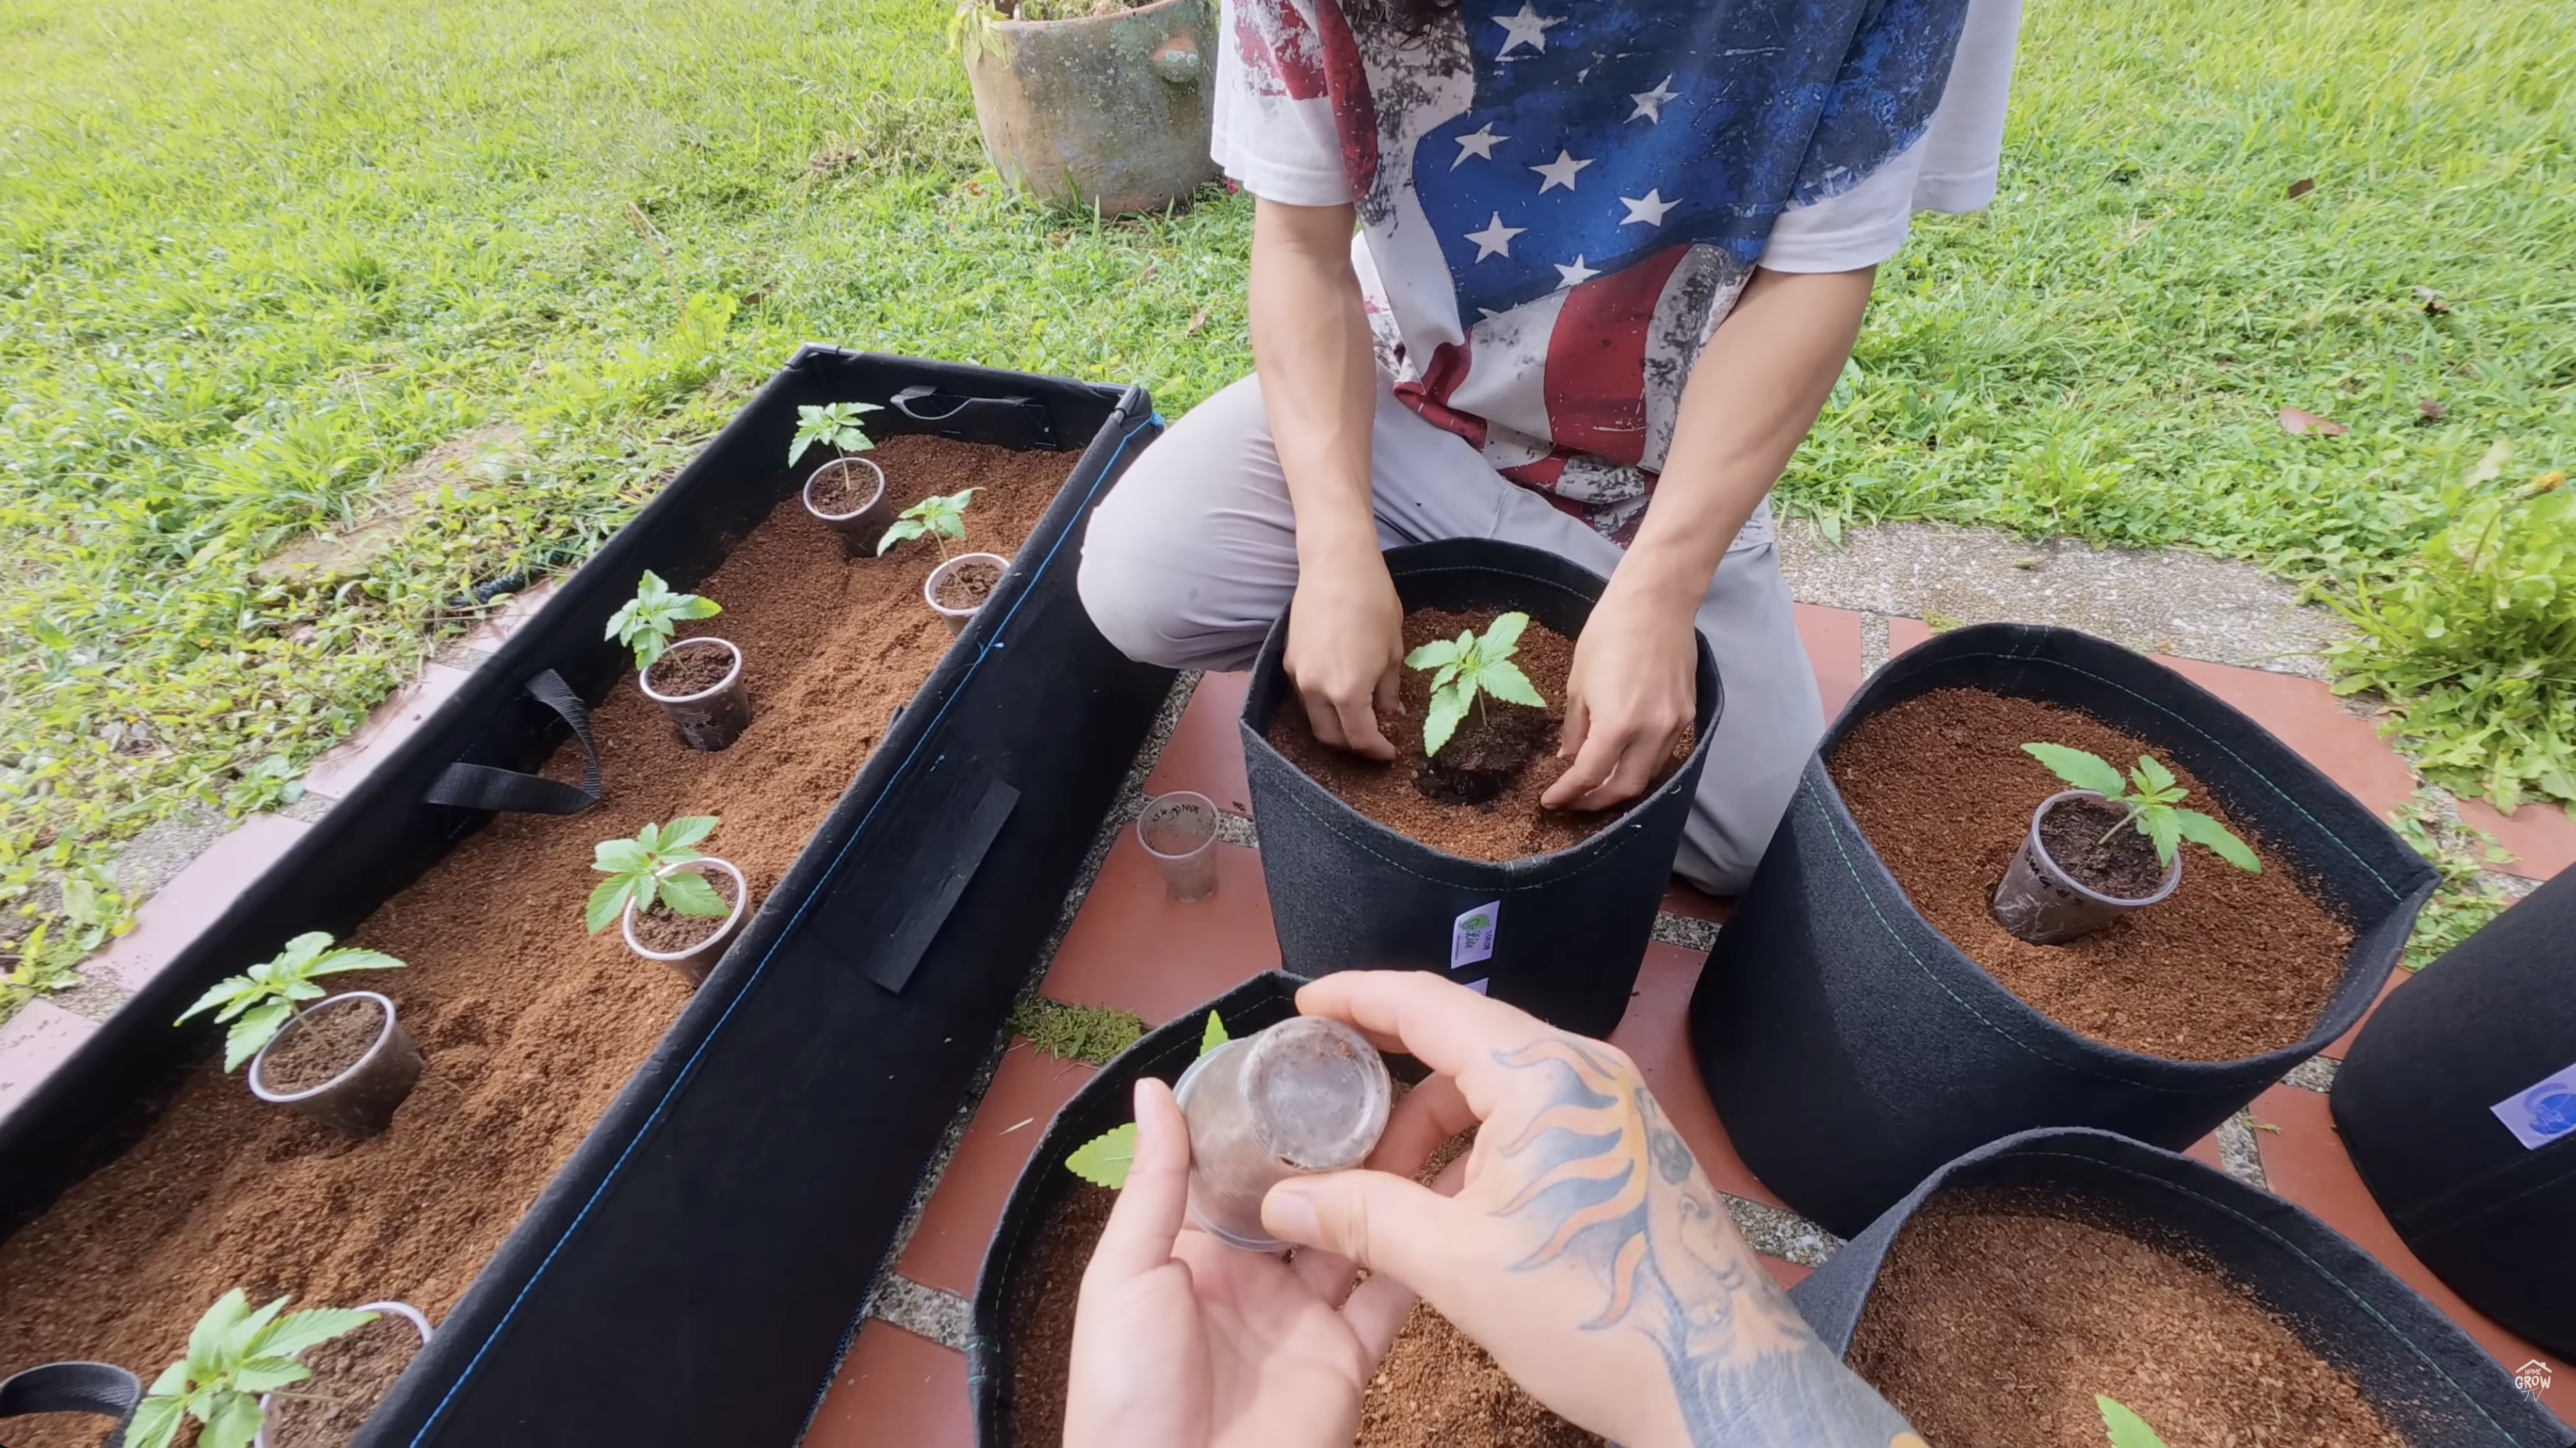
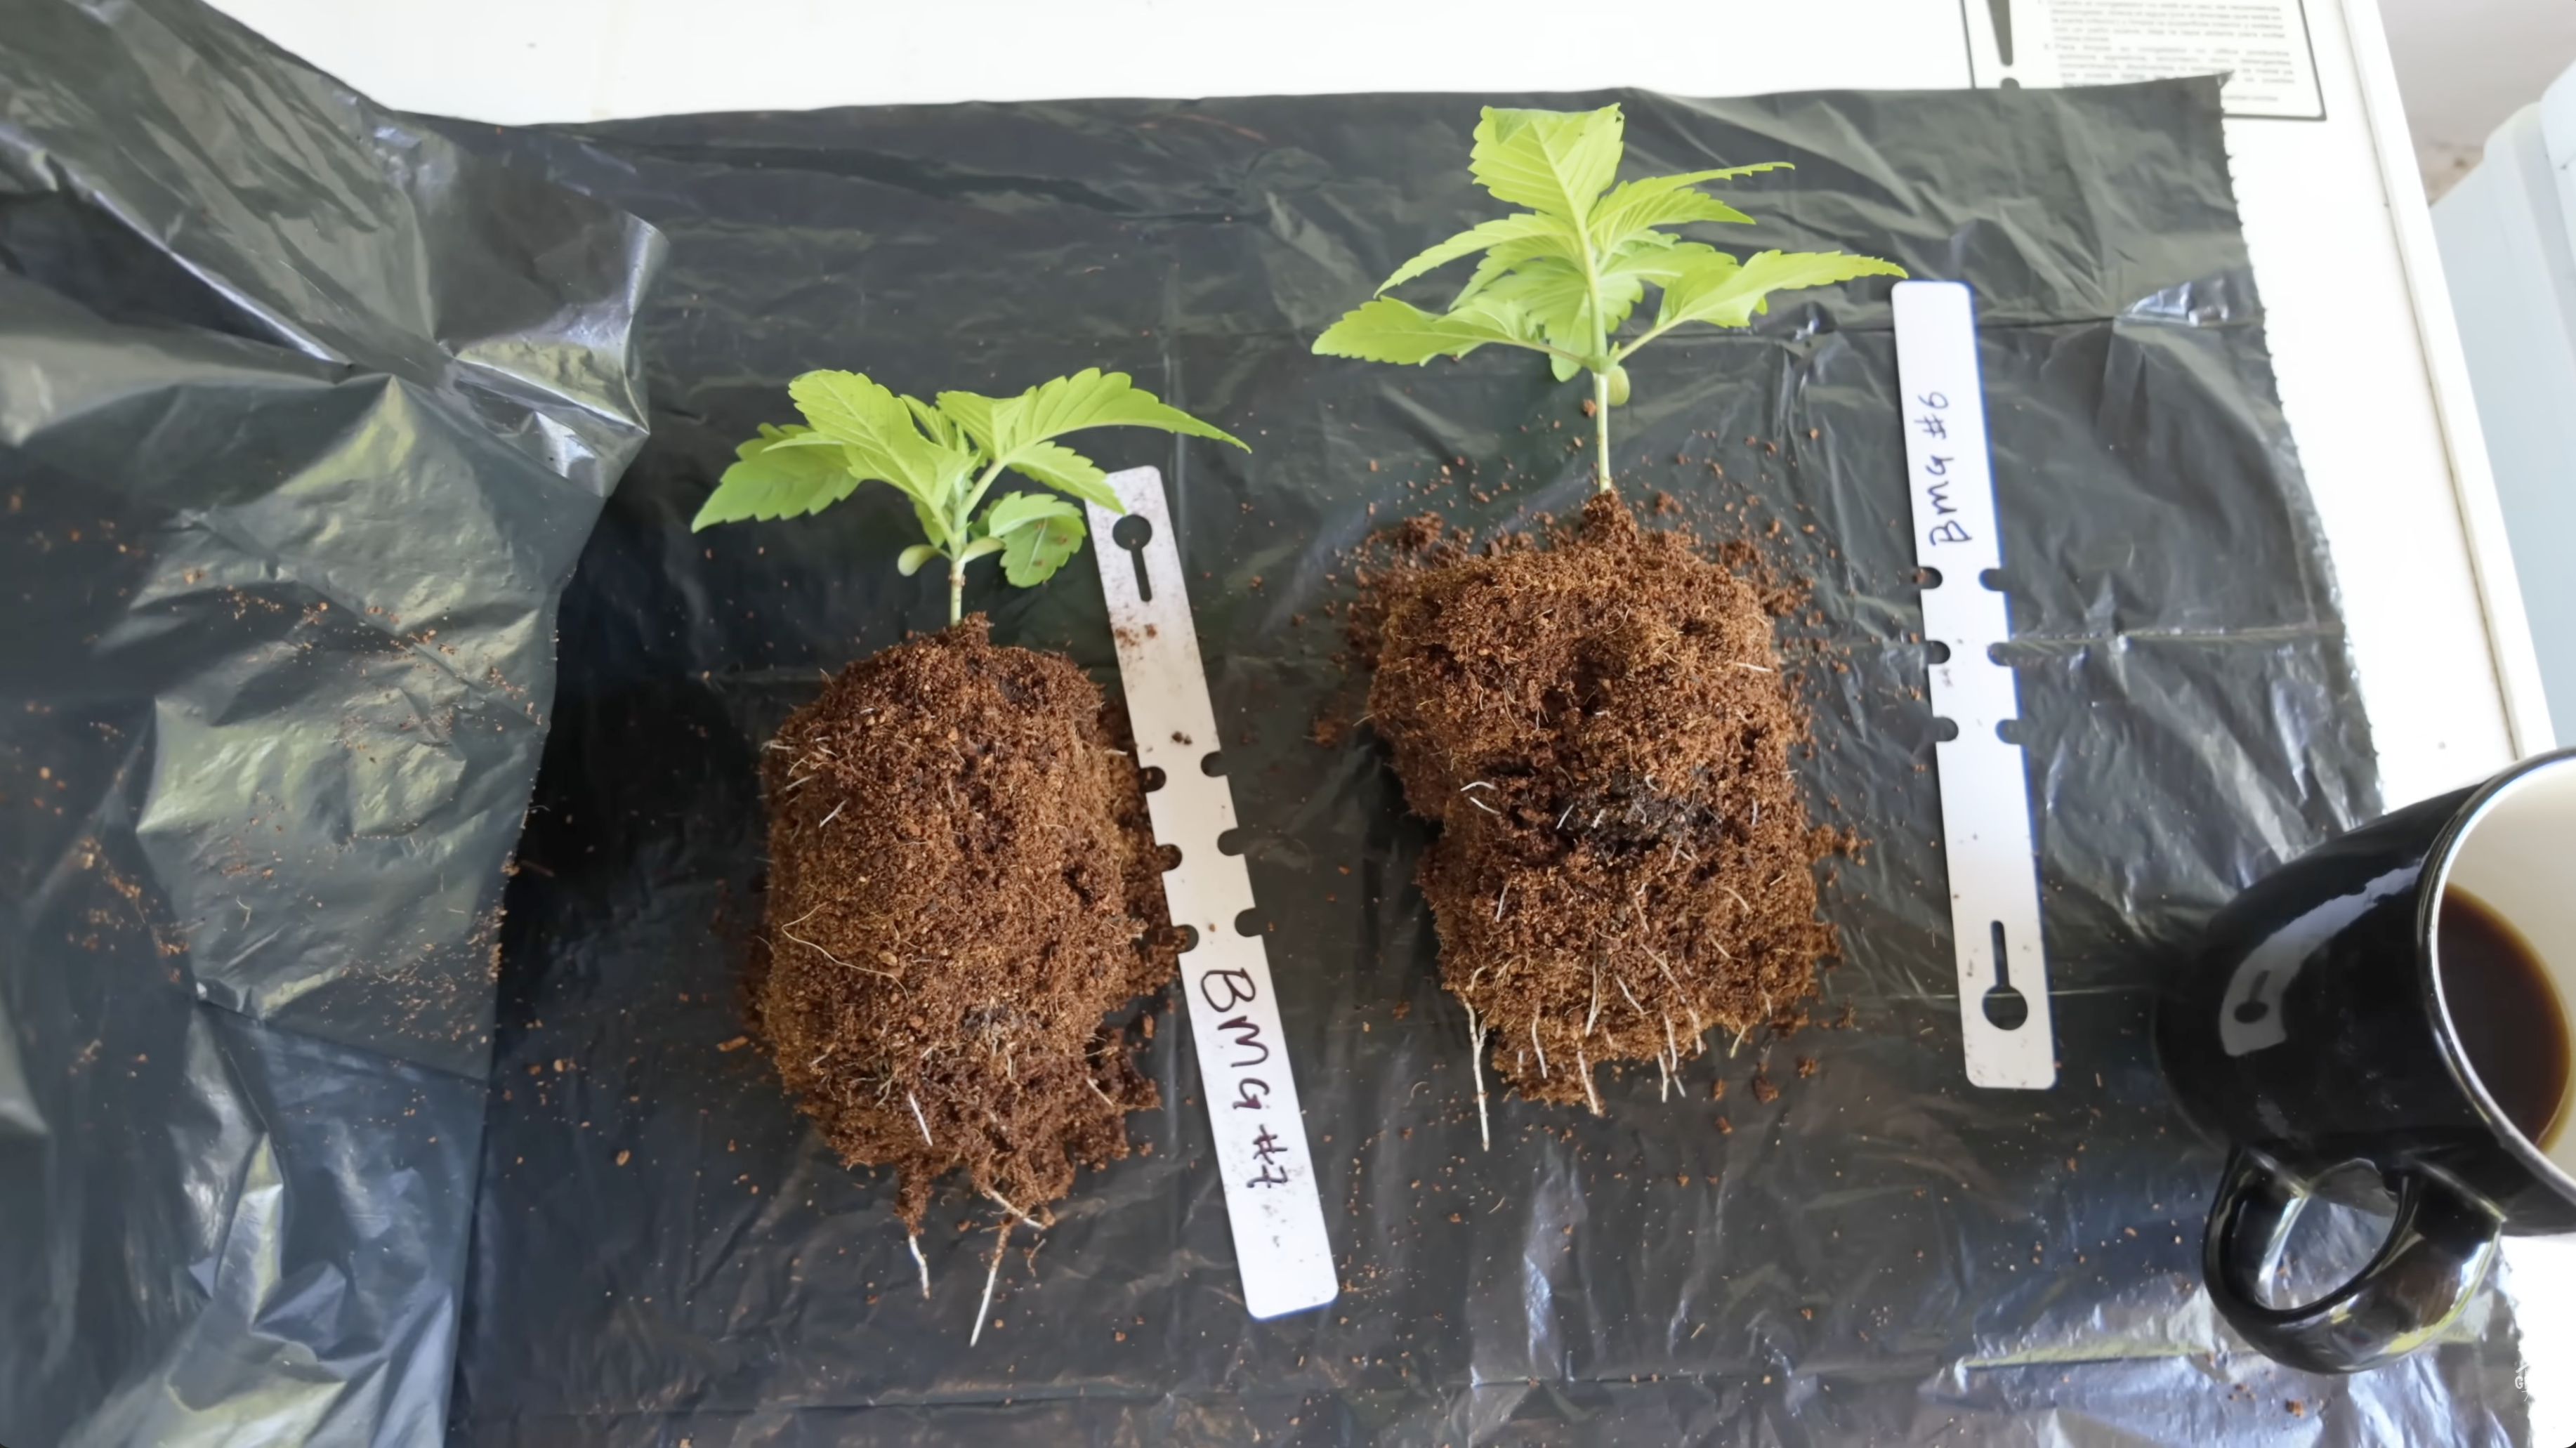
5. Transplant Timing: Don't Wait Until Your Seedlings Are Suffering
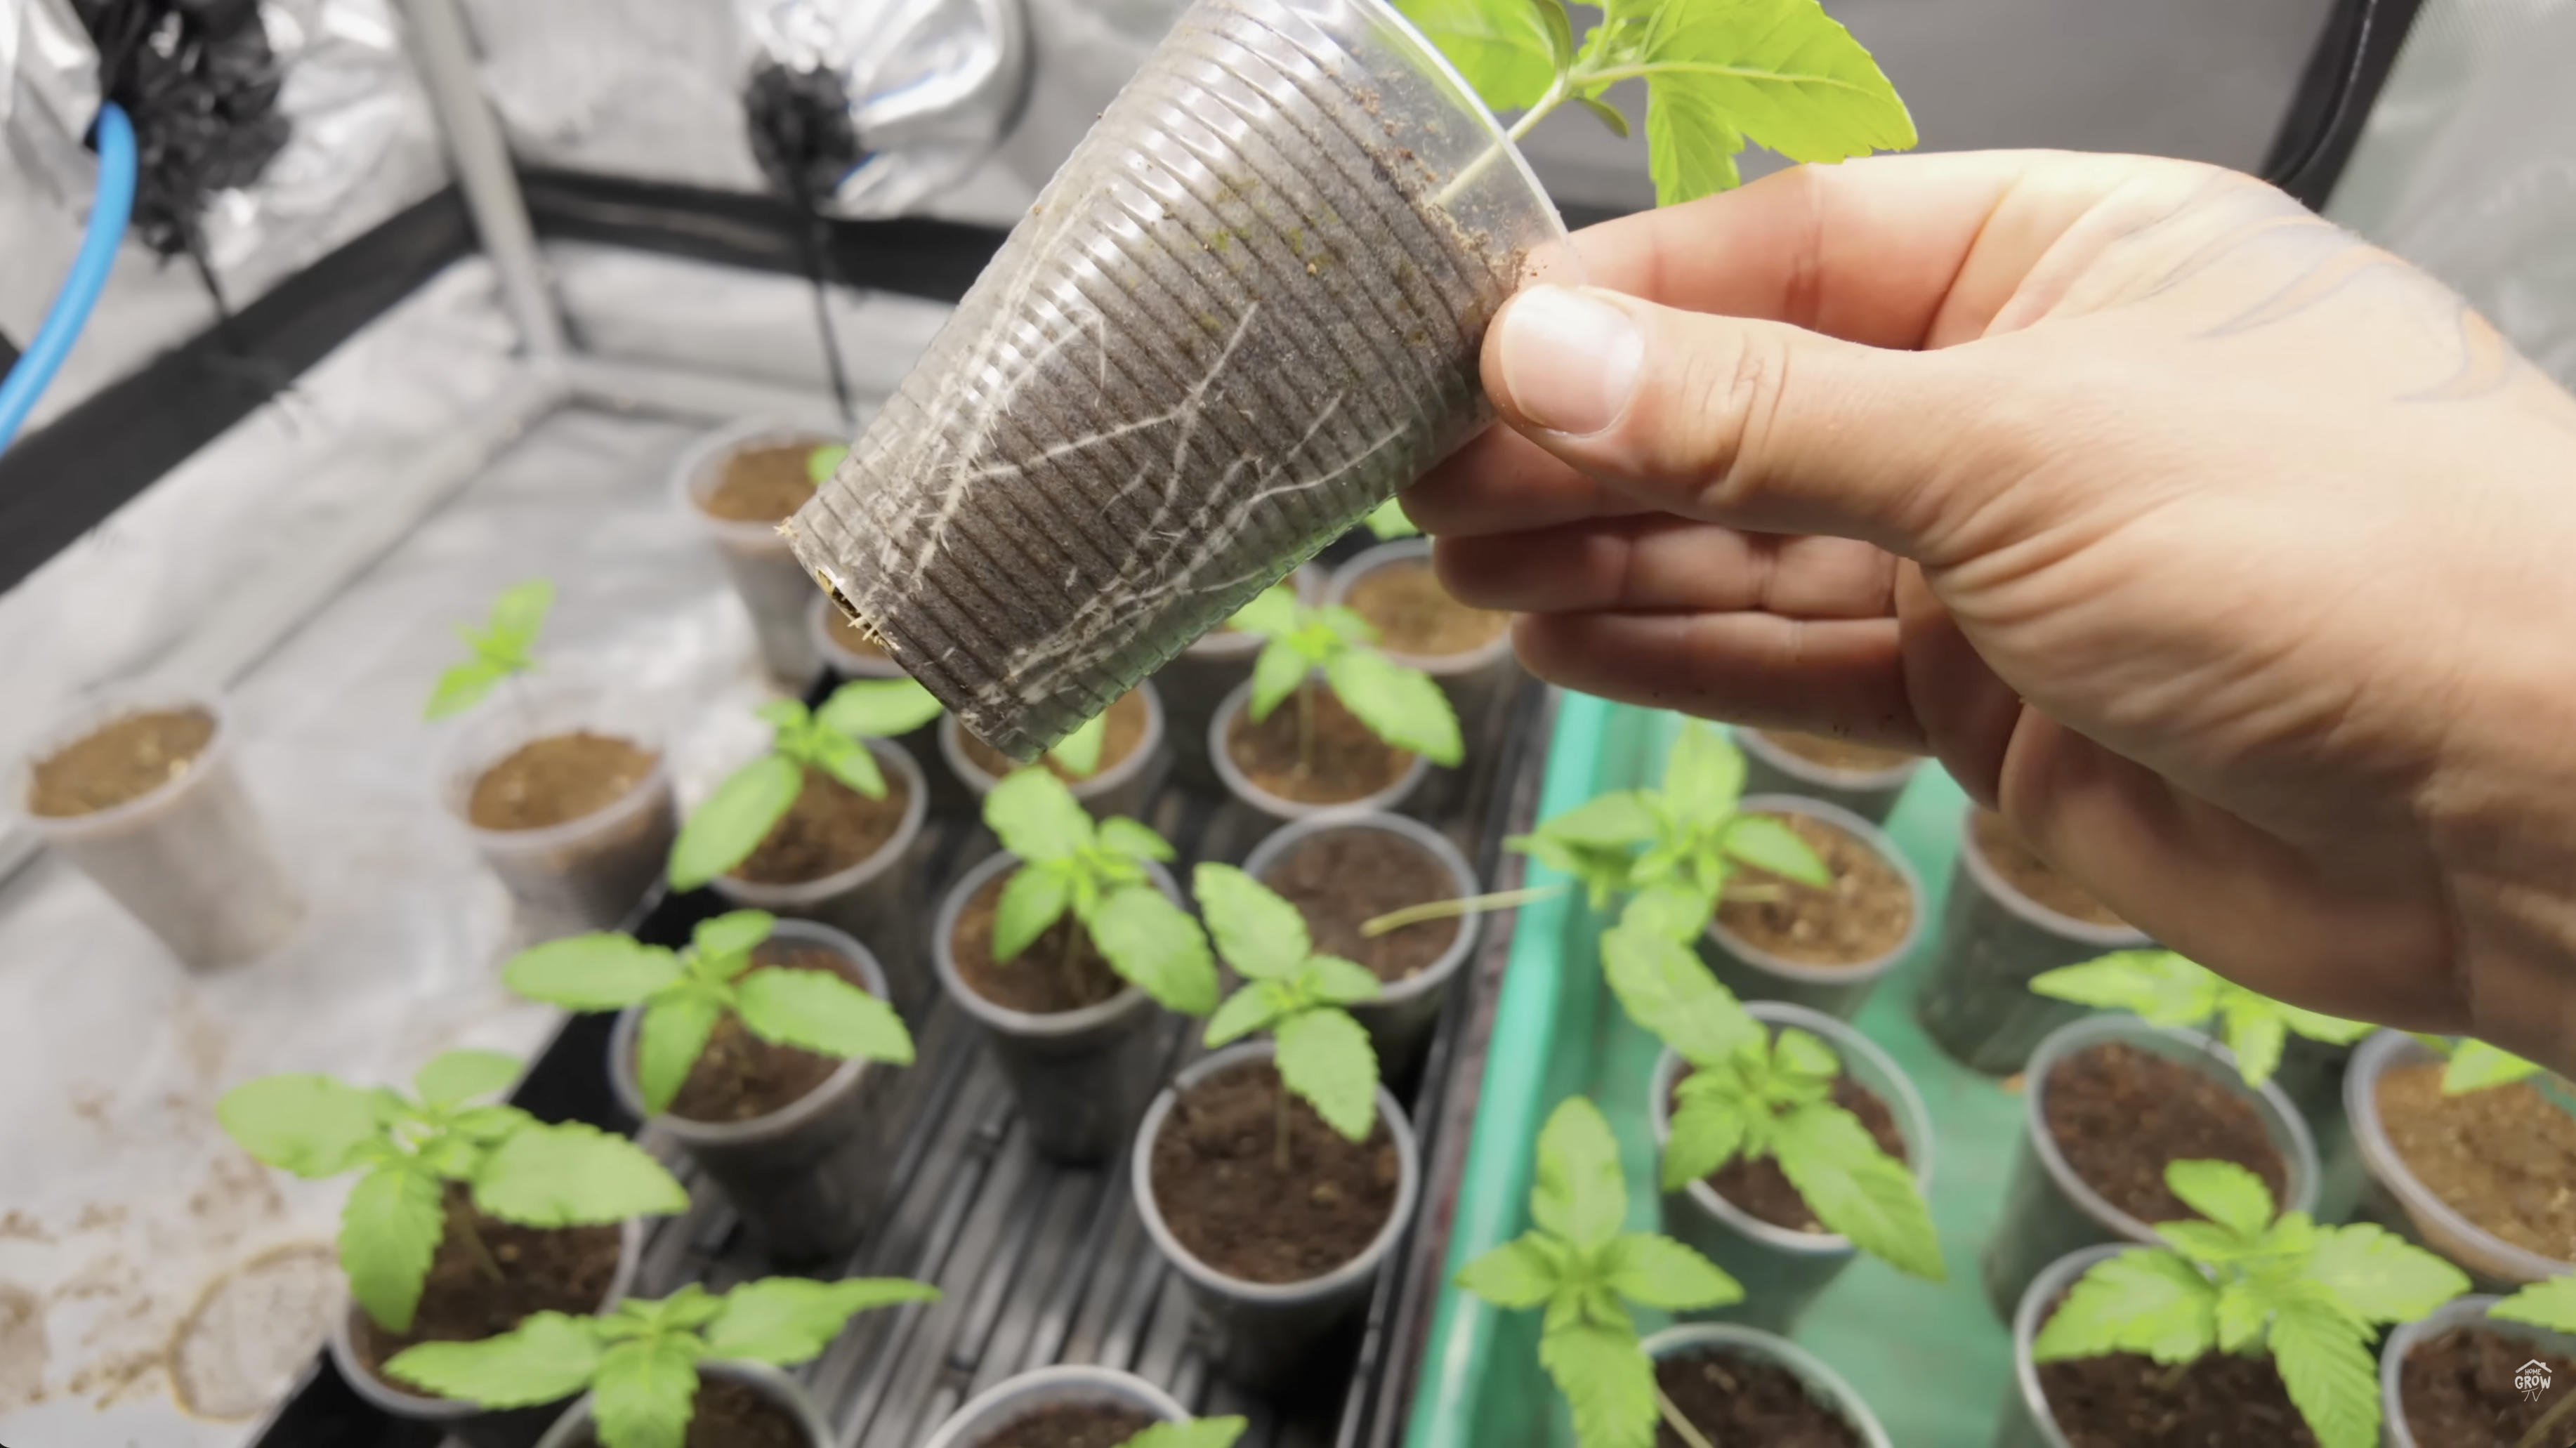
At day 12 from germination, the seedlings were looking healthy — but the roots were already hitting the edges of their starter containers. Mr. Q's advice: transplant now, don't wait.
"I know some people keep them in there longer, but you also see the plant suffer. Maybe not now at this very moment, but in a week or two, you'll see like, oh, it had a deficiency like a week ago. That's because you didn't transplant."
They transplanted into 100% coco (which they later had to redo — see lesson #2), but the timing principle stands: when the roots are circling the edges and looking for more space, it's time to move.
The Takeaway
Transplant before the plant shows stress, not after. Roots hitting the sides of the container is your signal. If you wait until you see deficiencies or slowed growth, you're already behind — and the plant will take longer to recover in its new home.
What They're Feeding
Throughout the video, they're running Cronk Nutrients — the Classic 3-Part line (Micro, Grow, Bloom), CalMag, Armadillo Armour, and Monkey Juice.
For the hand-watering after transplant, Dakota mixed at intermediate strength with additives and hit a perfect 5.8 pH without needing to adjust. That's the benefit of a well-formulated nutrient line — less time messing with pH, more time actually growing.
Final Thoughts
This episode of HomeGrow TV is a masterclass in what real growing looks like. Not everything went right. They overwatered after transplant. They used the wrong substrate mix in their autopots. They had to re-do work they'd already done.
But they caught the problems, made adjustments, and kept moving forward. That's the job.
Growing is wild, humbling, and a never-ending learning process. The growers who get good aren't the ones who never make mistakes — they're the ones who learn from them fast and don't make the same one twice.
Watch the full episode here: HomeGrow TV — Behind the Scenes Vlog
Quick Reference: 5 Lessons at a Glance
| Problem | Cause | Fix |
|---|---|---|
| Plants look deficient after transplant | Overwatering — roots can't get oxygen | Let dry back, bump EC, foliar silica |
| Root problems in Autopots | 100% coco holds too much moisture | Add 30% perlite or rice hulls |
| Unsure when to water | Watering on schedule, not reading plants | Wait for droopy leaves, leave perky plants alone |
| Mold risk in humid greenhouse | Dense canopy traps moisture | Aggressive defoliation for airflow |
| Slow growth / deficiencies in seedlings | Waited too long to transplant | Transplant when roots hit container edges |
Related Articles
Still need help diagnosing plant problems? Contact our grow support team at [email protected]