Running Autopots with Premium Genetics: A Complete GuideUpdated 4 months ago
Setting up an autopot watering system for premium cannabis genetics requires careful preparation: verify all valve components are in place, transplant only when root systems are fully developed, wait 12 days after transplanting before activating the system, and maintain optimal VPD (Vapor Pressure Deficit) throughout the grow. This bottom-feeding approach eliminates daily hand-watering while providing consistent moisture levels that accelerate vegetative growth and support heavy-flowering strains.
Why Premium Genetics Demand Better Growing Systems
When you receive genetics from trusted breeders—strains that represent years of selection, late-night conversations, and carefully guarded keeper phenotypes—your growing approach needs to match that level of commitment. These aren't experimental seeds or untested crosses. They're the result of extensive breeding work, often unreleased to the public and shared only within tight communities of serious growers.
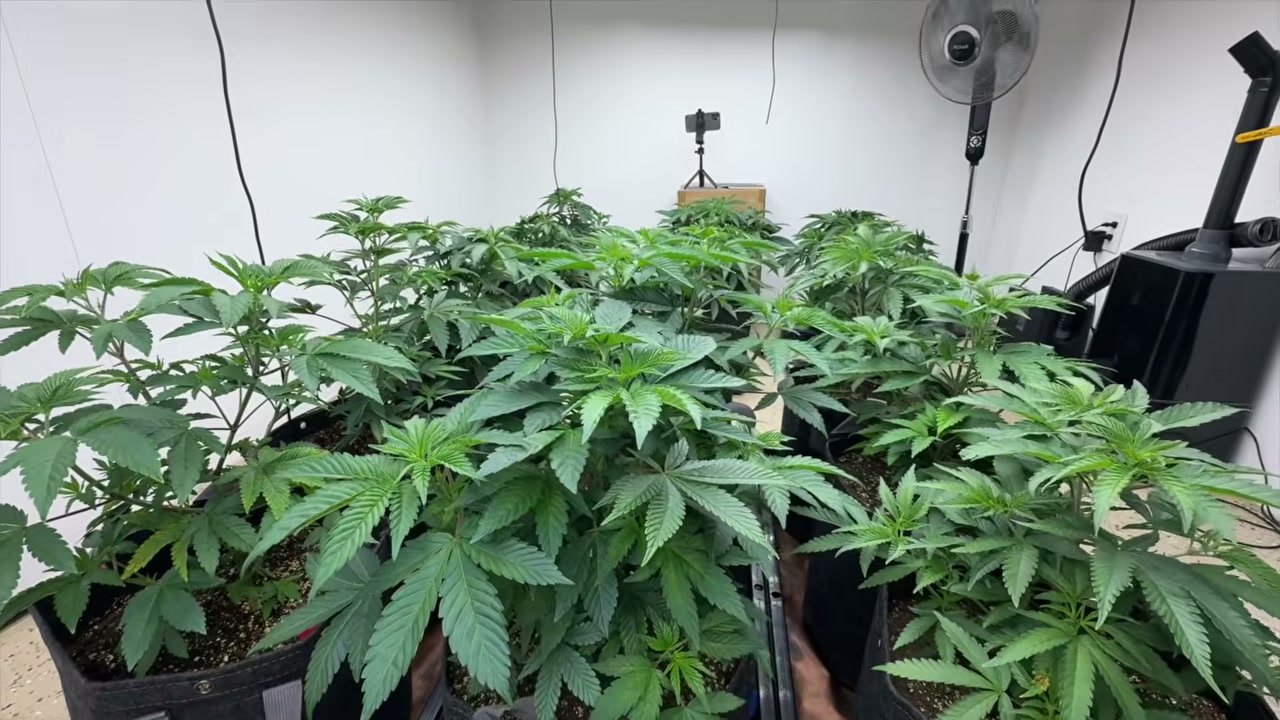
The grower in this scenario made a significant decision: after five years of hand-watering plants in fabric pots, it was time to upgrade to a 12-plant autopot system with 3.9-gallon containers. The motivation wasn't just convenience—it was about creating the optimal environment for genetics sourced from Home Grow TV, Exotic Genetics (Emoji crosses), FastBuds unreleased strains, and Huckleberry Hill Farms.
As the grower notes, "If you fail this one, that's on you." Premium genetics deserve premium treatment: dialed-in temperatures, proper feeding systems, and environmental controlls that eliminate guesswork.
Setting Up Your Autopot System: Critical Steps
Pre-Installation: Valve Inspection
Before connecting any reservoir or filling pots with medium, inspect every valve in your autopot system. Each valve contains a small white bumper inside—this component is essential for proper water regulation. Missing even one bumper means that pot won't receive water correctly, creating uneven growth across your canopy.
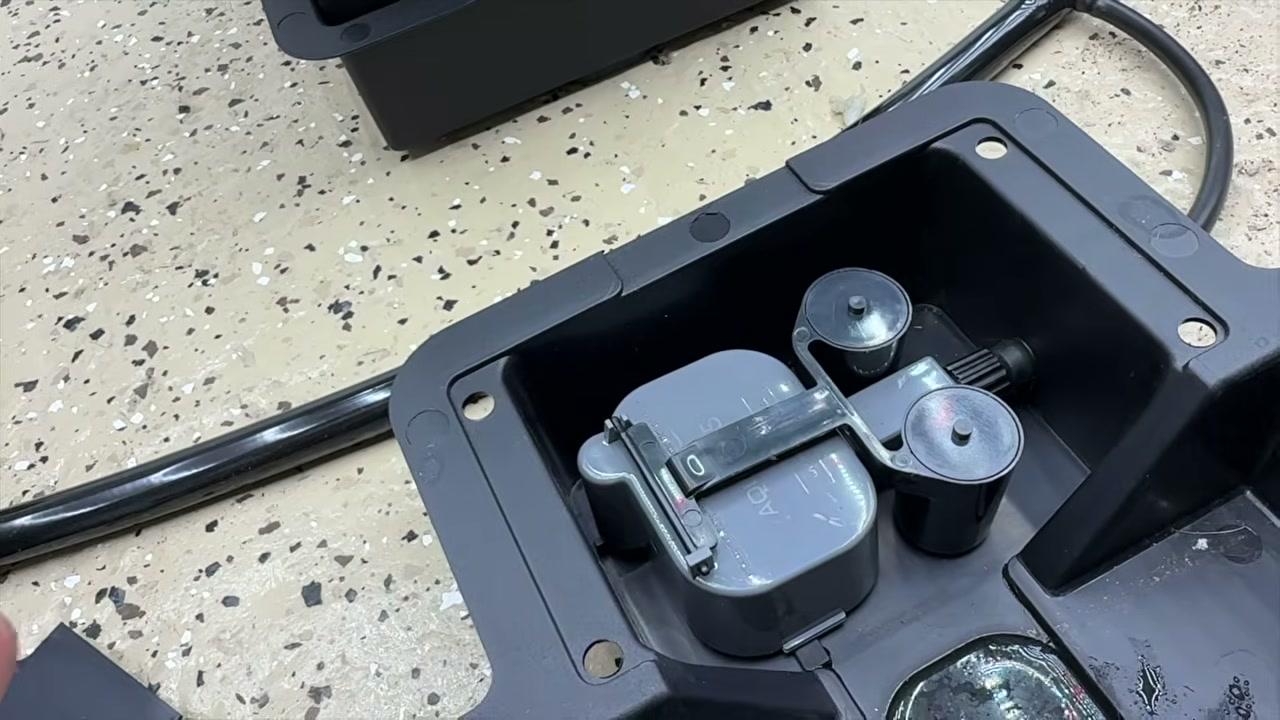
The inspection process is straightforward: remove each valve from its tray, look inside, and confirm the white bumper is present. If you're setting up 12 pots, check all 12 valves. This five-minute inspection prevents weeks of troubleshooting later.
Transplanting Into Autopots
Timing your transplant correctly makes a significant difference in how quickly plants establish. In this grow, plants were started in solo cups under LED lighting. When root systems completely filled the cups—visible white roots circling the bottom and sides—they were ready for transplant into the 3.9-gallon autopot containers.
The 12-Day Rule
Don't activate your autopot system immediately after transplanting. Plants need time to establish roots throughout the new medium before transitioning to bottom-feeding. The grower waited 12 days, manually watering from the top to encourage roots to grow downward.
After 12 days, the autopot reservoir was filled and the system activated. From that point forward, the plants received consistent moisture from below, and the growth acceleration was immediately noticeable. "I'm absolutely blown away at the growth of them already," the grower observed just days after system activation.
| Stage | Duration | Action Required |
|---|---|---|
| Valve inspection | Pre-setup | Verify white bumpers in all valves |
| Transplant | Day 0 | Move from solo cups to 3.9-gal pots |
| Hand watering | Days 1–12 | Top-water to encourage root establishment |
| System activation | Day 12+ | Fill reservoir, activate autopot valves |
| Training begins | Days 14–21 | Install first trellis net, begin canopy management |
Training Techniques for Maximum Canopy Development
SCROG (Screen of Green) Setup
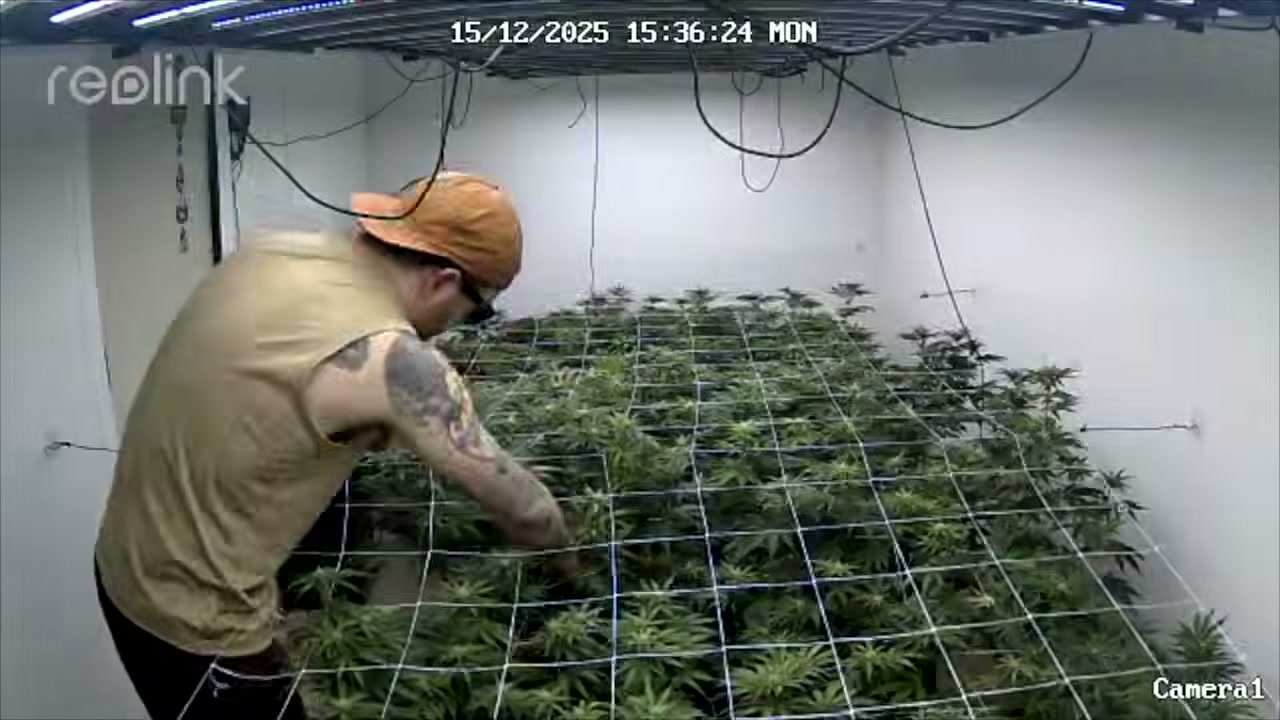
For growers running multiple plants in a confined space, SCROG netting provides essential canopy control. In this 12-plant setup, two layers of trellis netting were installed—the first during vegetative growth to spread branches horizontally, and the second during early flower to support developing bud structures.
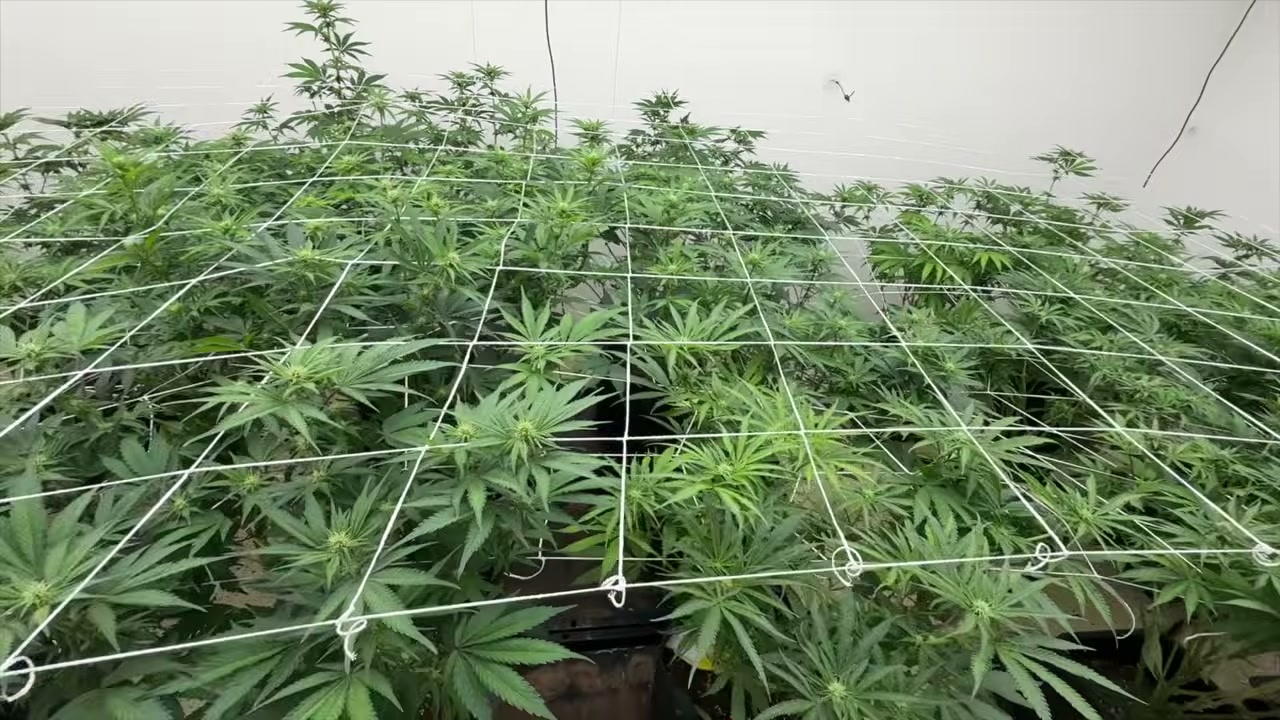
The netting was secured to grow room walls using adhesive utility clips with garden tie material. This approach keeps the net taut without requiring a freestanding frame that would block access to plants. However, the grower acknowledged a challenge: "Once it's on, it's kind of on there. I'm worried how am I going to get from this side to that side." The solution? An army crawl pathway underneath the canopy.
Canopy Management Strategy
SCROG training accomplishes several goals simultaneously. By spreading branches horizontally across the net, light penetrates more evenly across the entire canopy. Instead of one dominant cola per plant, every major branch gets adequate light exposure, leading to more consistent bud development across the entire room.
This approach is particularly important with unreleased or limited-availability genetics where phenotype expression may vary. Some plants naturally grow taller or stretch more aggressively—SCROG netting allows you to manage these variations and create uniformity.
Strain Selection: Working with Elite Genetics
This grow featured a carefully curated selection from multiple respected breeders:
- Bomba (Home Grow TV): Pheno #1, exceptional bud structure and vigorous growth
- Dorotas/Tarantas (Home Grow TV): Excellent stacking, healthy vigorous development
- Yikes by Emoji (Exotic Genetics): Planted in a colder corner, slightly slower development
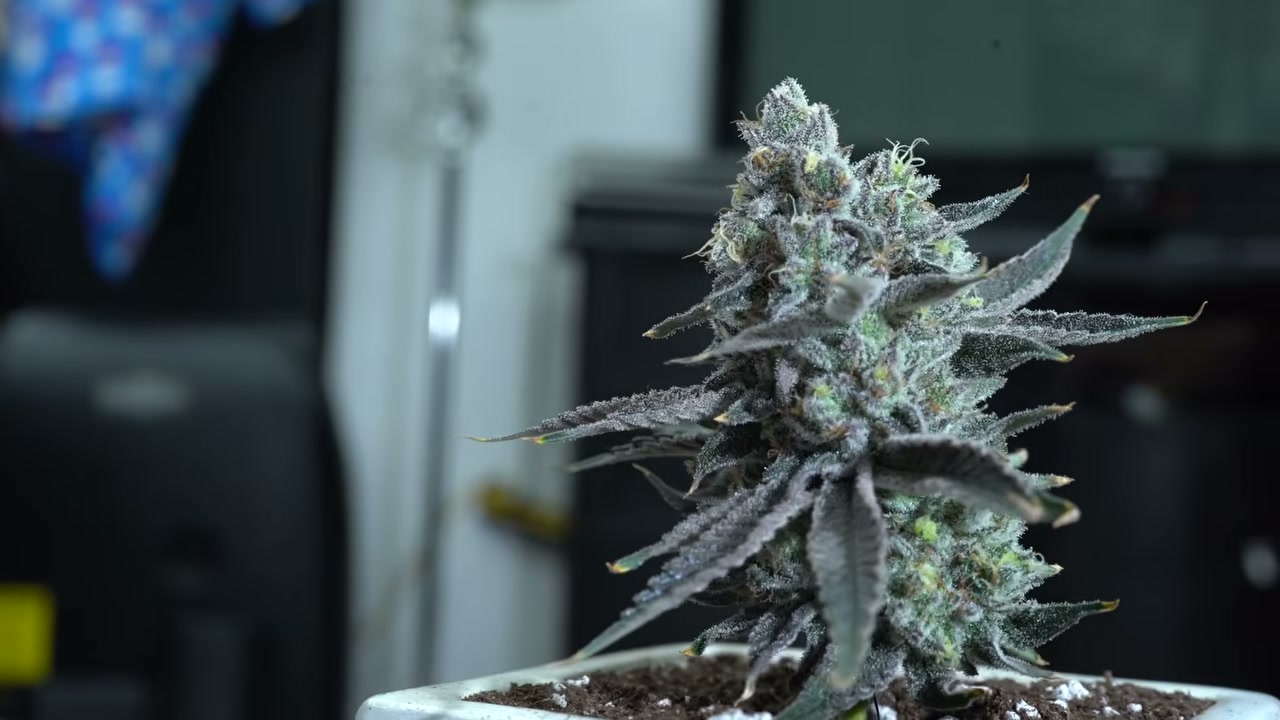
- Mojito by Emoji (Exotic Genetics): Purple hairs early in flower, excellent intermodal spacing
- Bomba by Emoji (Exotic Genetics): Remarkable bud development, intense aromatic complexity
- Unreleased FastBuds strains: Multiple plants described as "looking like monsters"
- Huckleberry Hill selections: Located in the back corner, requiring the infamous army crawl
The grower's relationship with Dakota McLaren from Home Grow TV exemplifies this approach: "Late night FaceTime calls, voice notes, long conversations about plants that don't even exist yet. There's someone on the other side of the world doing the same thing that I'm doing. Just bigger, just deeper."
Nutrient Management with Autopot Systems
Autopot systems present unique feeding considerations. Unlike top-feeding where nutrients can be adjusted with each watering, autopot reservoirs hold multiple days' worth of nutrient solution. For growers using premium liquid nutrients like Cronk Nutrients, this means:
- Preparing larger batches of properly pH-balanced nutrient solution
- Ensuring reservoir cleanliness to prevent algae or bacterial contamination
- Monitoring reservoir levels daily to catch any plants drinking more or less than expected
- Adjusting feeding strength based on growth stage
For autopot systems, start with a slightly lower concentration than your standard feed chart recommends (around 75–80% strength), then adjust upward based on how plants respond. The constant availability of nutrients means plants can feed on demand rather than waiting for the next watering cycle.
Environmental Control: VPD and Temperature Management
One environmental challenge noted was a "cold spot in that back corner"—an outside concrete wall that stayed cooler than the rest of the grow space. Plants in that area (the Yikes by Emoji) weren't thriving as much as those in the center. Solutions include:
- Insulating exterior walls with foam board or reflective insulation
- Positioning space heaters toward problem areas
- Using circulation fans to eliminate temperature stratification
- Placing less vigorous or more cold-tolerant strains in cooler zones
The Real Benefit of Automation
Beyond the technical advantages, the grower emphasized how autopot systems create time freedom: "If you know me, I like to play disc golf, I coach my kids' hockey, I like to have a good time. So these autopots are going to give me way more free time."
After five years of hand-watering multiple plants daily, the transition to automated feeding meant time previously spent on watering could be redirected to training, observation, and life outside the grow room.
FAQ: Autopot Systems for Cannabis
How long should I wait before activating my autopot system after transplanting?
Wait at least 12 days. Hand-water from the top to encourage roots to grow throughout the new medium and establish downward. Once roots reach the bottom reservoir area, they'll quickly adapt to the bottom-feeding approach.
What pot size works best for autopot systems?
The 3.9-gallon pot size is an excellent middle ground—large enough to support full-term flowering plants without taking up excessive space. Larger 6.6-gallon pots work for longer vegetative periods.
Can I run different strains in the same autopot reservoir?
Yes, but all plants will receive the same nutrient solution. Choose strains with similar feeding requirements when possible. Environmental variation like cold spots may affect individual plant performance more than nutrient differences.
What's the most important component to check when setting up autopots?
Verify that every valve contains the small white bumper inside. This component is essential for proper water regulation—without it, that pot won't receive water correctly.
Final Thoughts
Autopot systems, proper SCROG training, dialed-in VPD, and quality nutrients like Cronk Nutrients create exactly the environment premium genetics need to express their full potential. The automation handles the tedious daily watering so you can focus on what actually matters: training, observing, and giving every plant the individual attention it deserves.