How to Grow Autoflowers with Cronk's Classic 3-Part (Micro + Grow + Bloom)Updated 5 months ago
How to Use Cronk Nutrients Classic 3-Part Kit for Autoflowers: Complete Feeding Guide
Already own the Cronk Nutrients Classic 3-Part Kit and wondering if you can use it on autoflowers? Good news: you absolutely can, and this guide will show you exactly how.
The Classic 3-Part system (Micro, Grow, and Bloom) was originally designed with photoperiod plants in mind, but with a few adjustments to dosage and timing, it works beautifully for autoflowering cannabis too. Whether you picked up the 3-Part kit for a photoperiod grow and want to run some autos on the side, or you just prefer the flexibility of a three-bottle system, this guide has you covered.
Autoflowers are a different animal than photoperiods. They have a compressed lifecycle of 8 to 11 weeks from seed to harvest, they transition to flower on their own without a light schedule change, and most importantly, they are light feeders. Push them too hard with nutrients and they will let you know fast. The key to success with autos is restraint: start low, increase slowly, and always let the plant tell you what it needs.
This feeding chart is specifically designed for autoflowers and uses significantly lower dosages than our standard photoperiod recommendations. Do not use the photoperiod Classic 3-Part chart for autoflowers. The numbers here are intentionally conservative because with autos, less truly is more.
Understanding the Classic 3-Part System
Before we get into the chart, it helps to understand what each bottle does and why you need all three throughout the entire grow.
Micro (5-0-1)
Micro is the foundation of the system. It delivers all of your micronutrients (iron, manganese, zinc, copper, boron, molybdenum) plus calcium and nitrogen. Micro goes into your water first, every single time. This is not optional. Micro contains calcium, and if it comes into contact with the phosphorus in Grow or Bloom before it is fully diluted, you will get calcium phosphate precipitate — a cloudy residue that locks up nutrients and clogs lines. Micro first, always.
Grow (2-1-6)
Grow provides nitrogen for leaf and stem development along with potassium for strong structure and magnesium for chlorophyll production. During veg, Grow is your workhorse. During flower, it steps back but never fully disappears from the recipe until late bloom.
Bloom (0-5-3)
Bloom delivers the phosphorus and potassium your plants need for flower development. It also contains magnesium and sulfur. Bloom plays a supporting role during veg (yes, you use it from week one) and takes center stage once flowers start forming.
All three bottles are used from the very first feeding. The ratio between them is what changes as your plant moves through its lifecycle.
Autoflower Feeding Fundamentals
If you have only grown photoperiods before, there are a few things to understand about feeding autoflowers.
Autoflowers are genetically programmed to complete their lifecycle in a fixed timeframe regardless of light schedule. This means they have less time to recover from stress. Overfeeding a photoperiod during veg is annoying but recoverable since you can just extend veg by a week. Overfeeding an auto during veg costs you yield because the plant cannot make up for lost time.
The Golden Rules for Feeding Autoflowers
- Start feeding later than you think. Seedlings do not need nutrients for the first 5 to 7 days. Plain water only.
- Use lower doses than photoperiods. The dosages in this chart are roughly 50 to 75 percent lower than our standard photoperiod recommendations.
- Watch the plant, not the calendar. If your plant looks happy at a lower dose, do not increase just because the chart says to. The chart is a guideline, not a prescription.
- When in doubt, feed less. It is significantly easier to correct an underfed plant than an overfed one. You can always add more next watering. You cannot take it back.
- Autoflowers do not need a light schedule change to flower. They will begin flowering on their own around weeks 3 to 4. You will notice small white pistils forming at the nodes. This is your signal to start transitioning nutrient ratios.
The Feeding Chart
Here is the complete week-by-week feeding chart for autoflowers using the Cronk Nutrients Classic 3-Part Kit. All dosages are in milliliters per liter (ml/L).
This chart assumes a typical 10 to 11 week autoflower lifecycle. Faster strains may finish in 8 to 9 weeks — compress the bloom phase. Longer running sativas may need an extra week or two of bloom — repeat weeks 9 and 10.
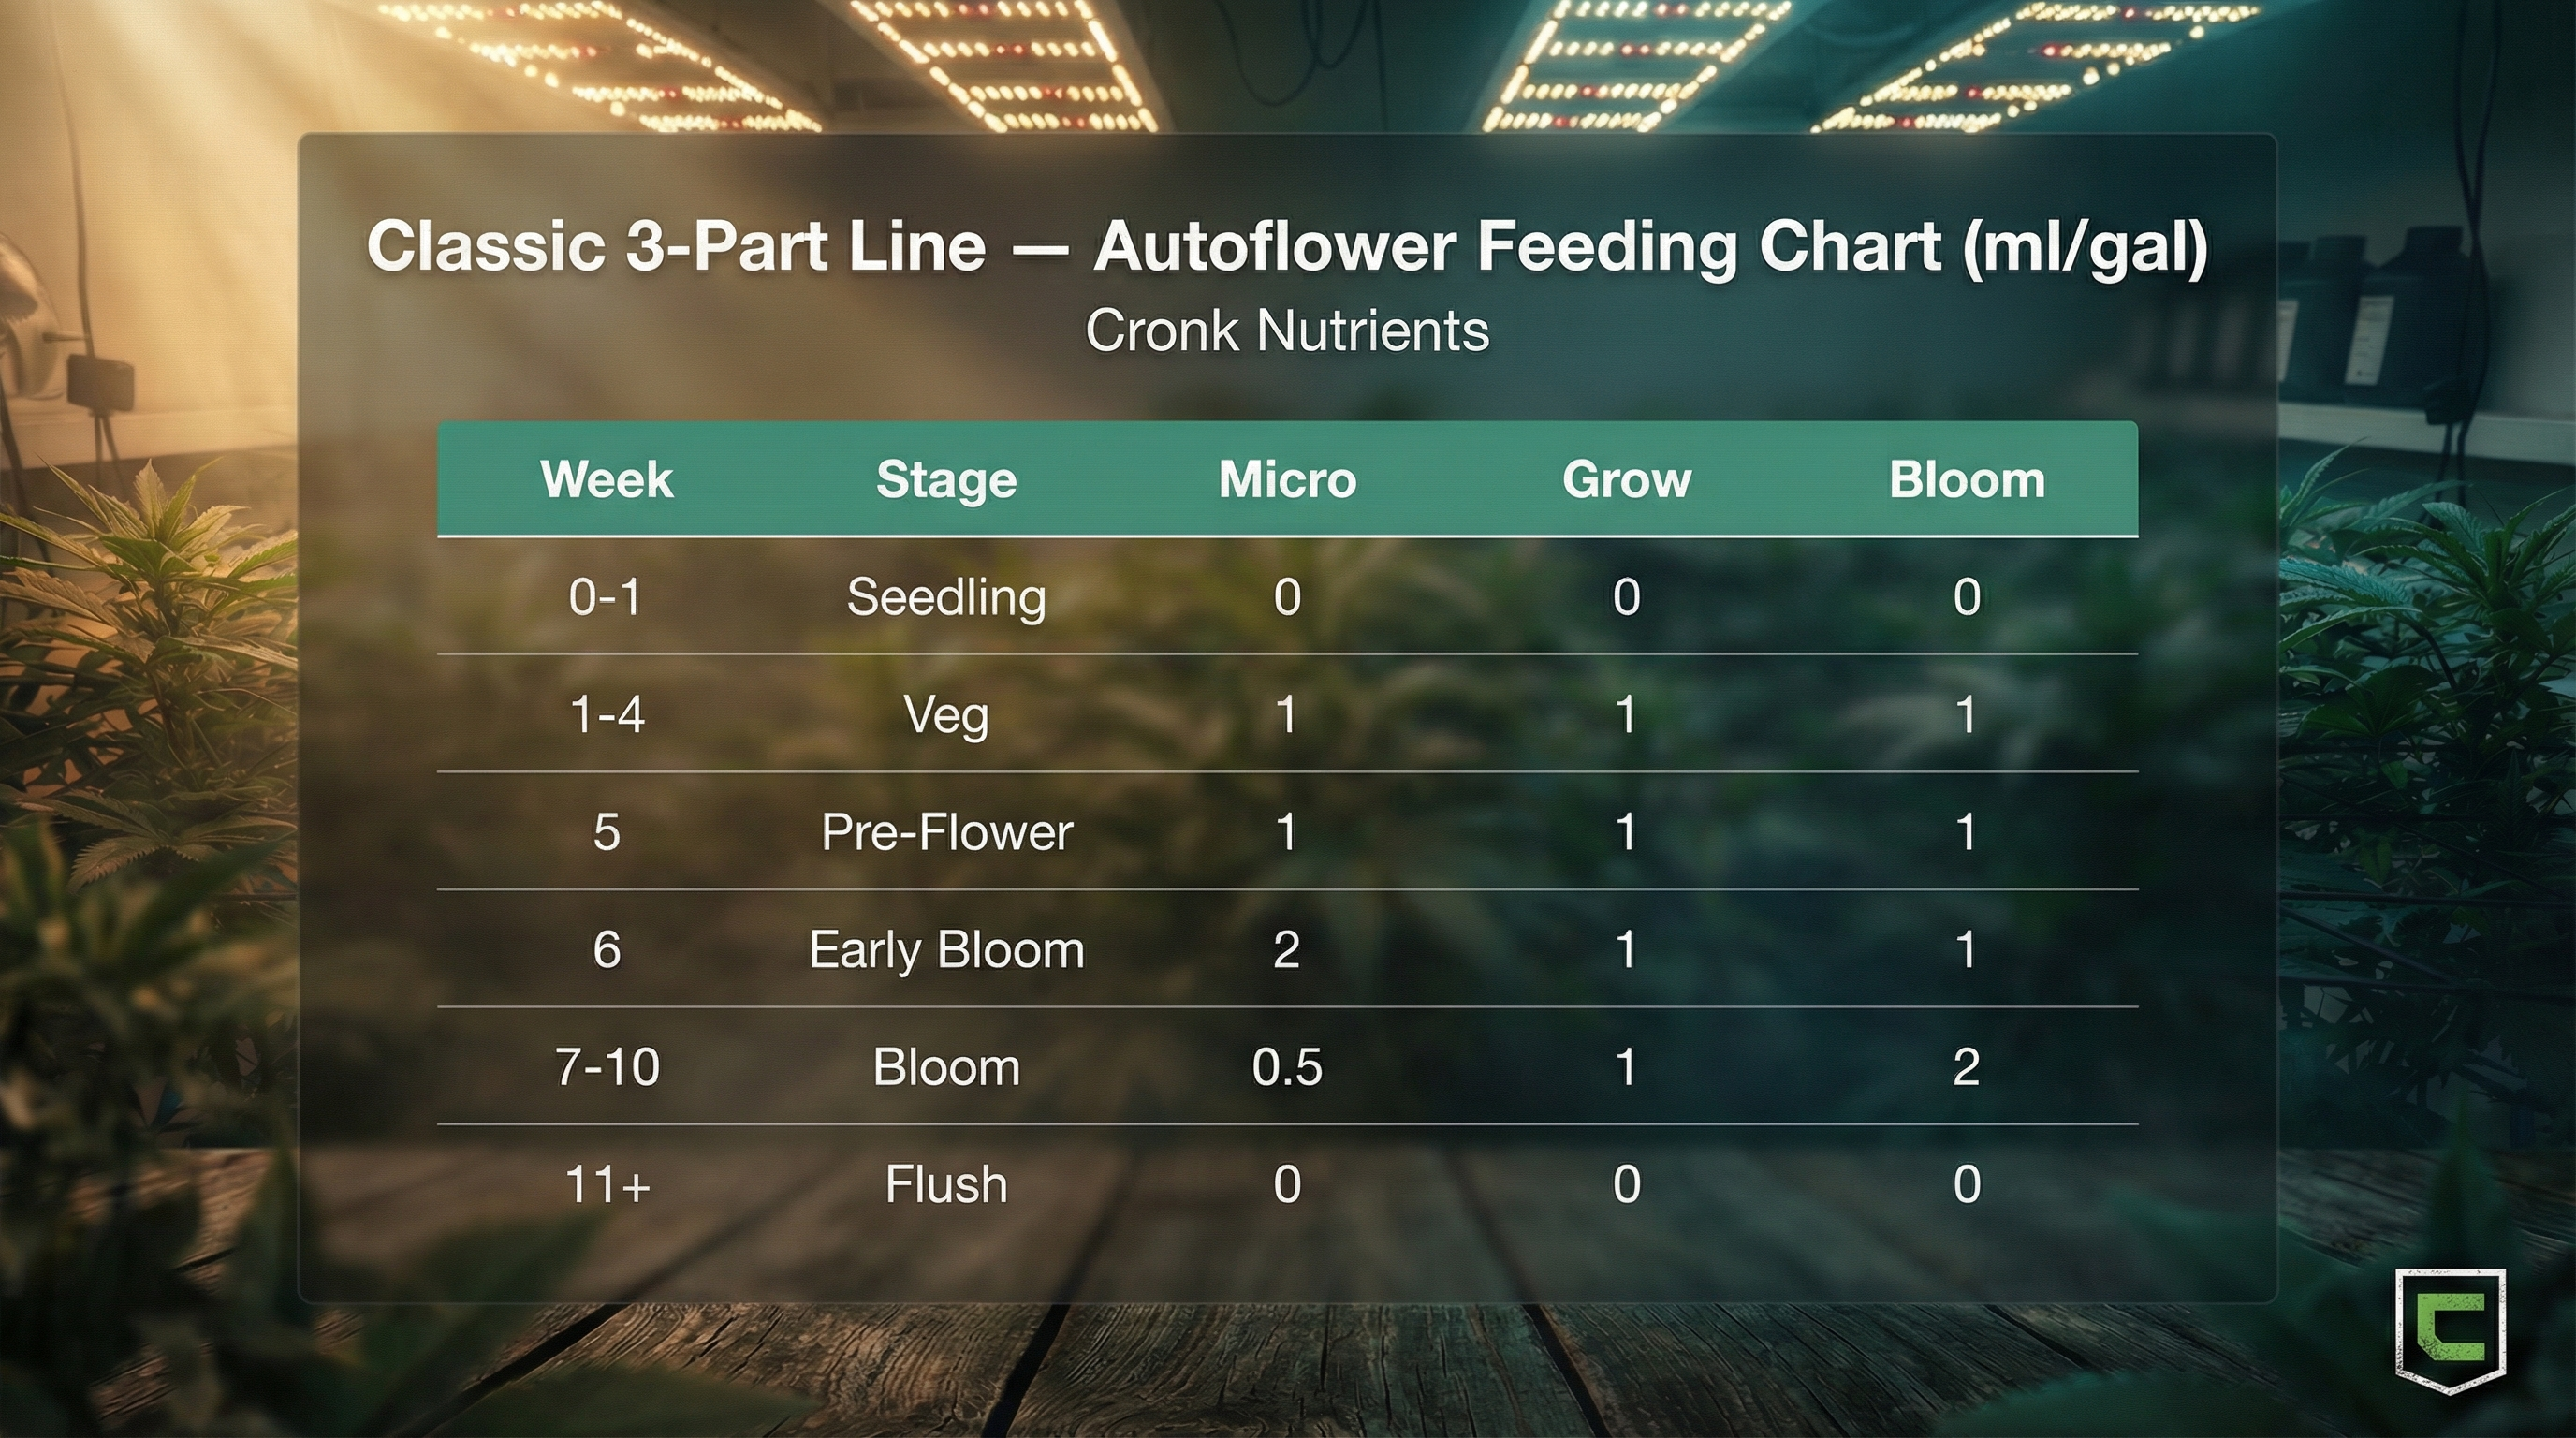
| Week | Stage | Micro (ml/L) | Grow (ml/L) | Bloom (ml/L) | Notes |
|---|---|---|---|---|---|
| 0–1 | Seedling | 0 | 0 | 0 | Plain water only. pH 6.2–6.5 (soil) or 5.8–6.0 (coco/hydro). |
| 1 | Veg | 0.25 | 0.25 | 0.25 | First feeding. Equal parts, very low dose. |
| 2 | Veg | 0.25 | 0.25 | 0.25 | Same as week 1. Resist the urge to bump up. |
| 3 | Veg | 0.25 | 0.25 | 0.25 | Pre-flower signs may appear (white hairs at nodes). |
| 4 | Veg | 0.25 | 0.25 | 0.25 | Last full week of veg for most autos. |
| 5 | Pre-Flower | 0.25 | 0.25 | 0.25 | The stretch is on. Keep ratios balanced through transition. |
| 6 | Bloom | 0.50 | 0.25 | 0.25 | Micro bump for calcium and micronutrients during early flower. |
| 7 | Bloom | 0.15 | 0.25 | 0.50 | Shift toward Bloom. Bud formation takes off. |
| 8 | Bloom | 0.15 | 0.25 | 0.50 | Flowers filling in, trichomes developing. |
| 9 | Bloom | 0.15 | 0.25 | 0.50 | Buds fattening. If burn appears, reduce all by 25%. |
| 10 | Bloom | 0.15 | 0.25 | 0.50 | Final feeding week. Check trichomes with loupe. |
| 11+ | Flush | 0 | 0 | 0 | Plain pH-adjusted water for 5–7 days before harvest. |
Mixing Order
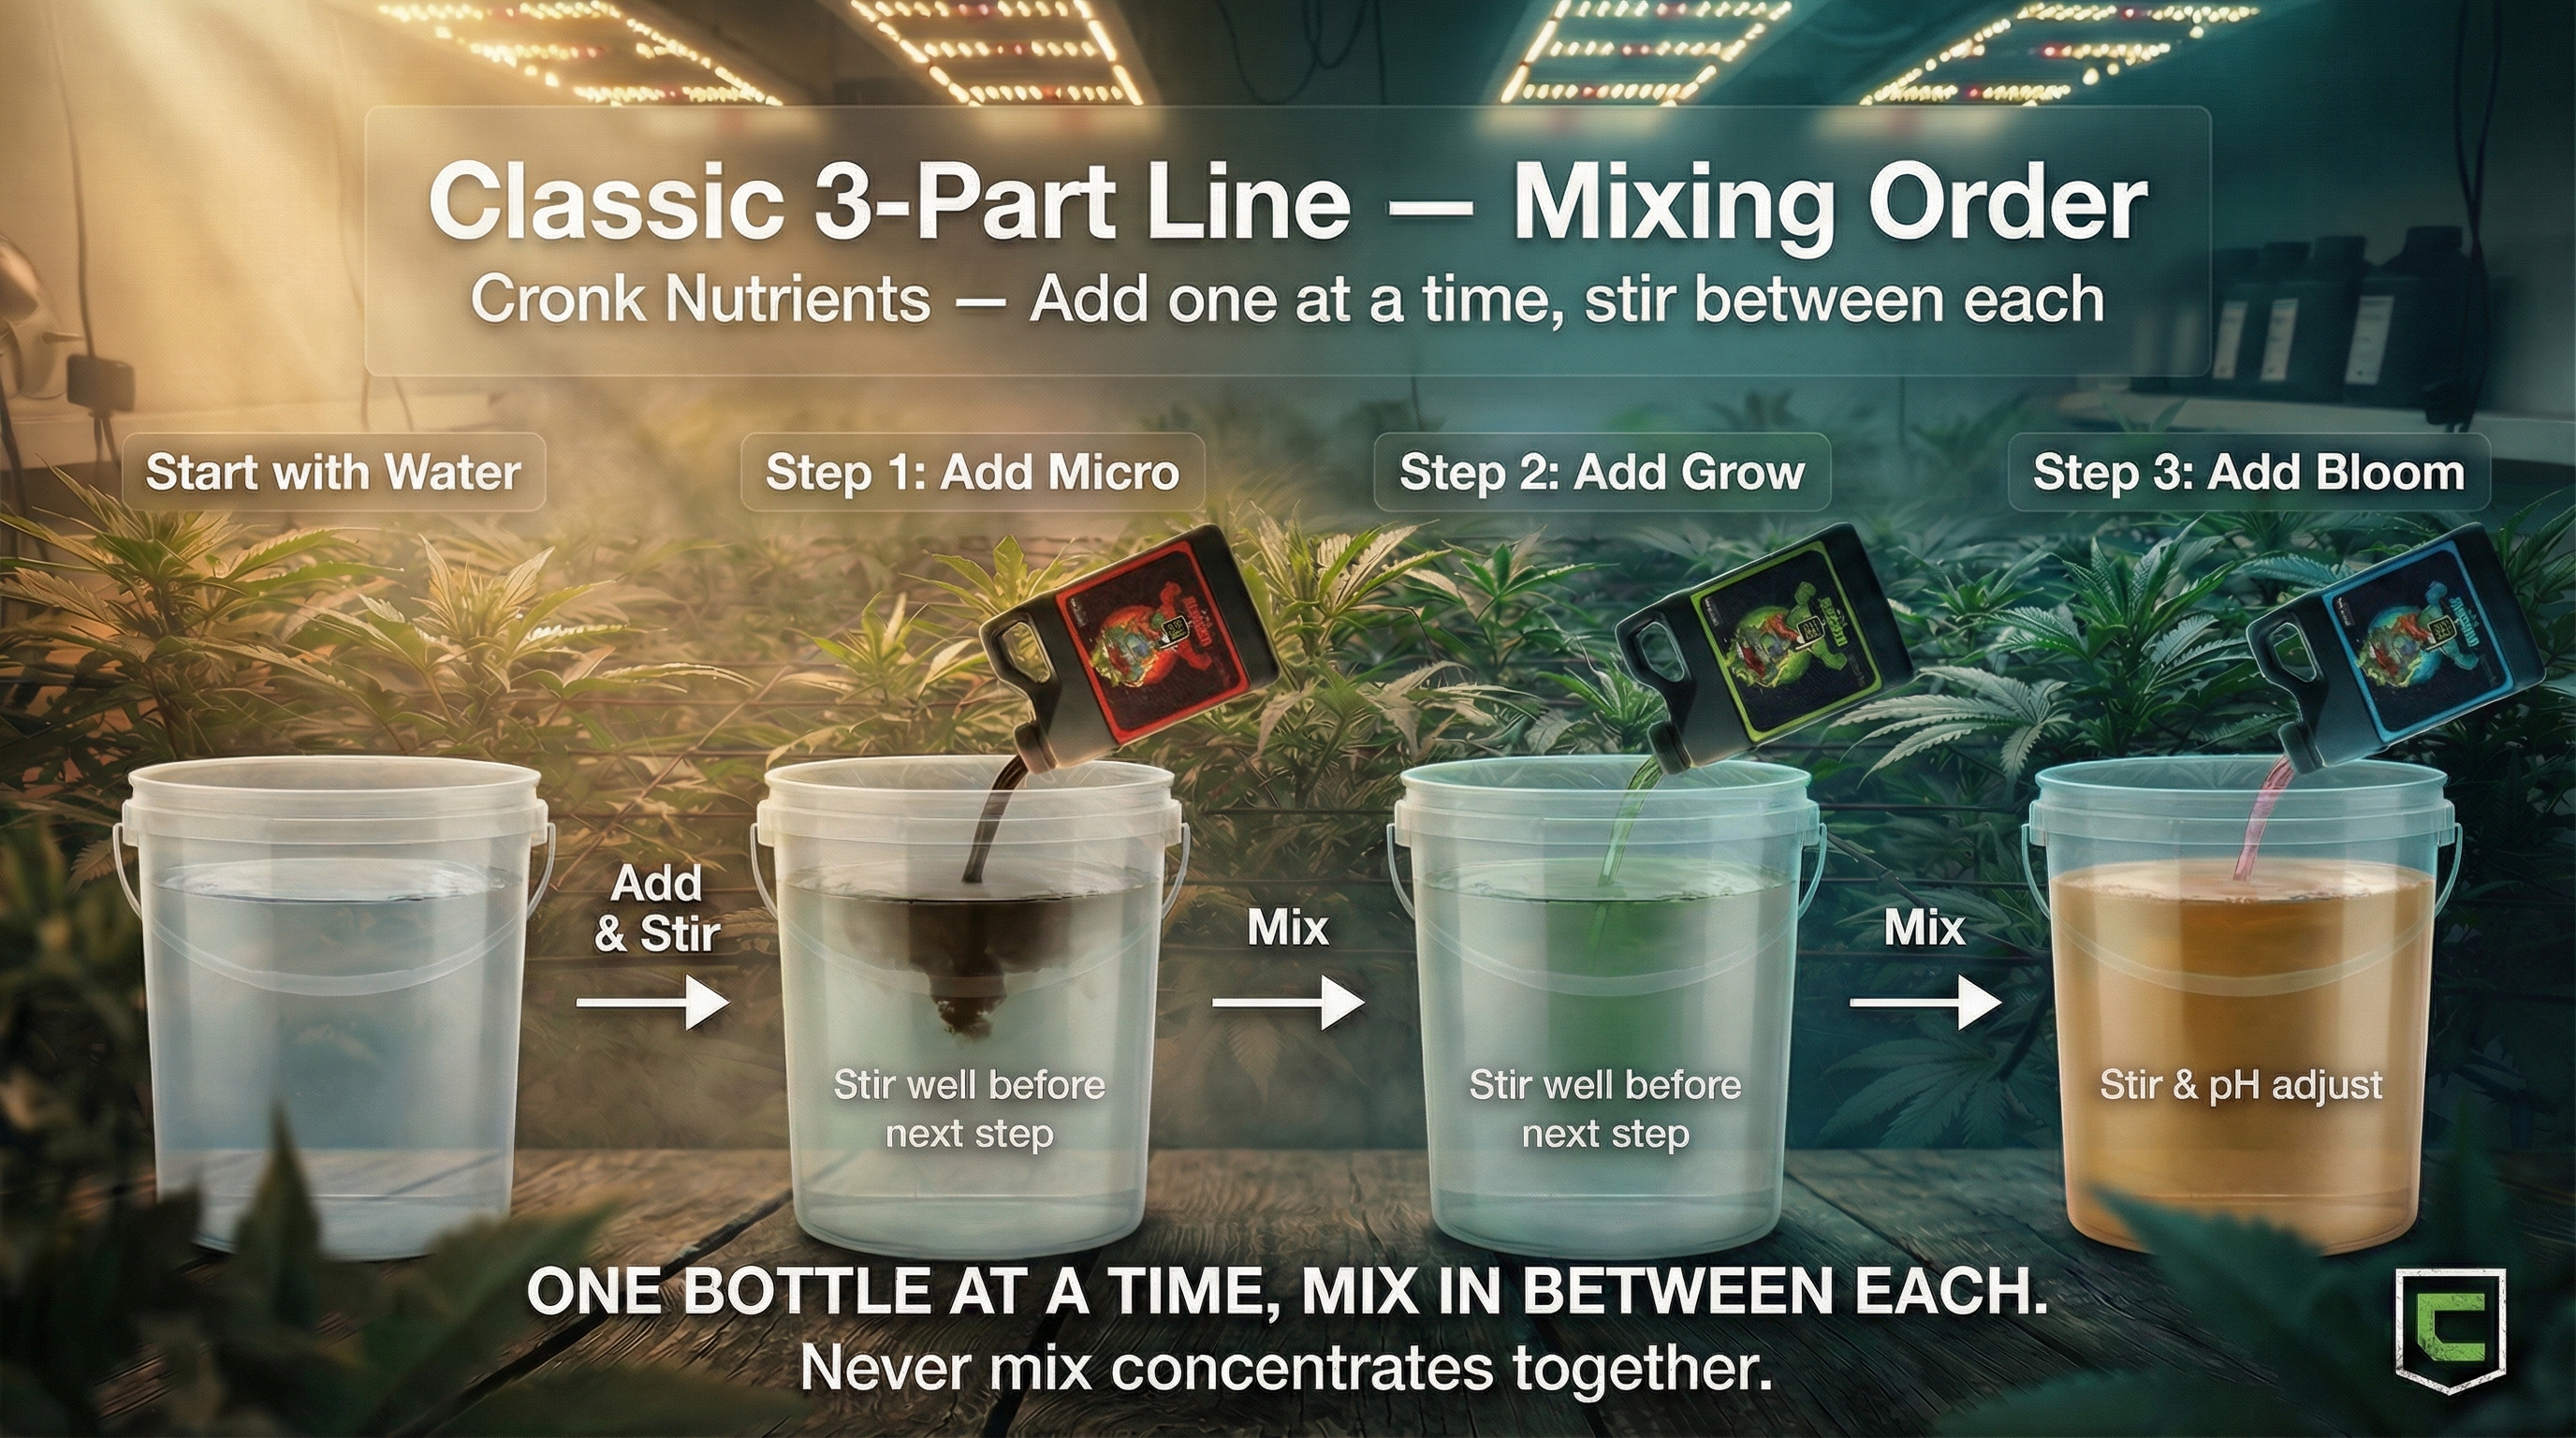
The correct mixing order with all additives:
- Micro — always before Grow and Bloom
- Grow
- Bloom
Optional Additives
The base 3-Part chart above is all you need for a successful autoflower grow. But if you want to optimize results, here are the Cronk Nutrients additives that pair well with this schedule:
CalMag (2-0-0)
Use 0.5 to 1 ml/L throughout the entire grow. Essential if you are growing in coco coir or using reverse osmosis water, as both are naturally low in calcium and magnesium. In soil with tap water, CalMag is usually optional but still beneficial.
Armadillo Armour (Silica)
Use 0.25 ml/L from weeks 4 through 10. Silica strengthens cell walls, improves heat and drought tolerance, and helps the plant support heavier flowers. Add first, before any other nutrients. Wait 2 to 5 minutes before adding the next product.
Monkey Juice (Beneficial Microbes)
Use 0.5 ml/L from weeks 1 through 4. Introduces beneficial bacteria to the root zone that protect against pathogens and improve nutrient uptake. Add last, after pH adjustment.
Bud Booster (PK Boost)
Use 1 to 2 ml/L during weeks 8 through 10. Provides extra phosphorus and potassium during peak flower development along with L-amino acids that signal increased flower production. Do not start Bud Booster before week 8 — early PK loading can cause issues with autoflowers.
Sticky Bandit (Carbohydrates)
Use 0.5 ml/L from weeks 6 through 10. Feeds beneficial microbes in the root zone and supports terpene and resin production. Adds no significant NPK so it will not throw off your ratios.
Growing Medium Adjustments
Soil
This chart was designed with soil in mind. Feed every 2 to 3 days or when the top 1 to 2 inches of medium is dry. Allow 10 to 20 percent runoff to prevent salt buildup. Soil provides natural buffering so pH fluctuations are more forgiving. Start at the lower end of any dosage ranges.
Coco Coir
Treat coco more like hydro than soil. Feed with every watering since coco has no inherent nutrition. CalMag is mandatory because coco naturally binds calcium and magnesium, making them unavailable to the plant. Never let coco dry out completely. pH target 5.8 to 6.2.
Hydroponics (DWC, RDWC, NFT)
Use the same dosages listed in the chart. Monitor pH daily since hydro systems have no buffering capacity. Change your reservoir weekly or when EC drops more than 30 percent. Maintain water temperature between 65 and 72 degrees Fahrenheit. Ensure adequate dissolved oxygen with air stones.
pH and EC Guidelines
Getting pH right is just as important as getting your nutrient ratios right. Outside the optimal range, nutrients lock out and become unavailable no matter how much you add.
pH Targets
| Medium | Acceptable Range | Optimal Range |
|---|---|---|
| Soil | 6.0 – 7.0 | 6.2 – 6.5 |
| Coco Coir | 5.5 – 6.5 | 5.8 – 6.2 |
| Hydroponics | 5.5 – 6.5 | 5.8 – 6.0 |
Always pH your solution after adding all nutrients. Nutrients change the pH significantly, so testing before you add them is meaningless.
EC Targets for Autoflowers
| Stage | EC | PPM |
|---|---|---|
| Seedling | 0.2 – 0.4 | 100 – 200 |
| Early Veg | 0.4 – 0.6 | 200 – 300 |
| Mid/Late Veg | 0.6 – 0.8 | 300 – 400 |
| Pre-Flower | 0.6 – 0.8 | 300 – 400 |
| Early Bloom | 0.8 – 1.0 | 400 – 500 |
| Peak Bloom | 0.8 – 1.2 | 400 – 600 |
| Late Bloom | 0.6 – 1.0 | 300 – 500 |
| Flush | < 0.4 | < 200 |
Troubleshooting
Nutrient Burn
The most common issue with autoflowers. Symptoms are brown or burnt leaf tips that progress inward, sometimes with dark green leaves and leaf clawing. Fix: Flush with plain pH-adjusted water, then resume feeding at 50 percent of your previous dose. Increase gradually once the plant recovers.
Nitrogen Toxicity
Dark green leaves that claw downward, sometimes with a waxy appearance. This happens when Grow doses are too high relative to the plant's needs, especially during flower when nitrogen demand drops. Fix: Reduce Grow or skip it for one feeding.
Calcium Deficiency
Brown spots on leaves, especially newer growth. Distorted or curled new leaves. Weak stems. Most common in coco without CalMag supplementation or when pH drops below 6.0. Fix: Add CalMag at 1 ml/L, verify pH is in the optimal range.
Magnesium Deficiency
Yellowing between the veins on older leaves while the veins themselves stay green (interveinal chlorosis). Common in coco and when using reverse osmosis water. Fix: Add CalMag, check that potassium levels are not excessive since potassium competes with magnesium for uptake.
pH Lockout
Multiple deficiency symptoms appearing simultaneously despite adequate feeding. The plant looks hungry but you know you are feeding enough. Fix: Flush the medium with plain pH-adjusted water at double your normal volume, reset pH to the optimal range, and resume feeding at half strength.
Tips for Success
- Do not transplant autoflowers. Plant your seed directly in its final container. Autoflowers have a set timeline and transplant shock costs precious days of growth. Use 3 to 5 gallon pots.
- Light schedule matters. Most growers run 18/6 or 20/4 for autoflowers. Unlike photoperiods, autos do not need a 12/12 flip to flower. More light equals more photosynthesis equals bigger yields.
- Keep a grow journal. Write down what you feed, when you feed, and how the plant responds. This is the single best way to dial in your specific setup over multiple grows.
- Do not defoliate aggressively. Autoflowers have limited time to recover from stress. Light leaf tucking is fine. Aggressive defoliation or mainlining is risky with autos.
- Temperature and humidity matter more than nutrients. Keep your grow room at 70 to 80°F during lights on with no more than a 10 degree drop at night. Humidity: 60 to 70% during veg, 40 to 50% during flower.
Frequently Asked Questions
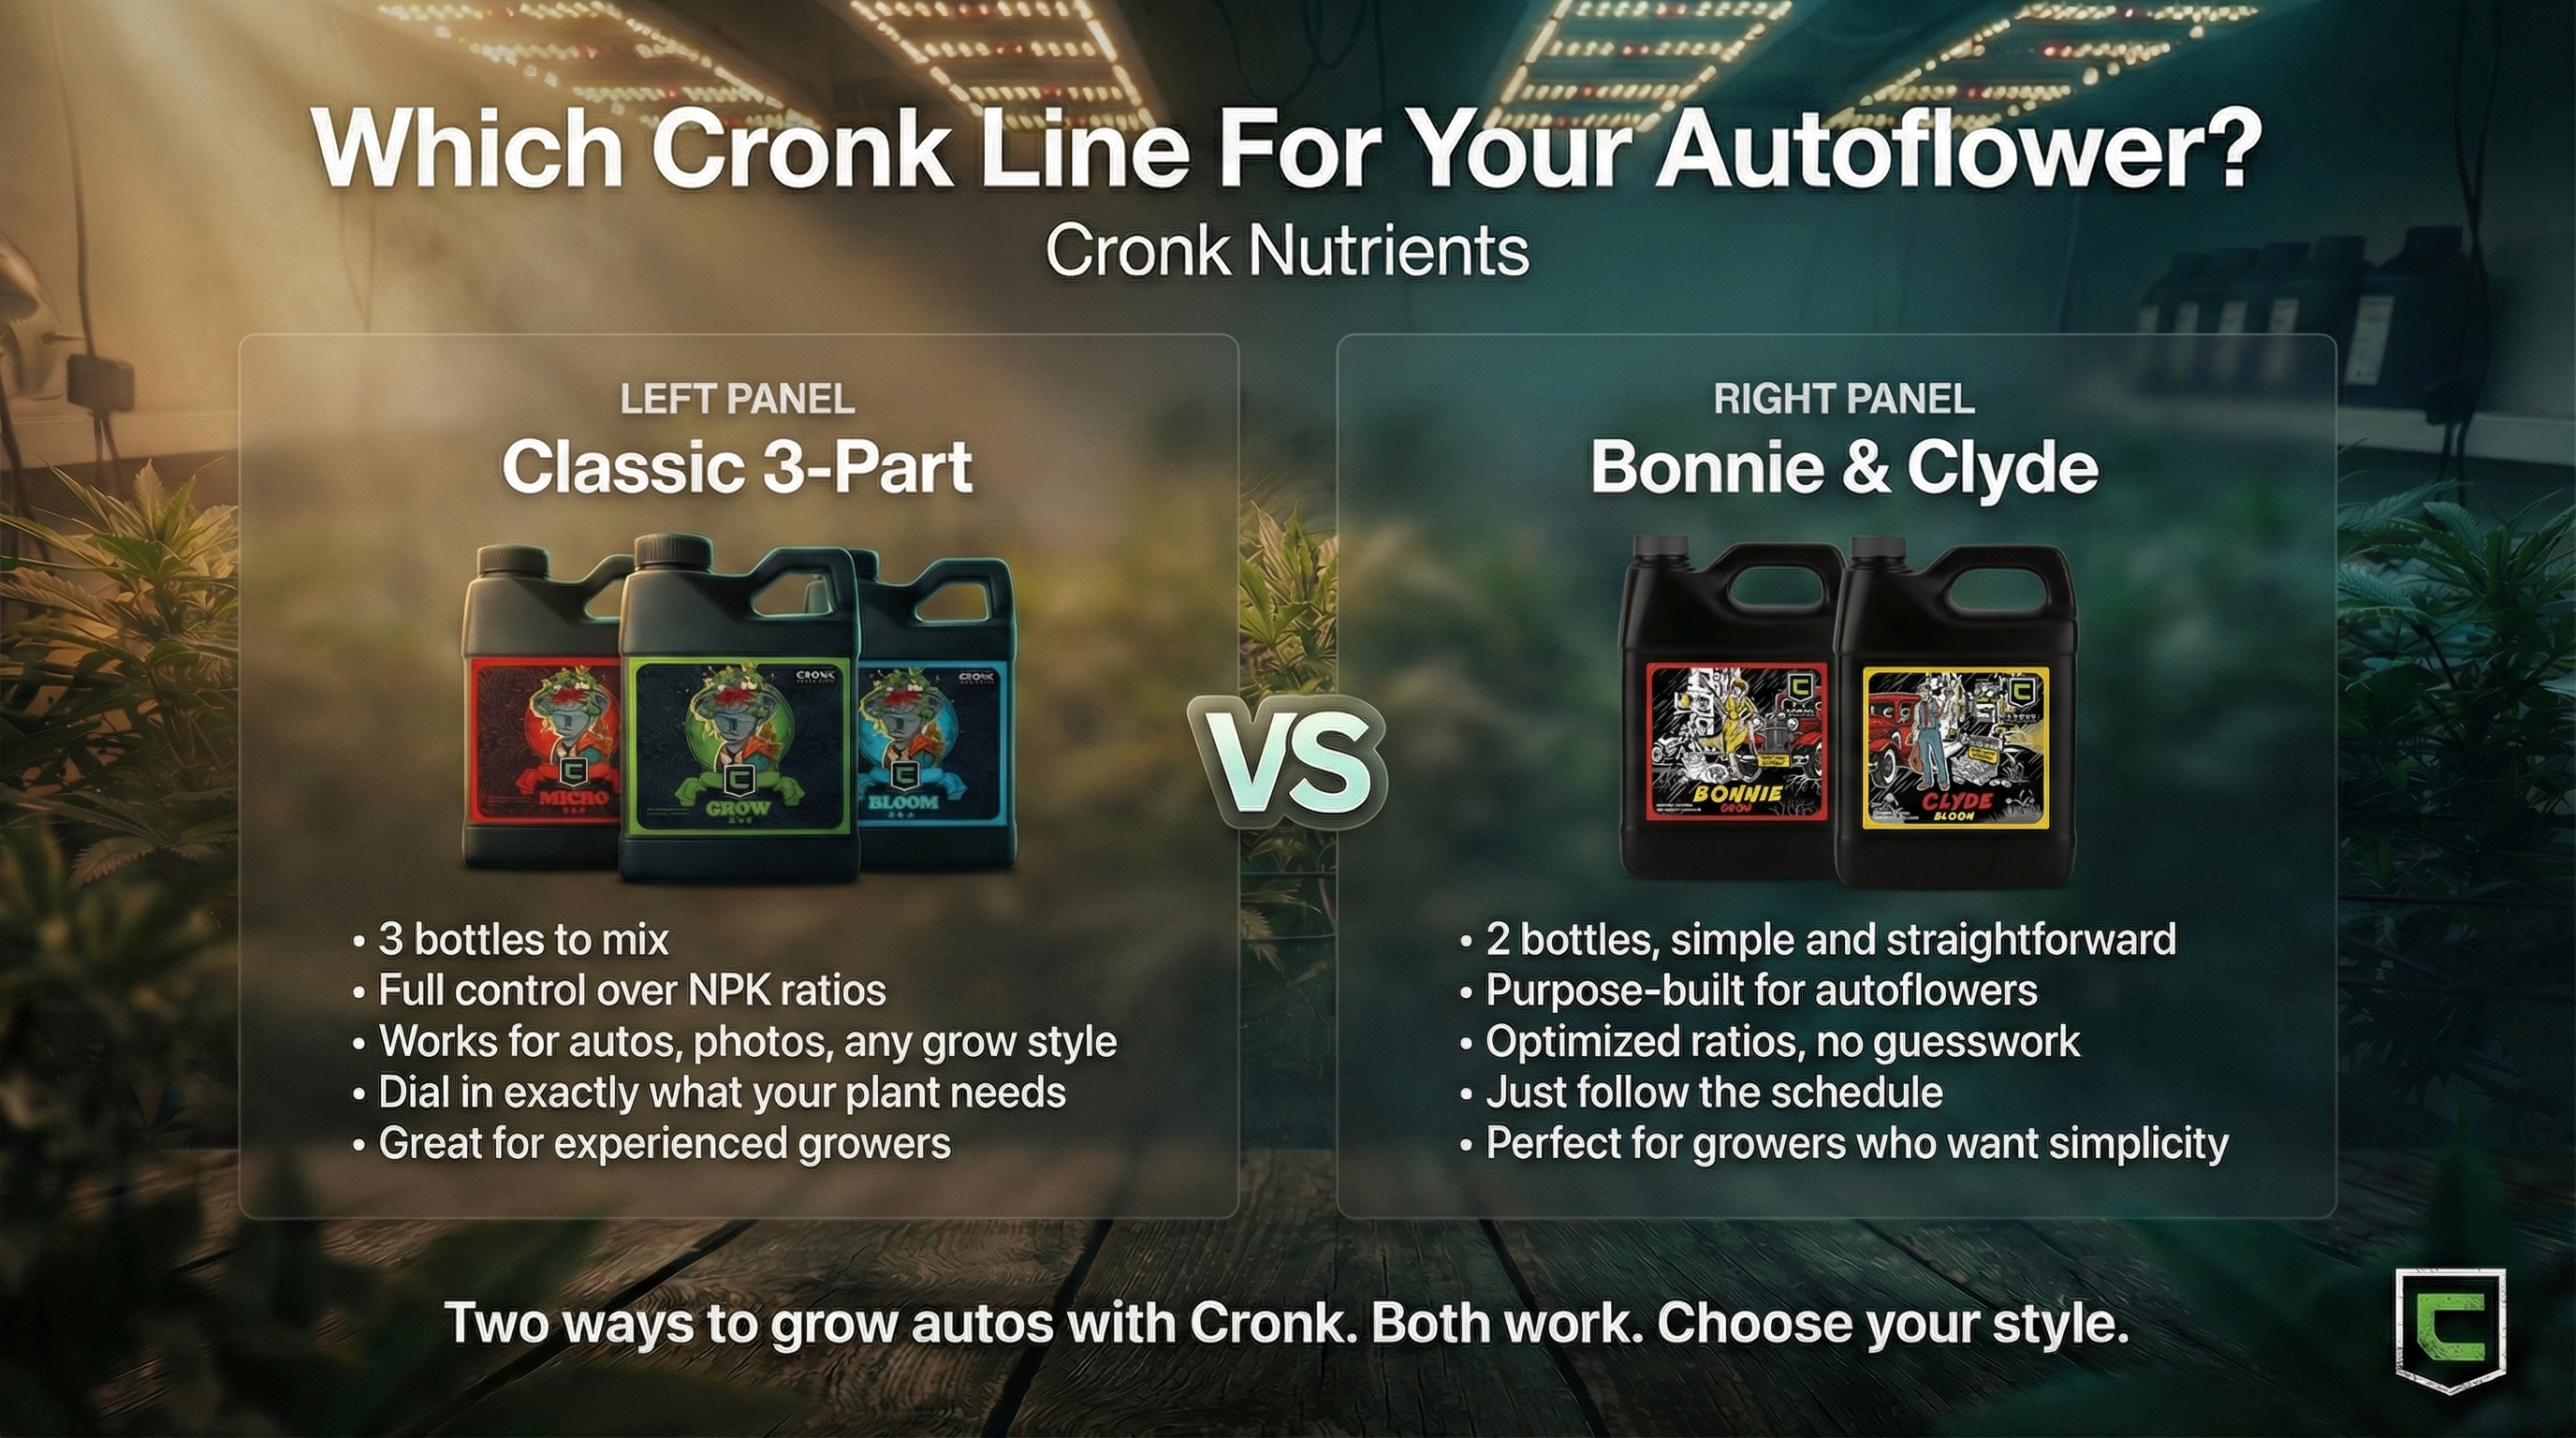
Can I use the Bonnie and Clyde Autoflower Line instead?
Yes. Bonnie and Clyde was specifically designed for autoflowers and is the simplest option. Bonnie handles veg, Clyde handles bloom, and they are never mixed together. If you want maximum simplicity, go with Bonnie and Clyde. This guide is for growers who already own the Classic 3-Part Kit or prefer the flexibility of a three-bottle system.
Can I use this chart for photoperiod plants?
Not directly. Photoperiods need roughly double the dosages listed here and have a longer feeding cycle. Use our standard Classic 3-Part photoperiod chart for photos.
What size pot should I use for autoflowers?
3 to 5 gallons for most strains. Larger pots (7+ gallons) can work for longer-running sativa-dominant autos but are generally overkill. Smaller pots (1 to 2 gallons) will limit your yield.
How much water should I give per feeding?
Water until you see 10 to 20 percent runoff from the bottom of the pot. This ensures the entire root zone is saturated and helps prevent salt buildup. For a 5 gallon pot, this usually means about 1 to 1.5 liters per watering in early veg, increasing to 2 to 3 liters by peak bloom.
My plant looks healthy but the chart says to increase. Should I?
No. If the plant is happy, do not fix what is not broken. The chart is a guideline. Some strains and phenotypes are lighter feeders than others. Trust the plant over the chart every time.
Do I really need to flush before harvest?
This is a personal choice. Recent studies have shown that flushing does not significantly affect the mineral content or taste of the final product. Many growers still flush because they prefer to and it certainly does not hurt. If you want to flush, one week of plain water before harvest is sufficient for autoflowers.

Ready to Grow?
The Classic 3-Part Kit has everything you need to grow autoflowers from seed to harvest. Pick up yours and start your next grow with confidence.